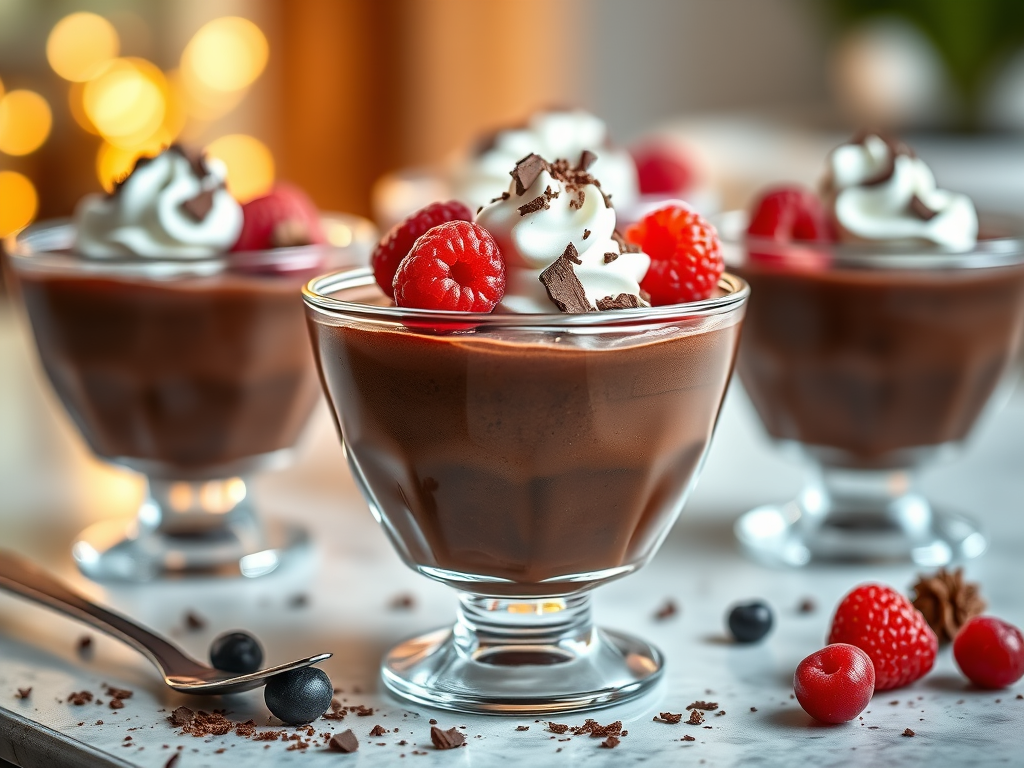
Easy Low-Fat Chocolate Mousse for Dessert Lovers
Healthy and chocolate mousse don't go together, or do they? If you’re craving a rich and creamy chocolate dessert but want something lighter and packed with goodness (vegan to boot),…
Read More
Healthy and chocolate mousse don't go together, or do they? If you’re craving a rich and creamy chocolate dessert but want something lighter and packed with goodness (vegan to boot),…
Read More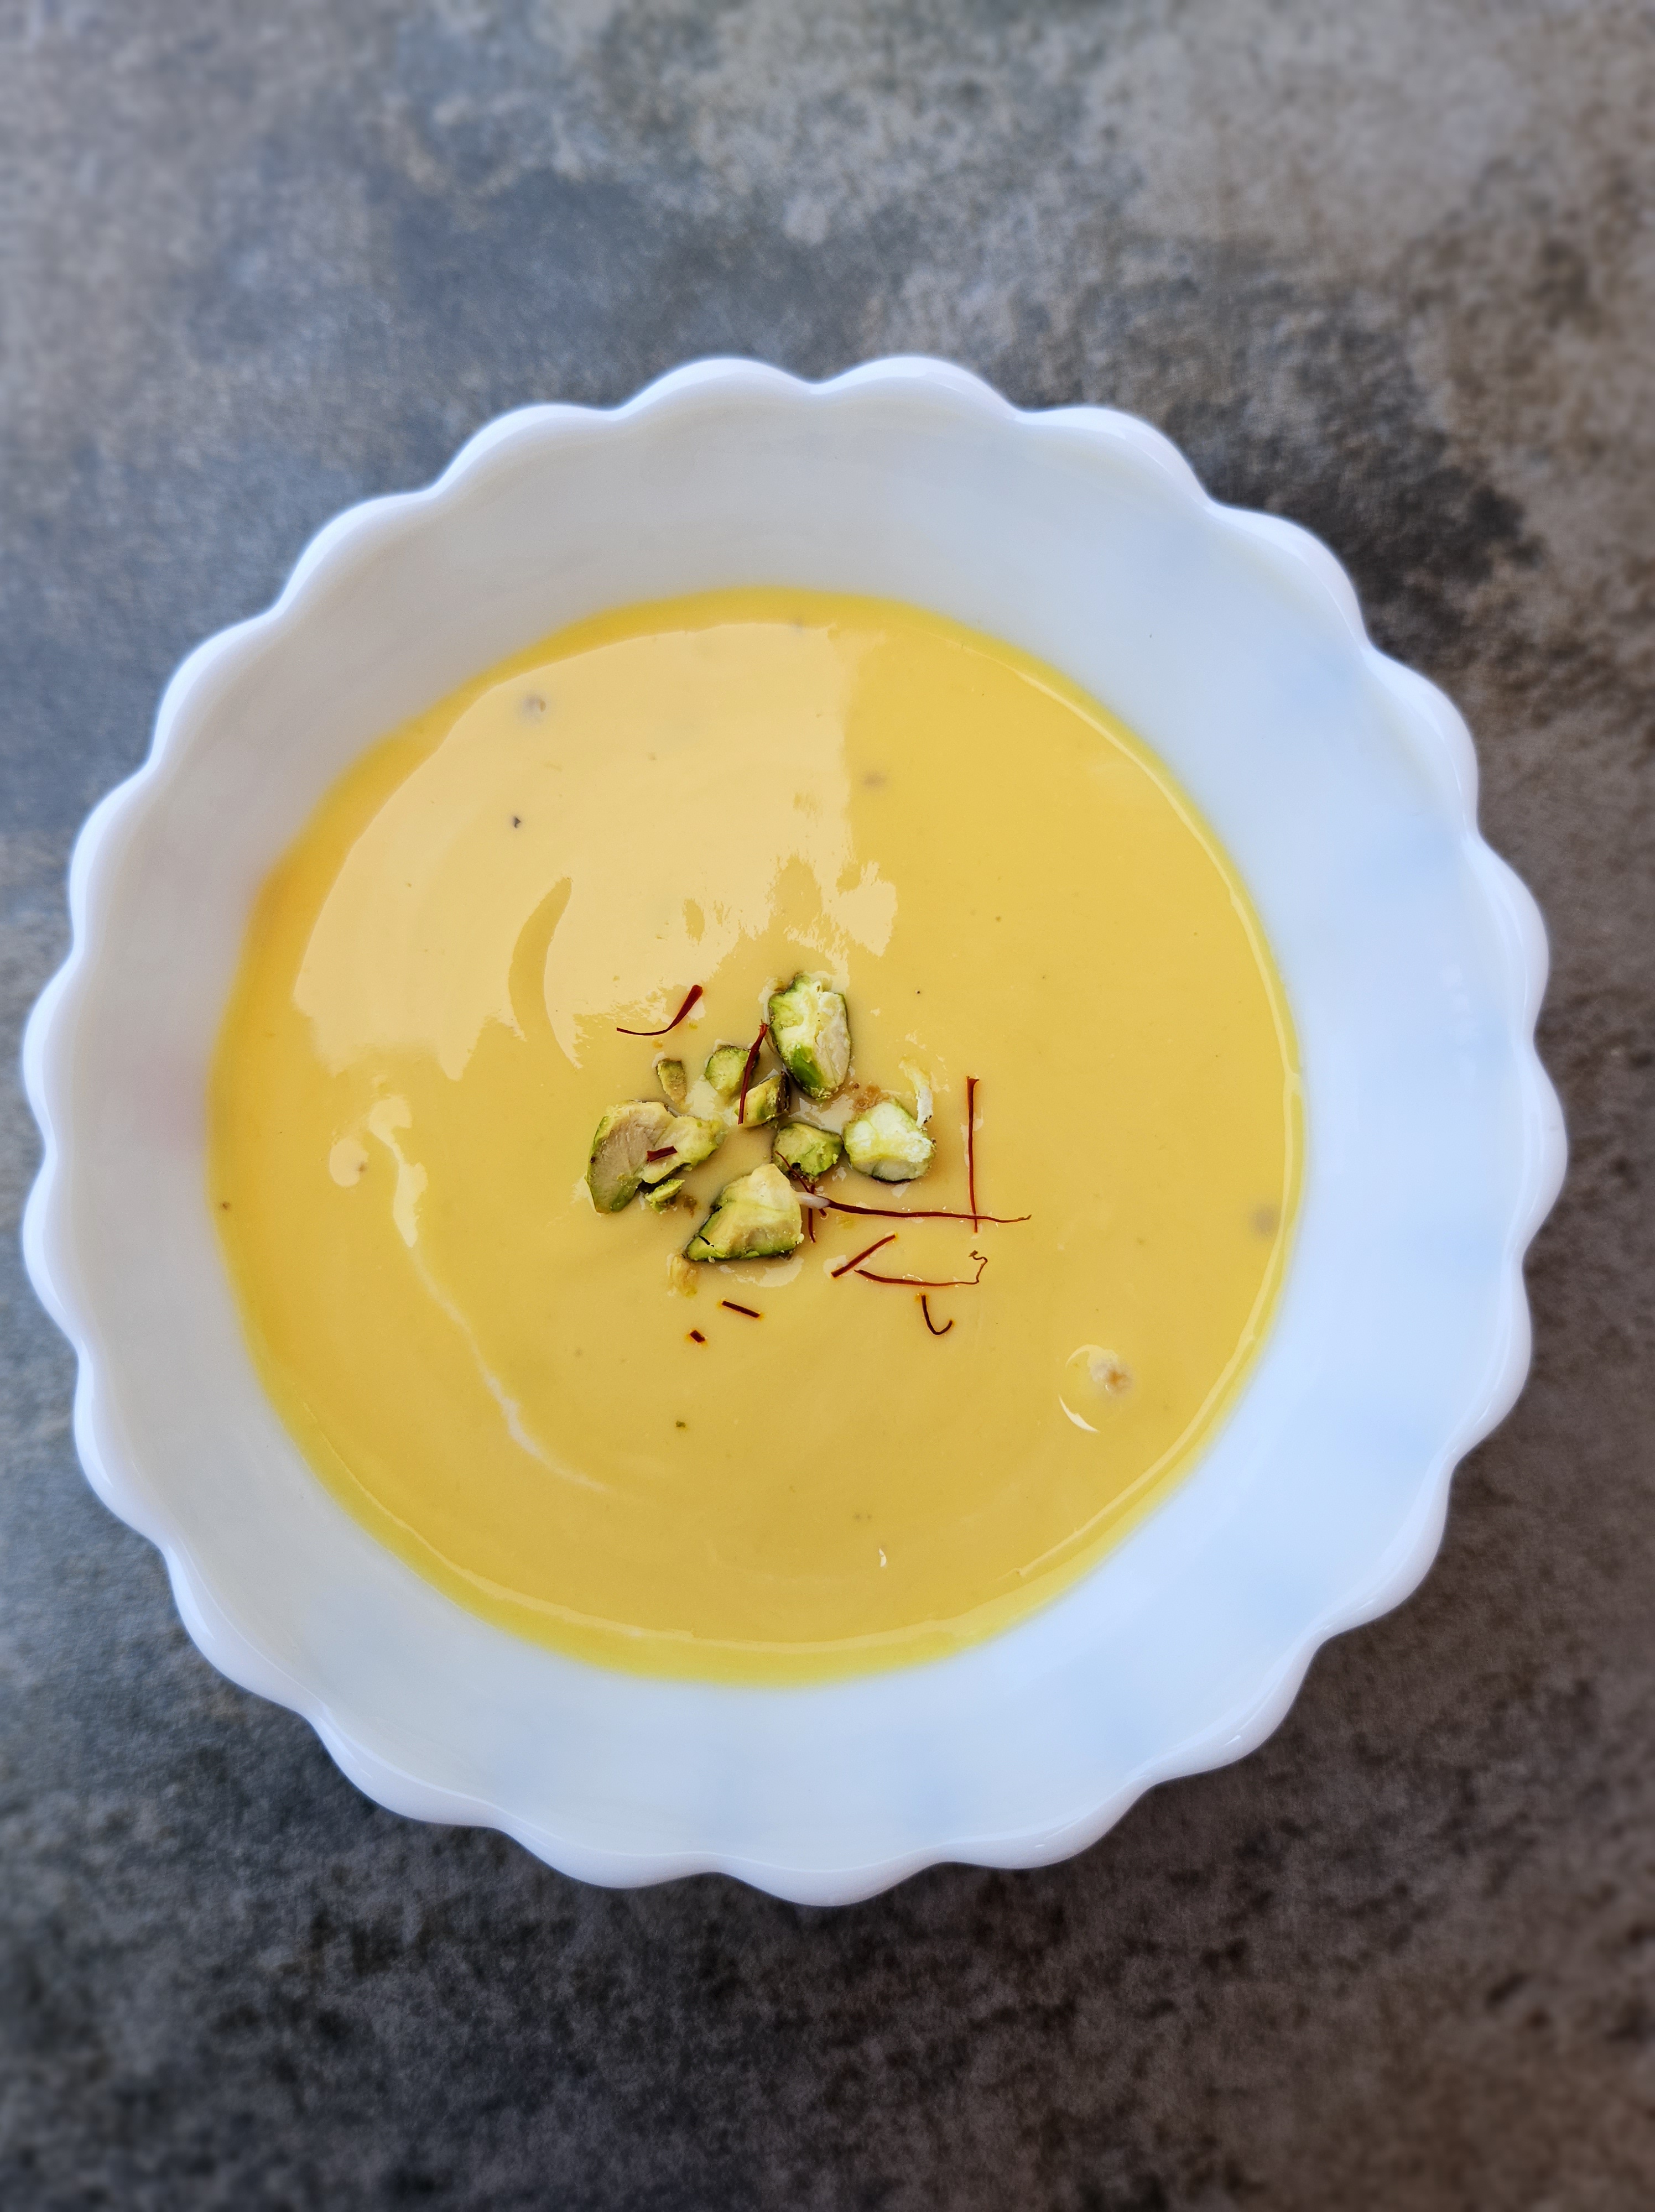
This deliciously refreshing and creamy Indian dessert comes together with Greek yogurt and mango. The sweet and tangy taste makes for a wonderfully different dessert that's elevated with the flavor…
Read More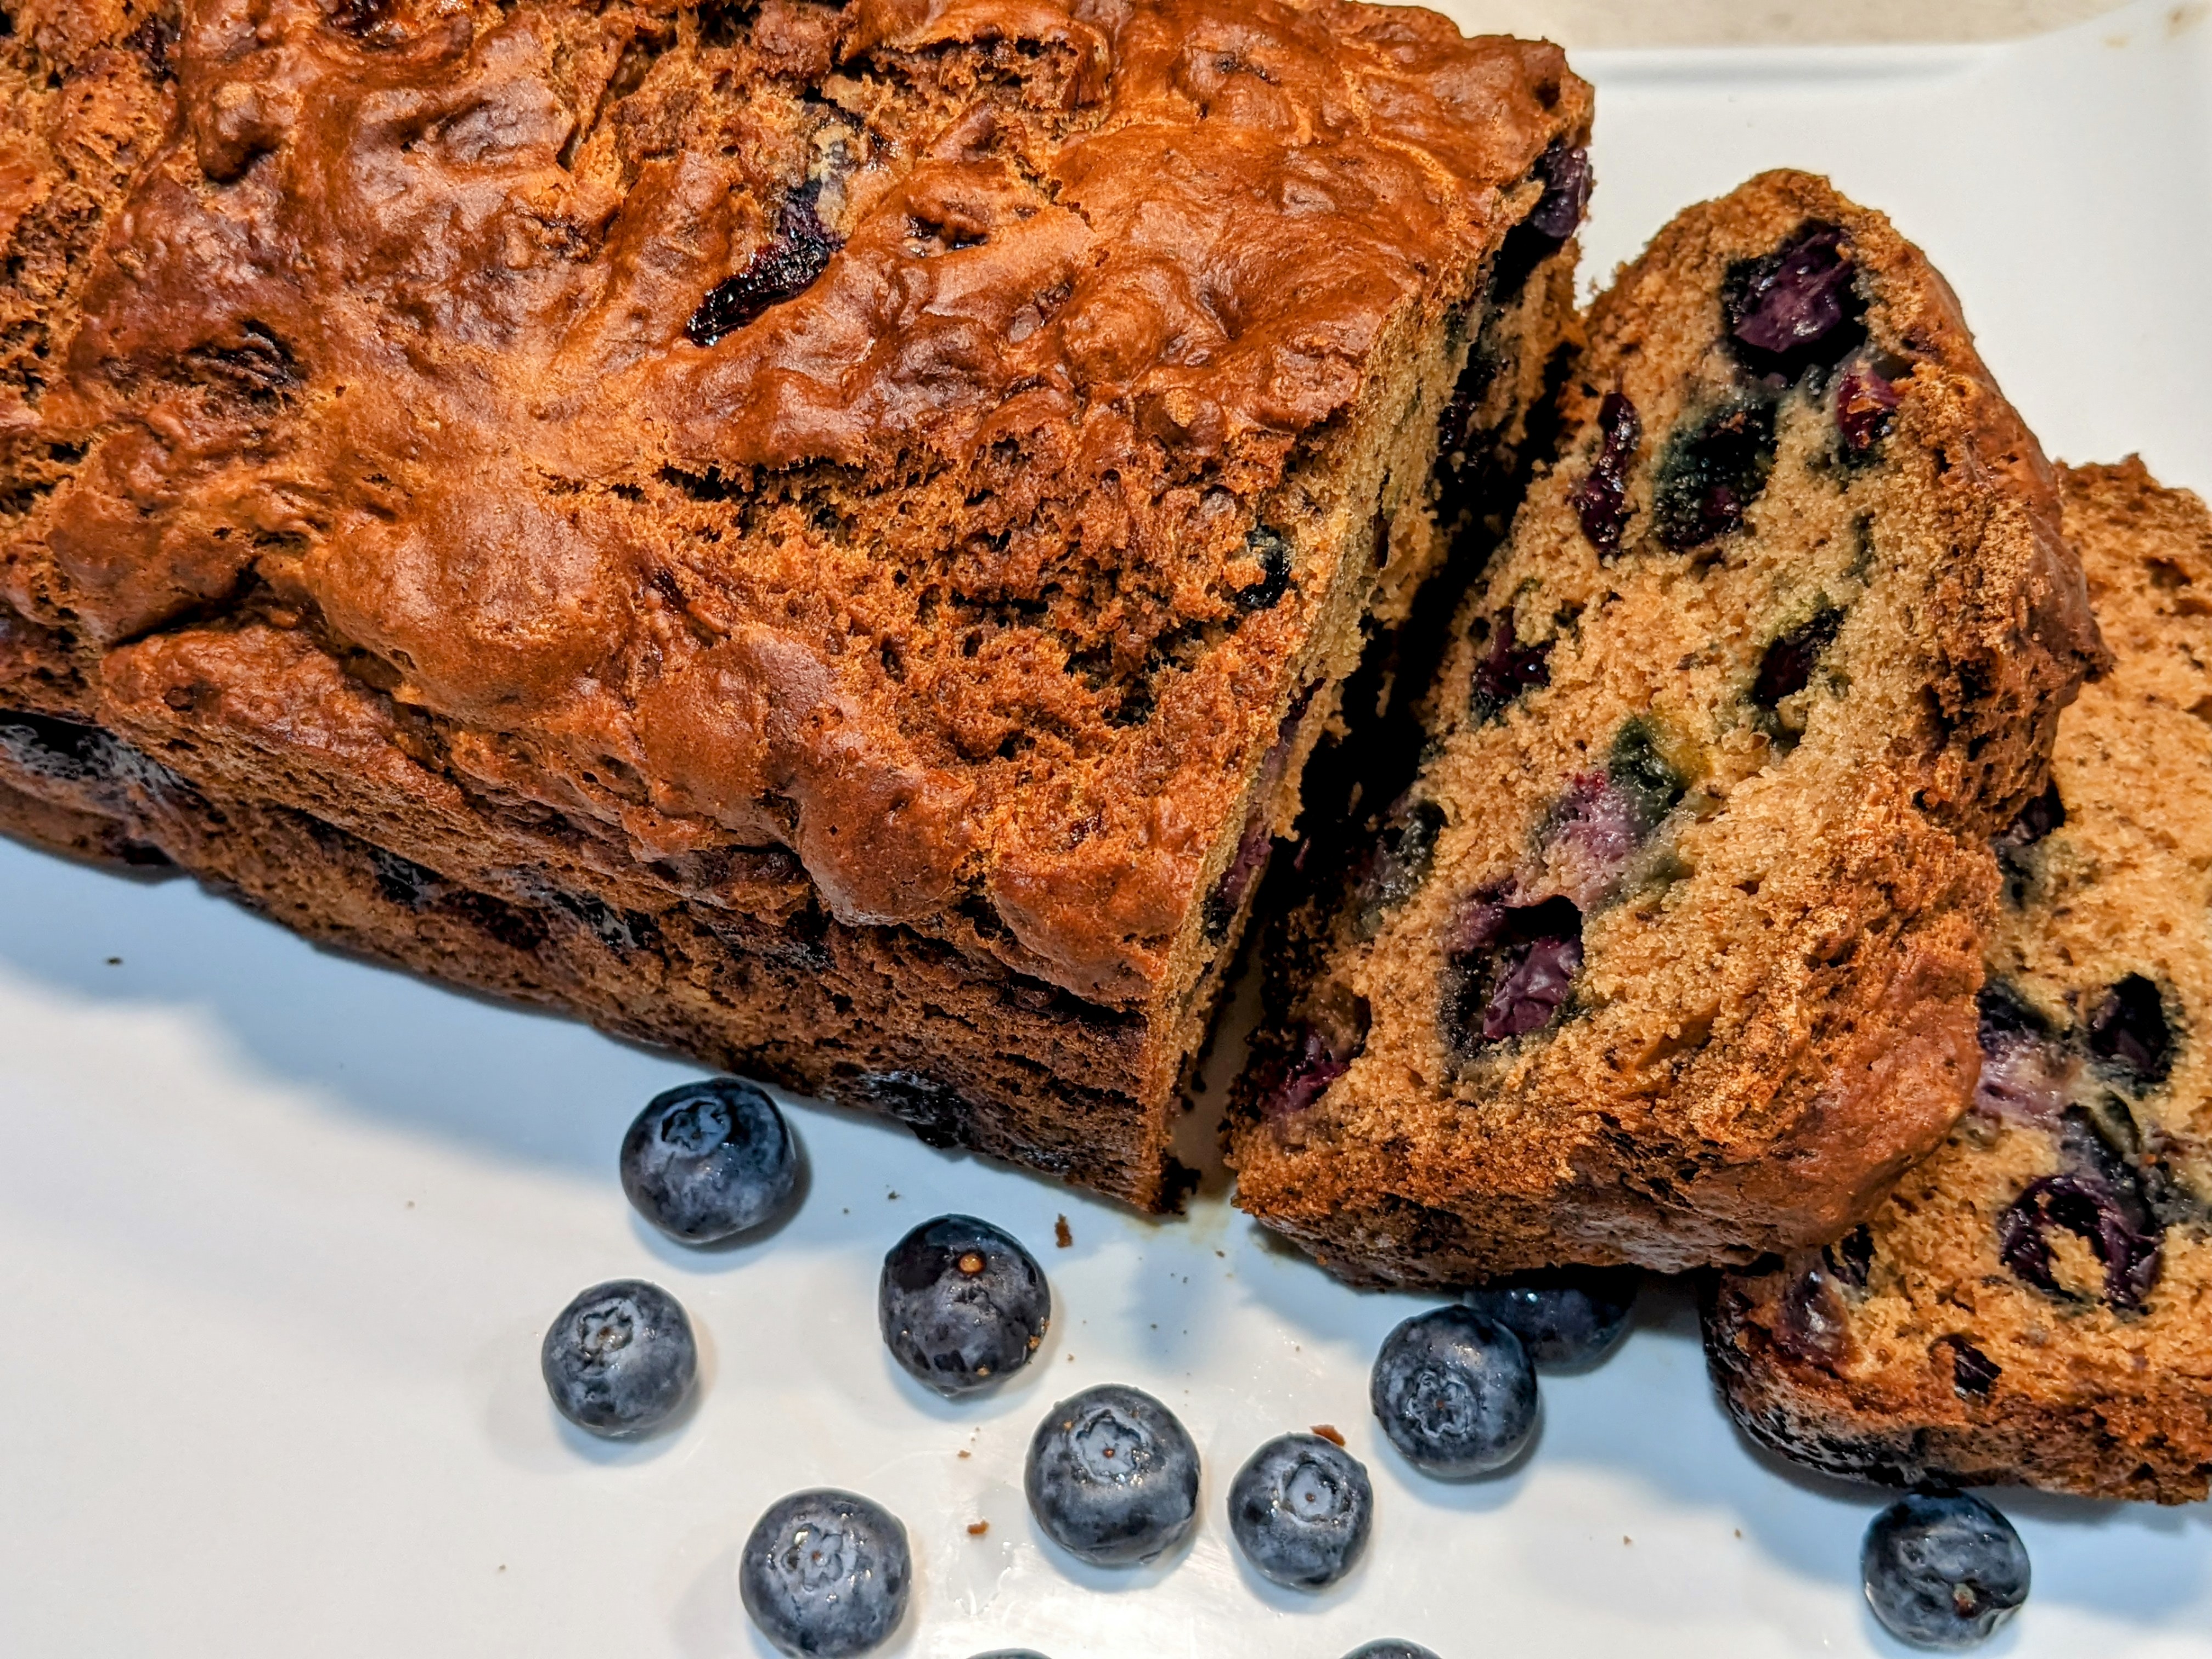
Thick slices to have on their own or with a cup of tea. Chock-full of antioxidant rich blueberries, potassium laden bananas, this yogurt-moistened, blueberry banana bread recipe is a keeper.…
Read More
A popular Christmas treat, these simple and yet, decadent rum balls are a quick, easy add to our Christmas treat or to our Kuswar. Kuswar, derived from the Portuguese term…
Read More
Seriously??!! Yes, 1 minute prep time, 1 minute in the microwave, let it cool a couple of minutes, slice and serve. In less than 4 minutes you have fudge...delicious, finger-licking…
Read More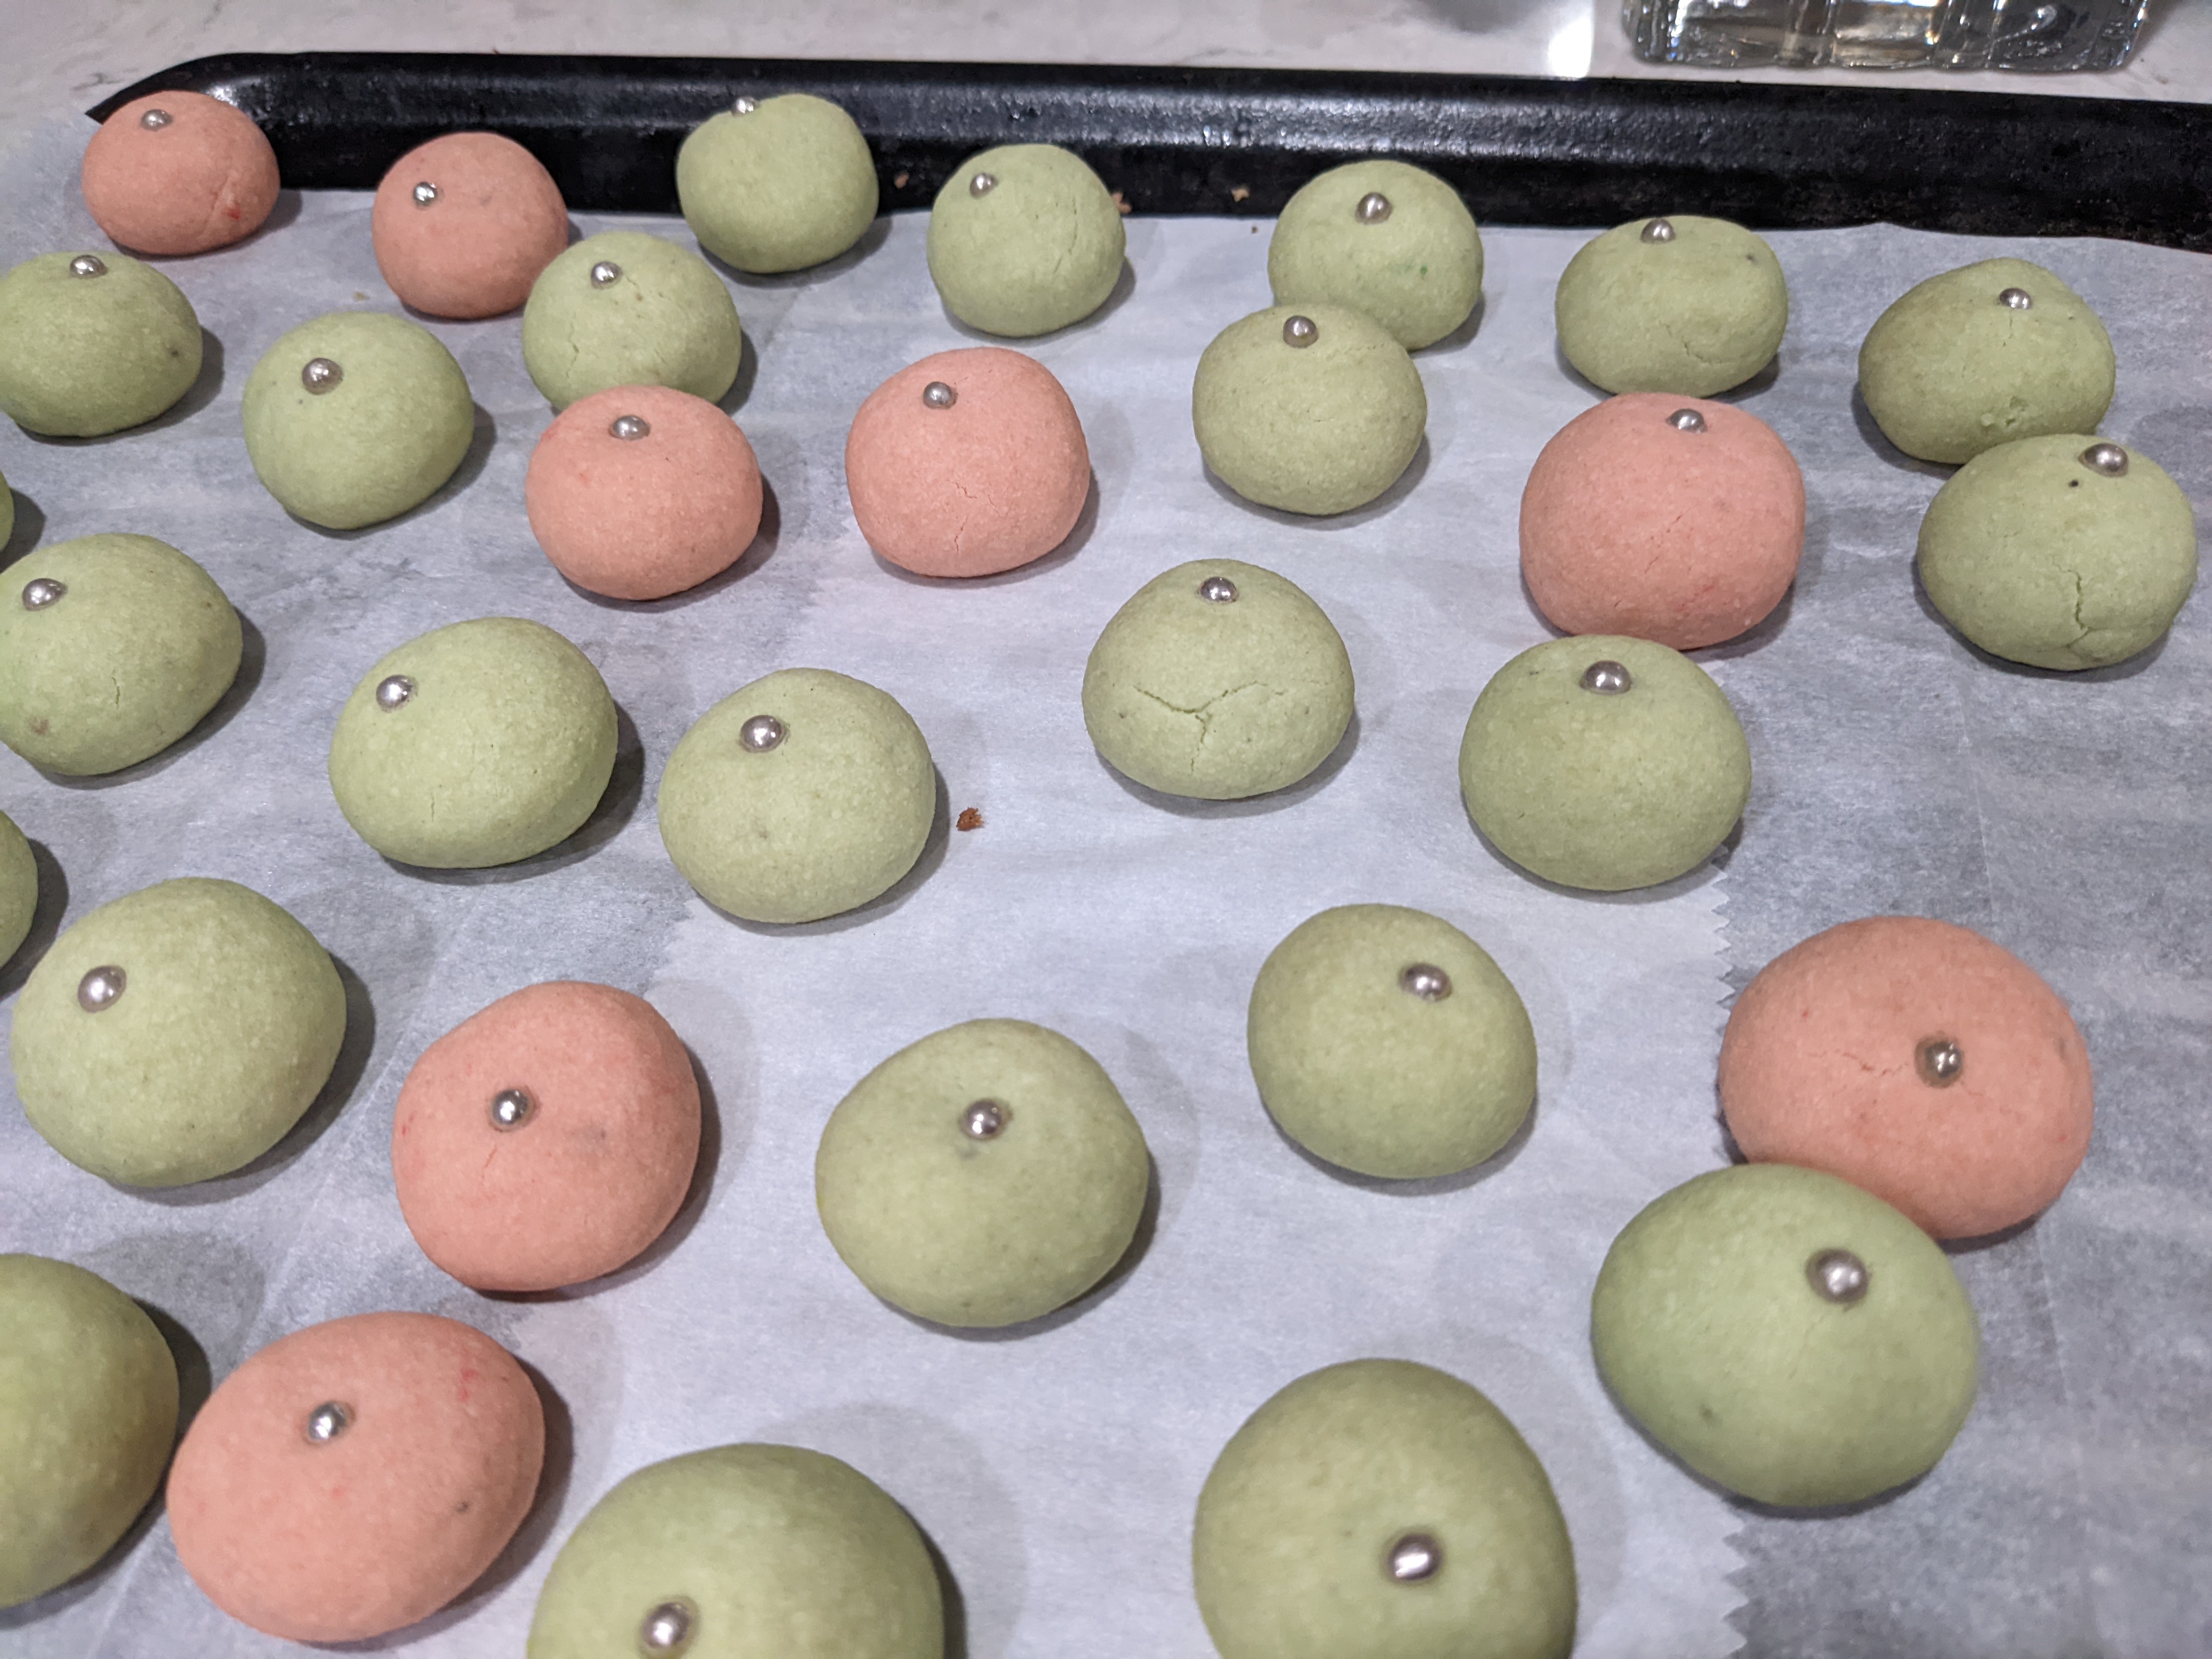
Gearing up for Christmas? This is an easy to make, rich, and such a pretty add to your Christmas platter. This one is from mum's recipe book and also one…
Read More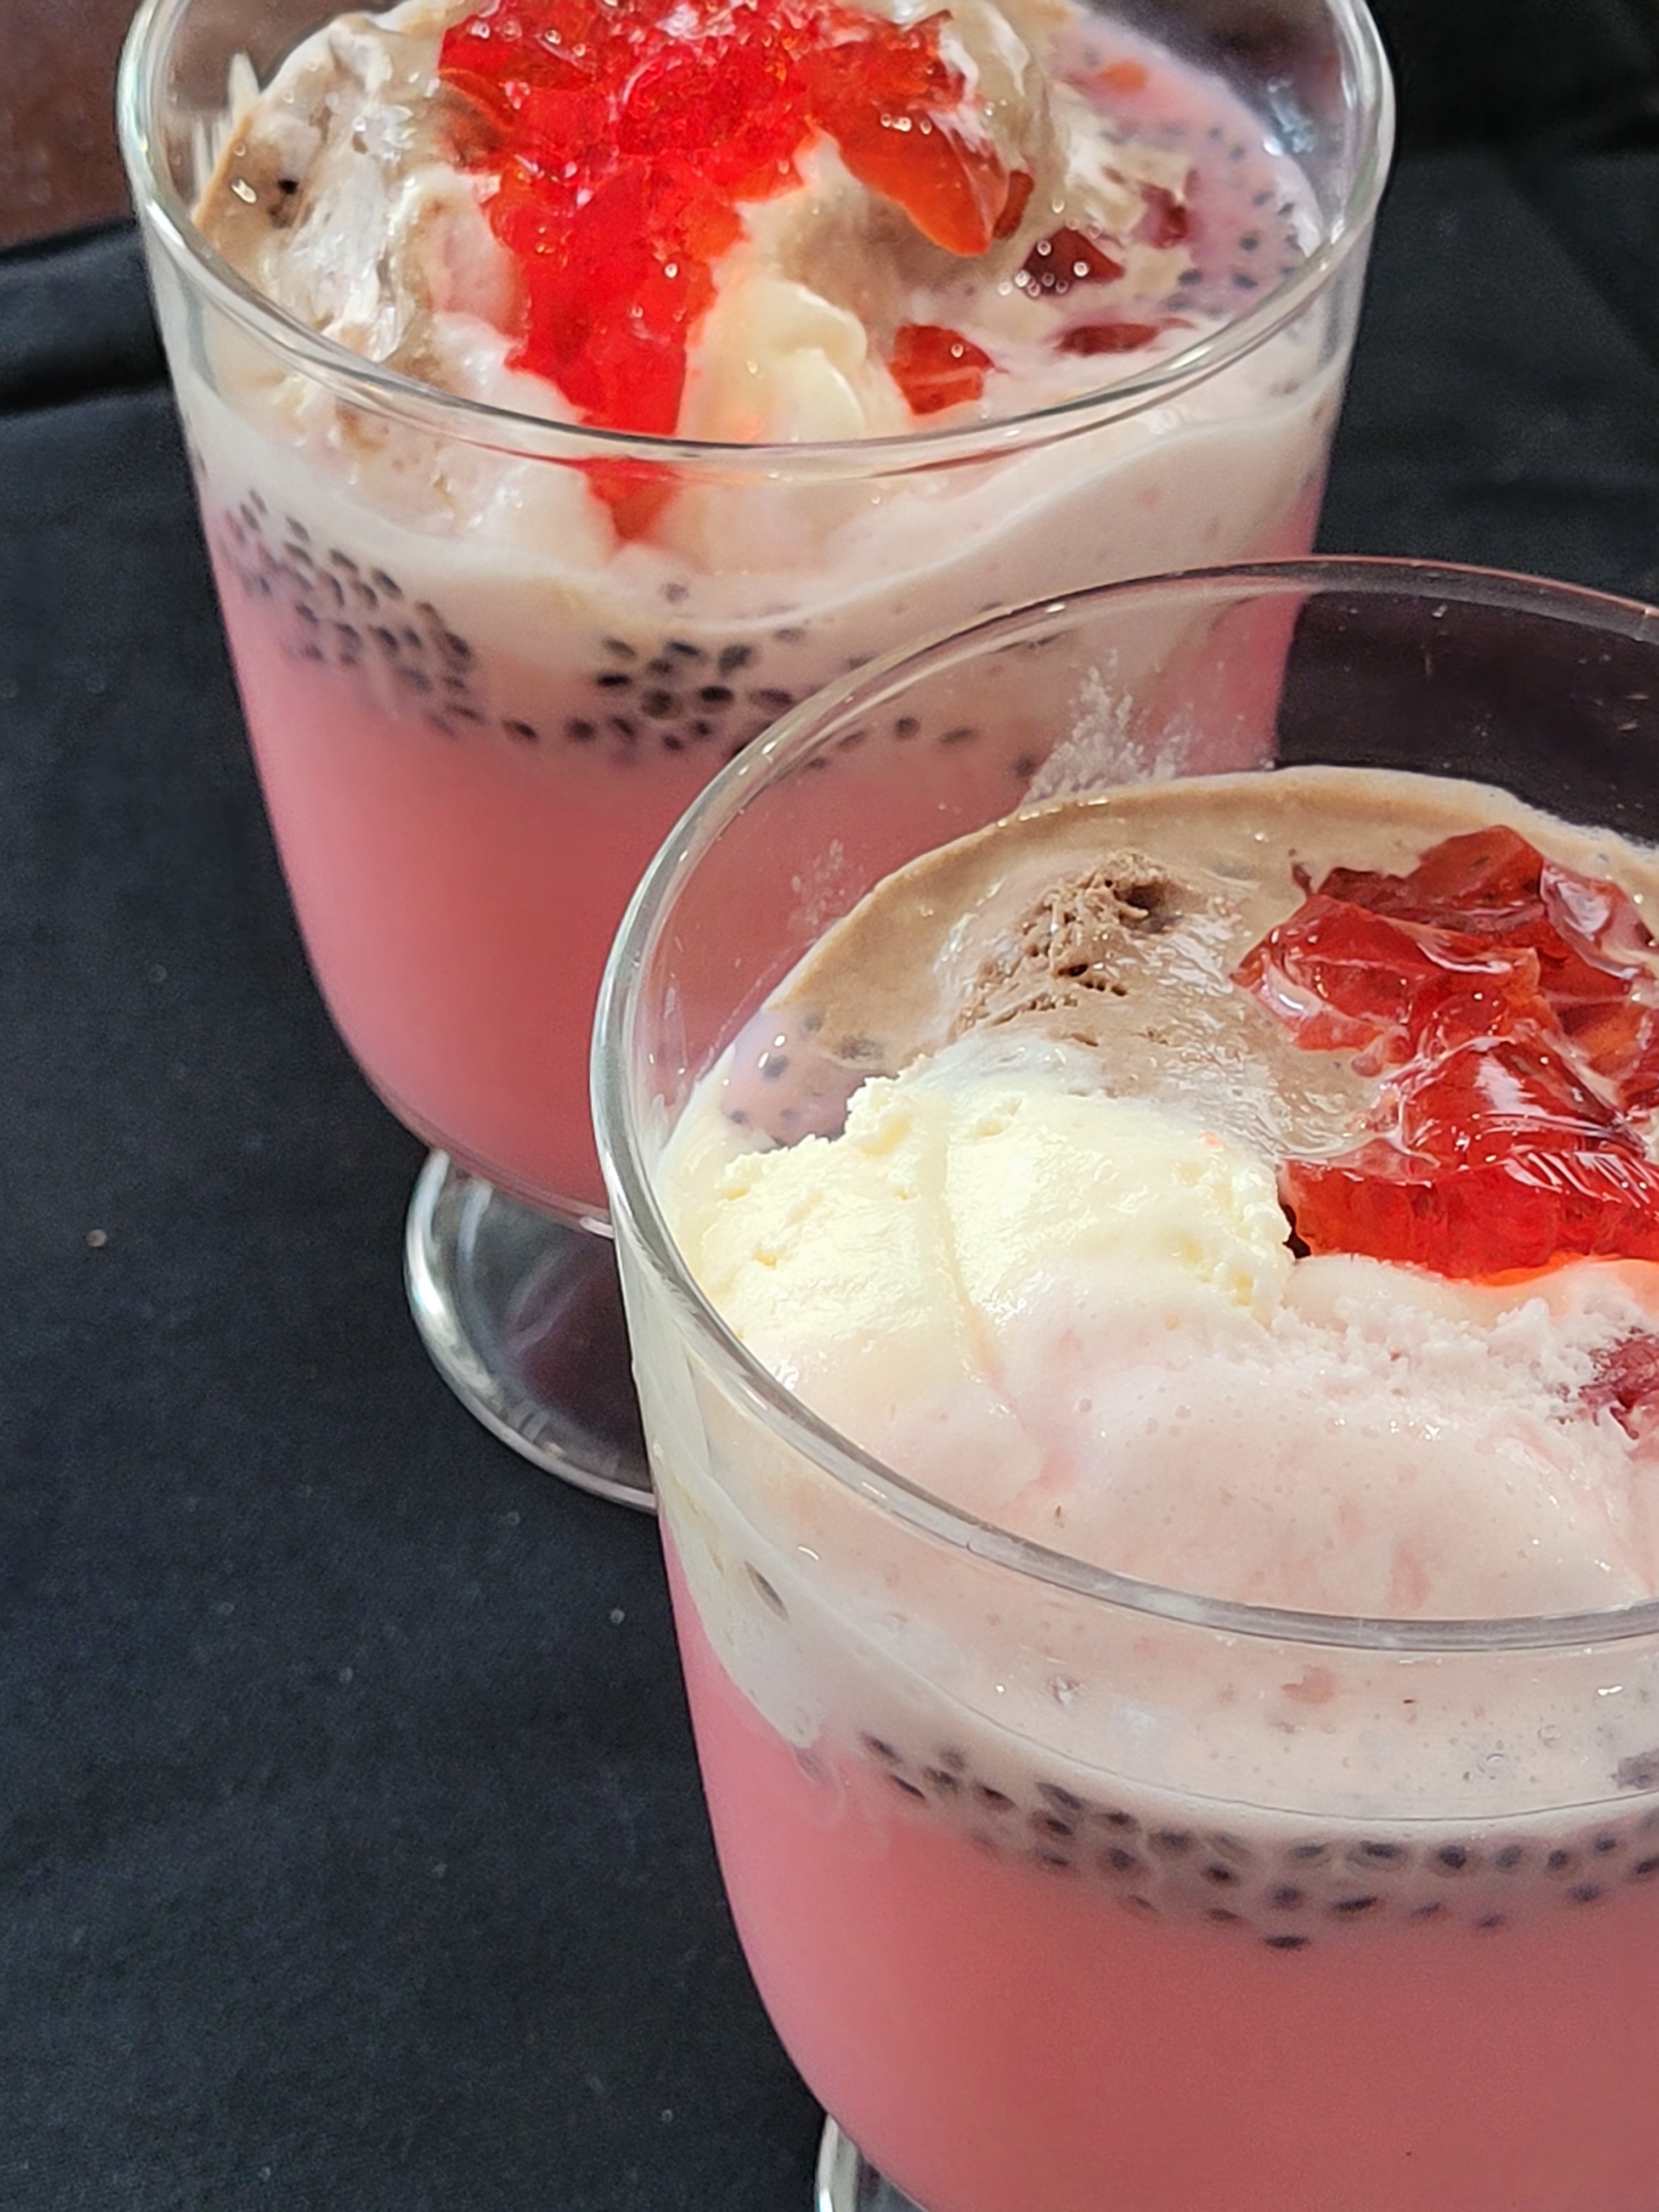

Kalakhand, is the Indian version of milk cake, oozing with the goodness of milk, sugar and nuts. Now there's "easy" and there's "too much effort" when it comes to making…
Read More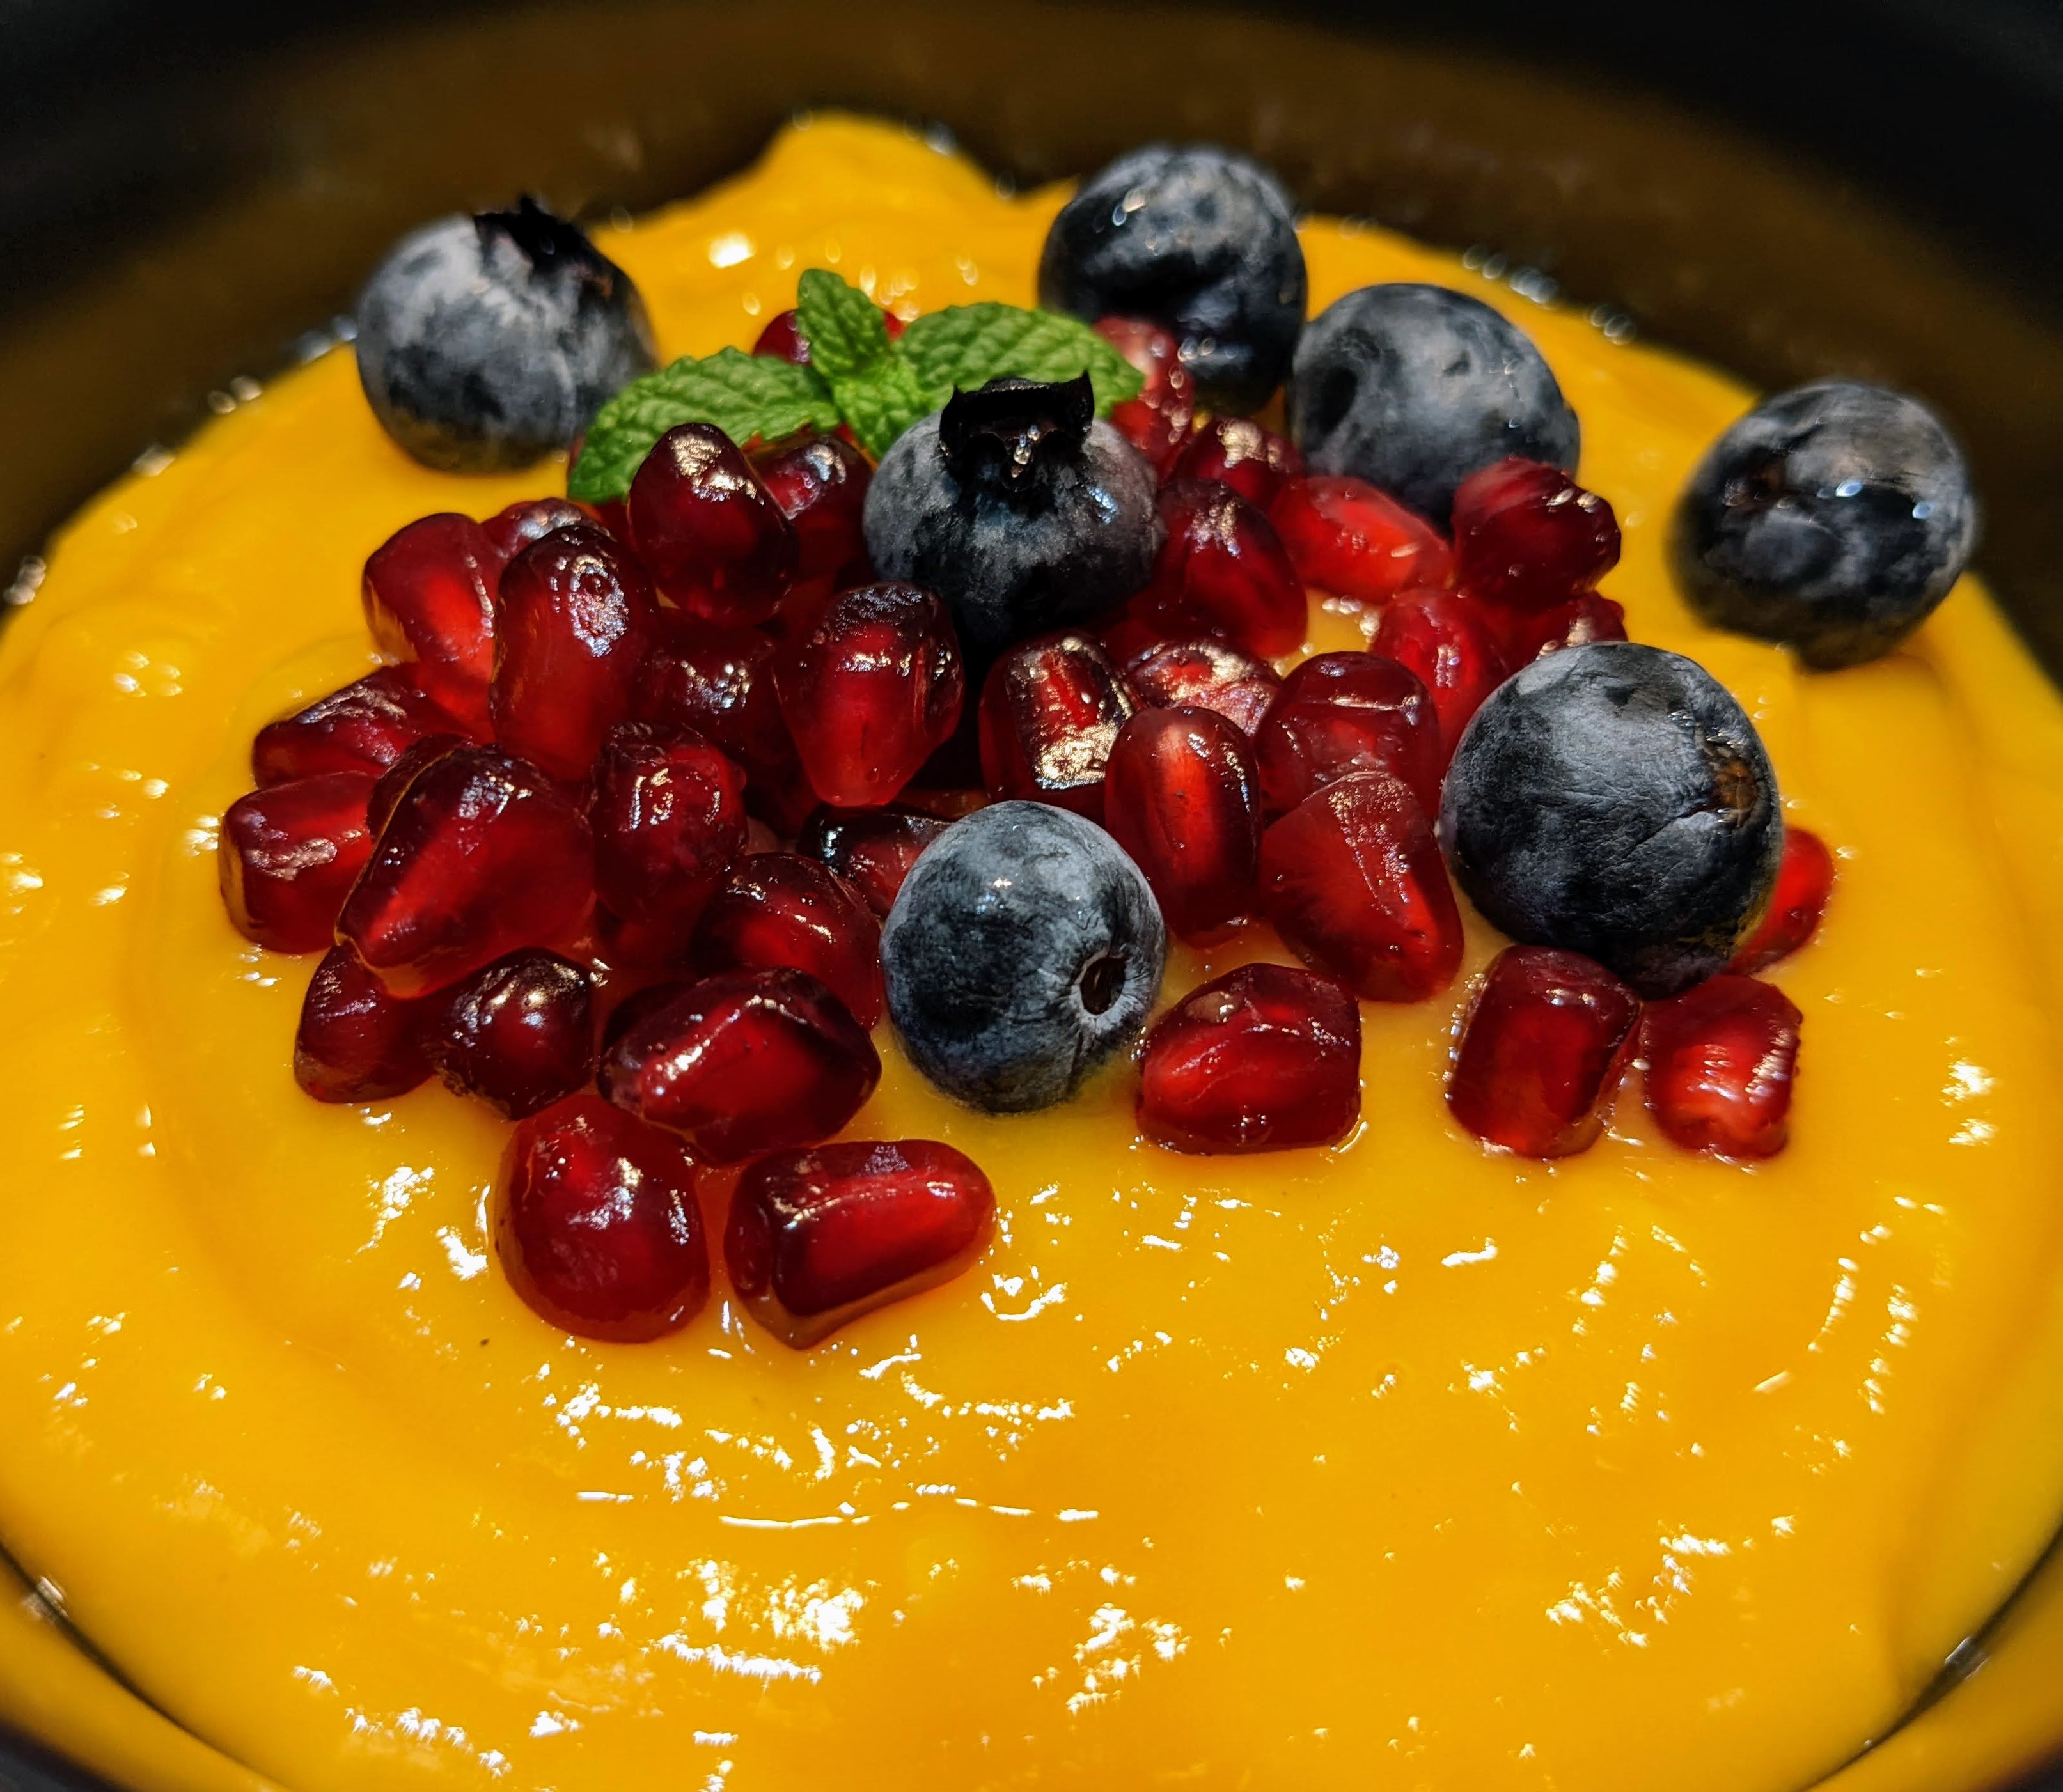
Fruit salad with custard. It was a given that when you went for Goan party, dessert would include a fruit salad with custard. In my home, it's now a nice…
Read More
Granola is an excellent source of fiber and potassium. It's a magical, delicious mix of oats, nuts, dried fruits and maple syrup or honey. Not only is it beloved by…
Read More
Growing up, every birthday party had the most delicious and beautiful homemade cakes. I especially remember a cake in the shape of a multi wagon train with goodies in each…
Read More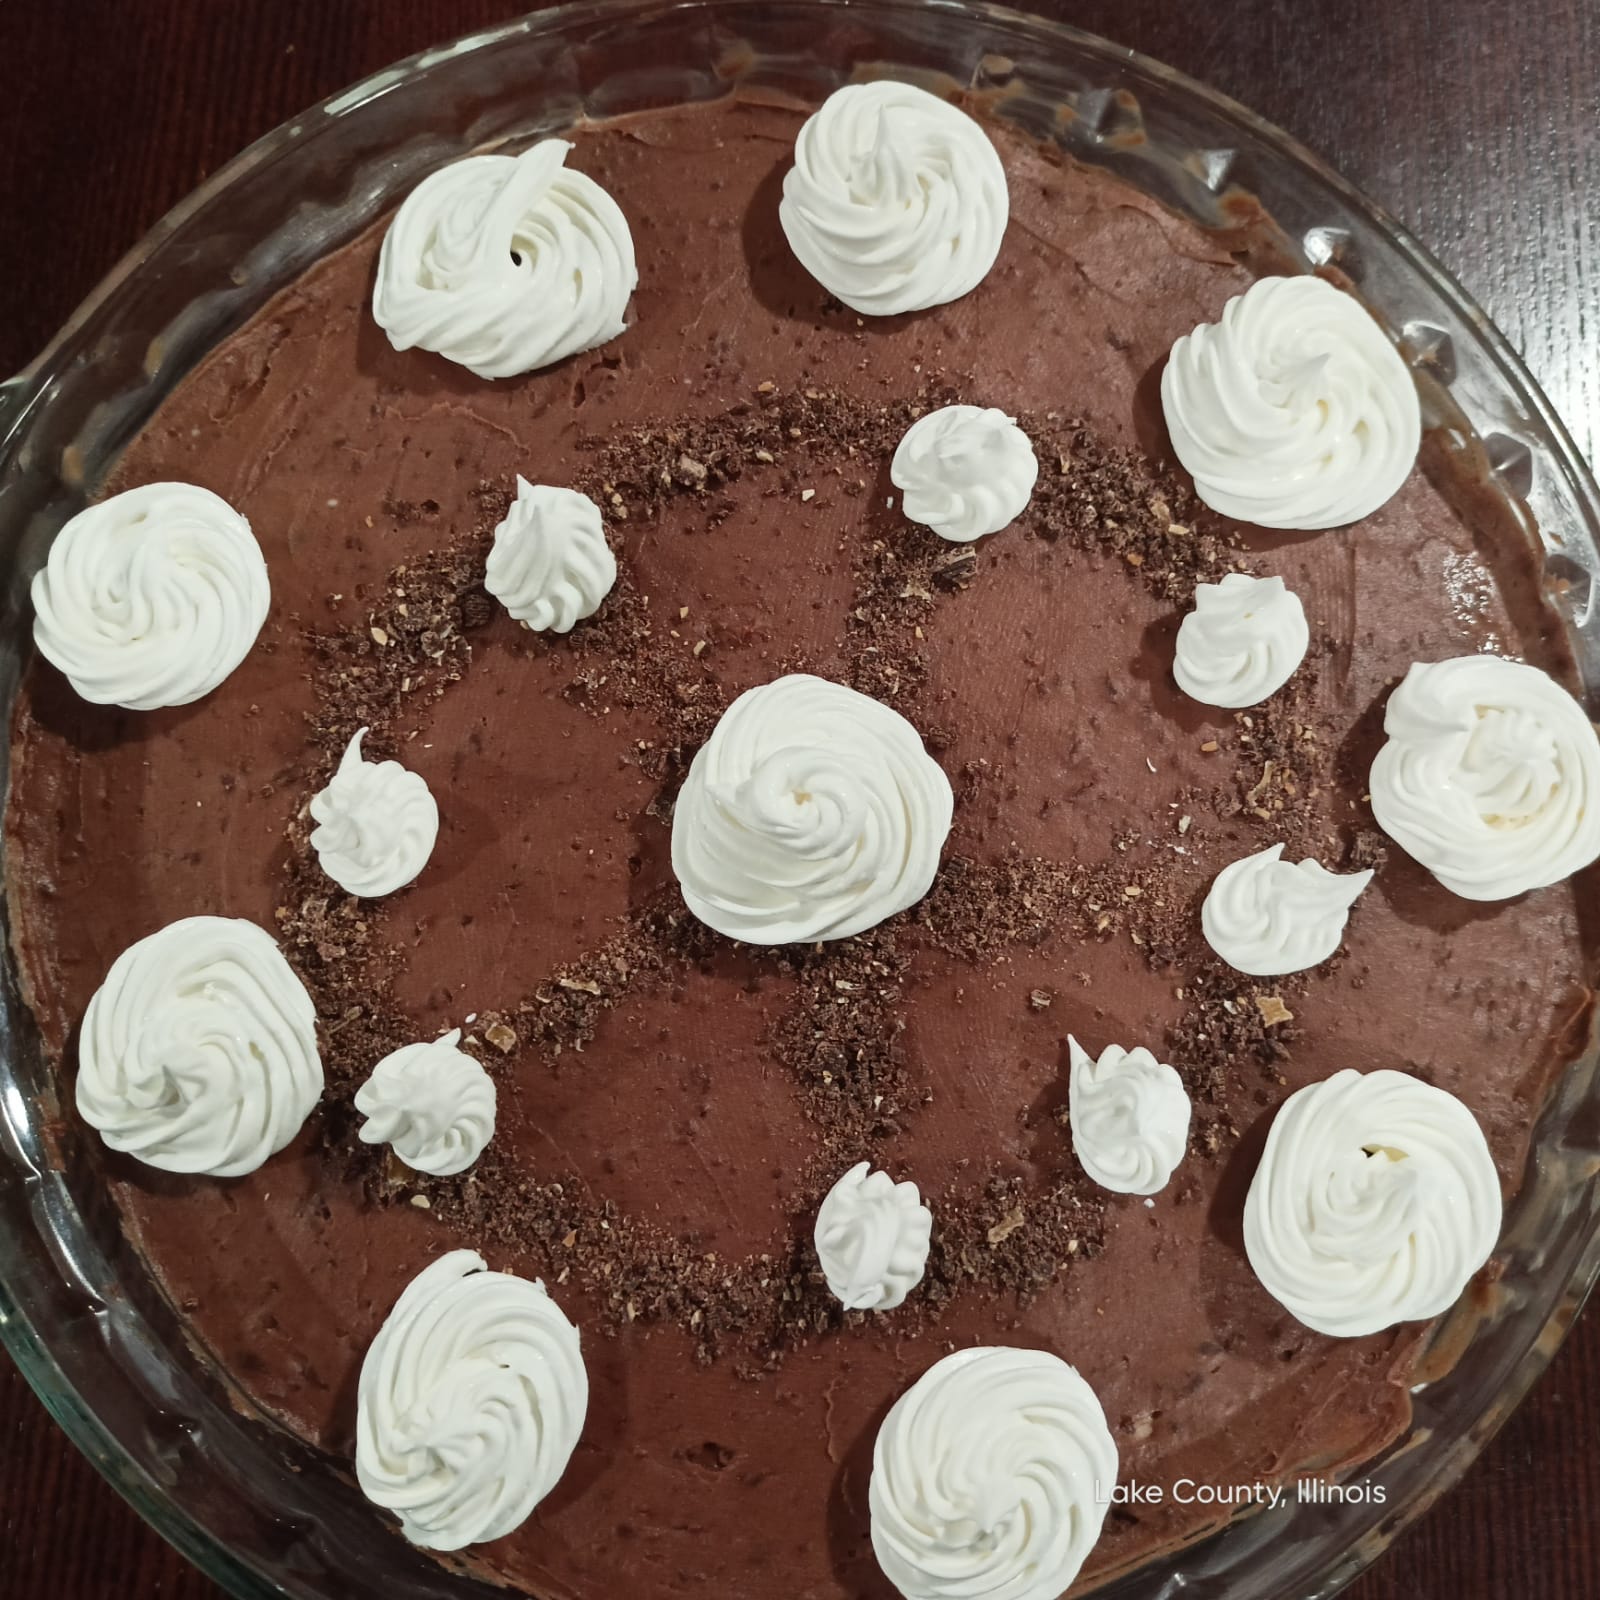
This Father's day turned out to be an unusually special one. My dad is visiting from India (the first time we have him here for Father's day), my mum's cousin…
Read More
If you love mango and tropical flavors, this chia pudding is for you. A combination of coconut milk, combined with chia seeds and mango pulp, makes for a delicious pudding…
Read More
This deliciously sinful, chocolate chia seed pudding is for when those chocolate cravings hit or if you want dessert for breakfast without feeling guilty. This calls for only 5 ingredients…
Read More
Sophie loves her matcha boba tea and was very happy when we made a matcha Chia seed pudding. Not only did the matcha powder give it it's beautiful green color,…
Read More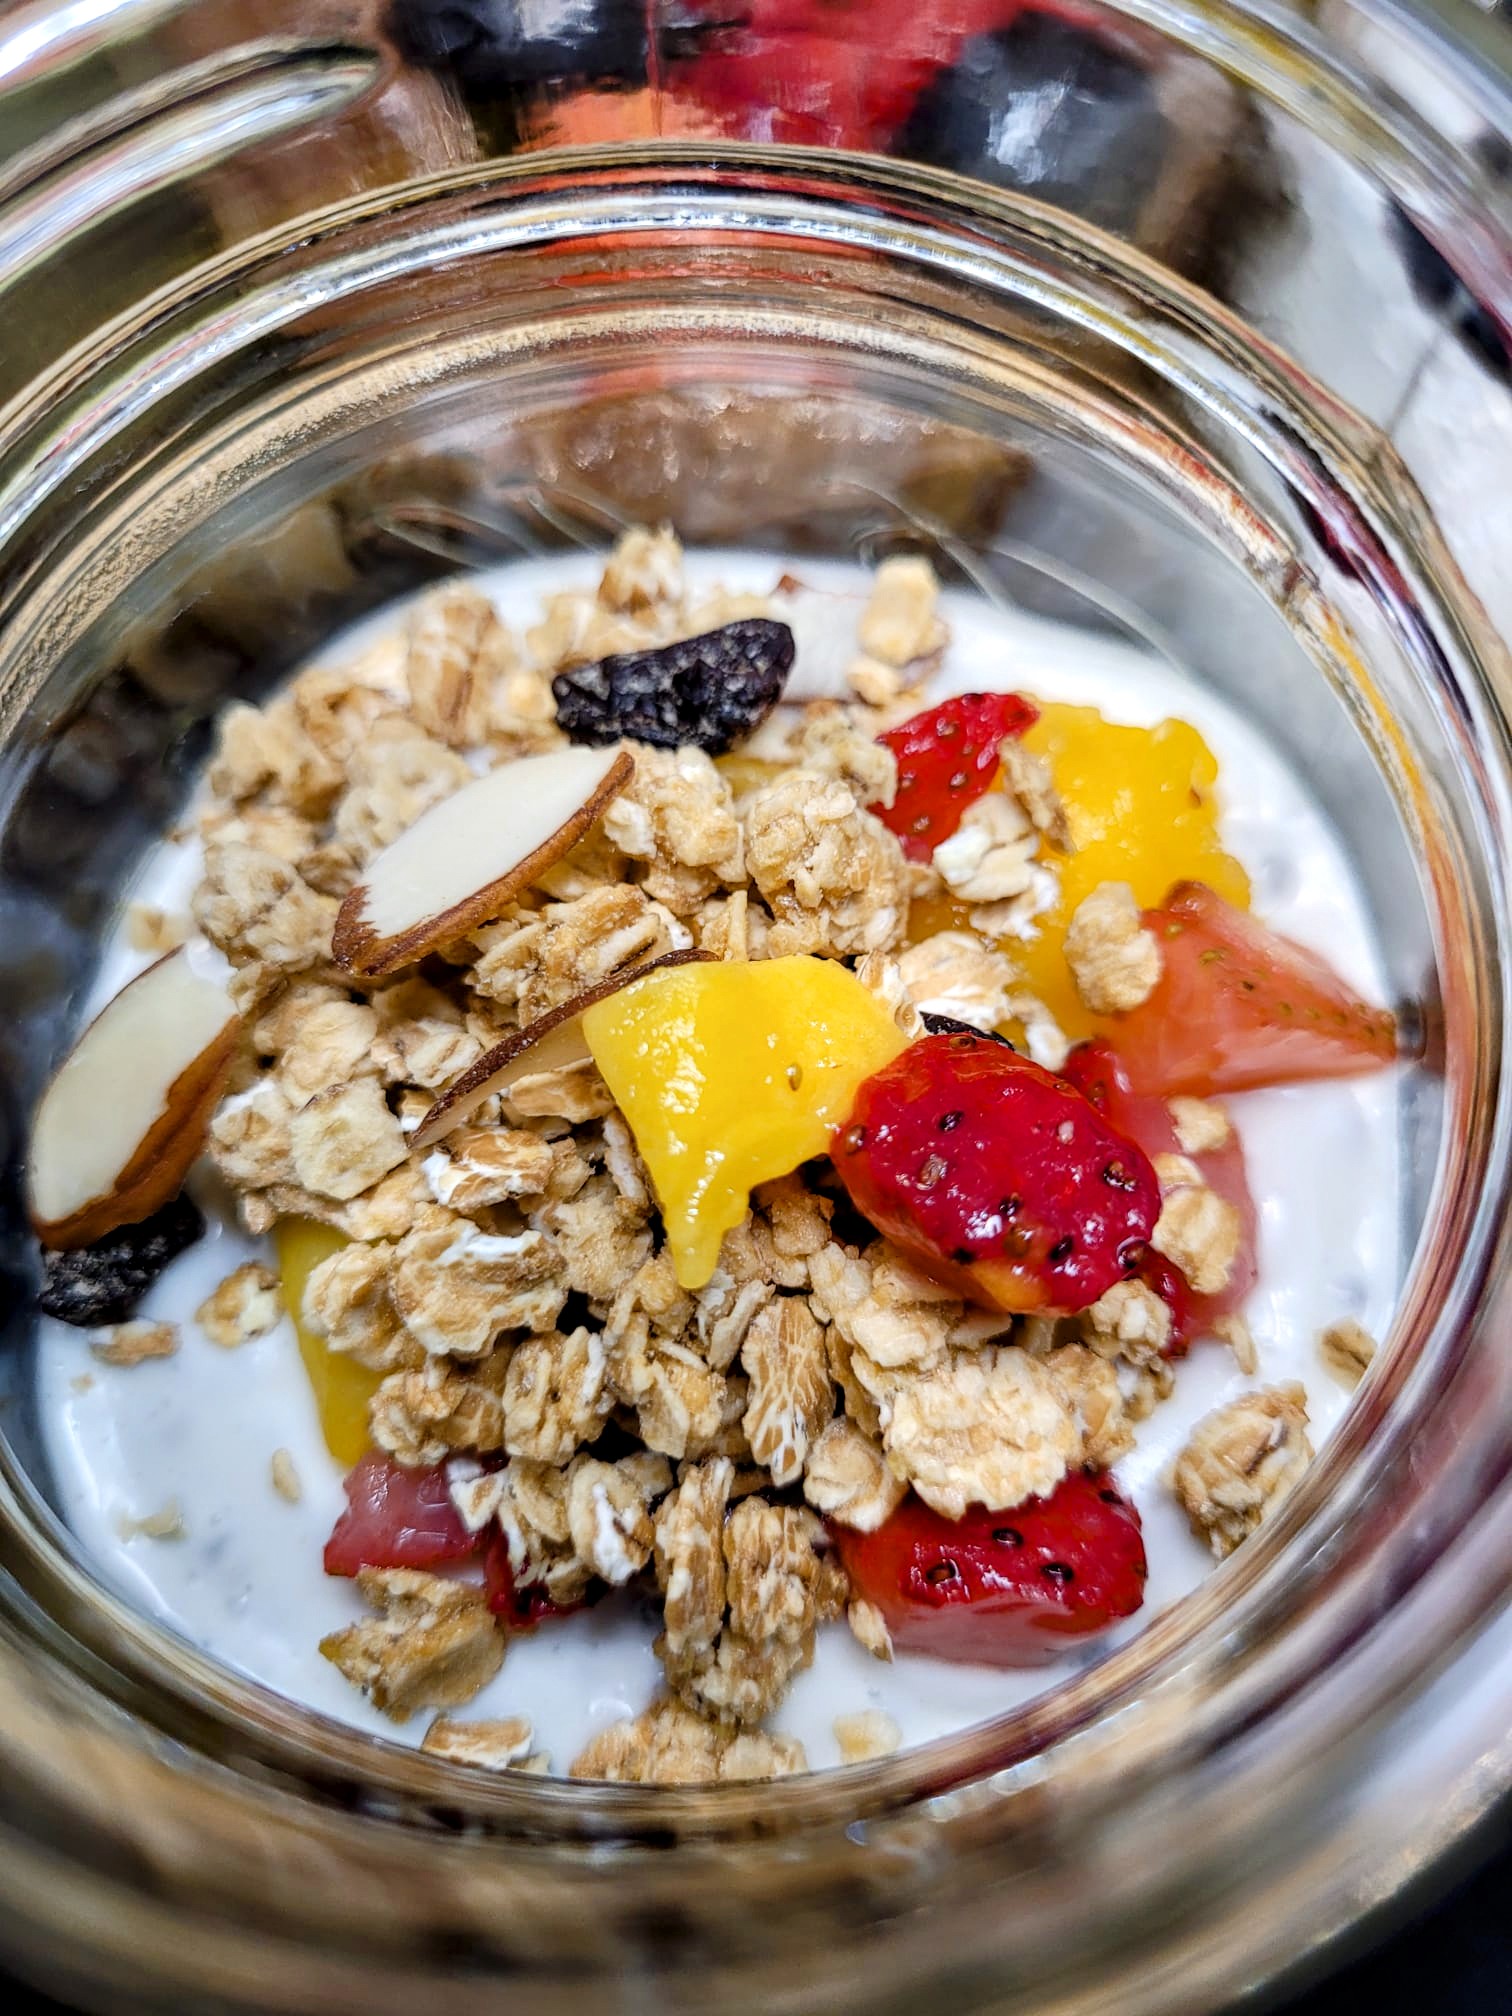
Something I always struggle with is what to eat as a snack or have ready for breakfast for the kids to grab quickly before school. This chia seed pudding fits…
Read More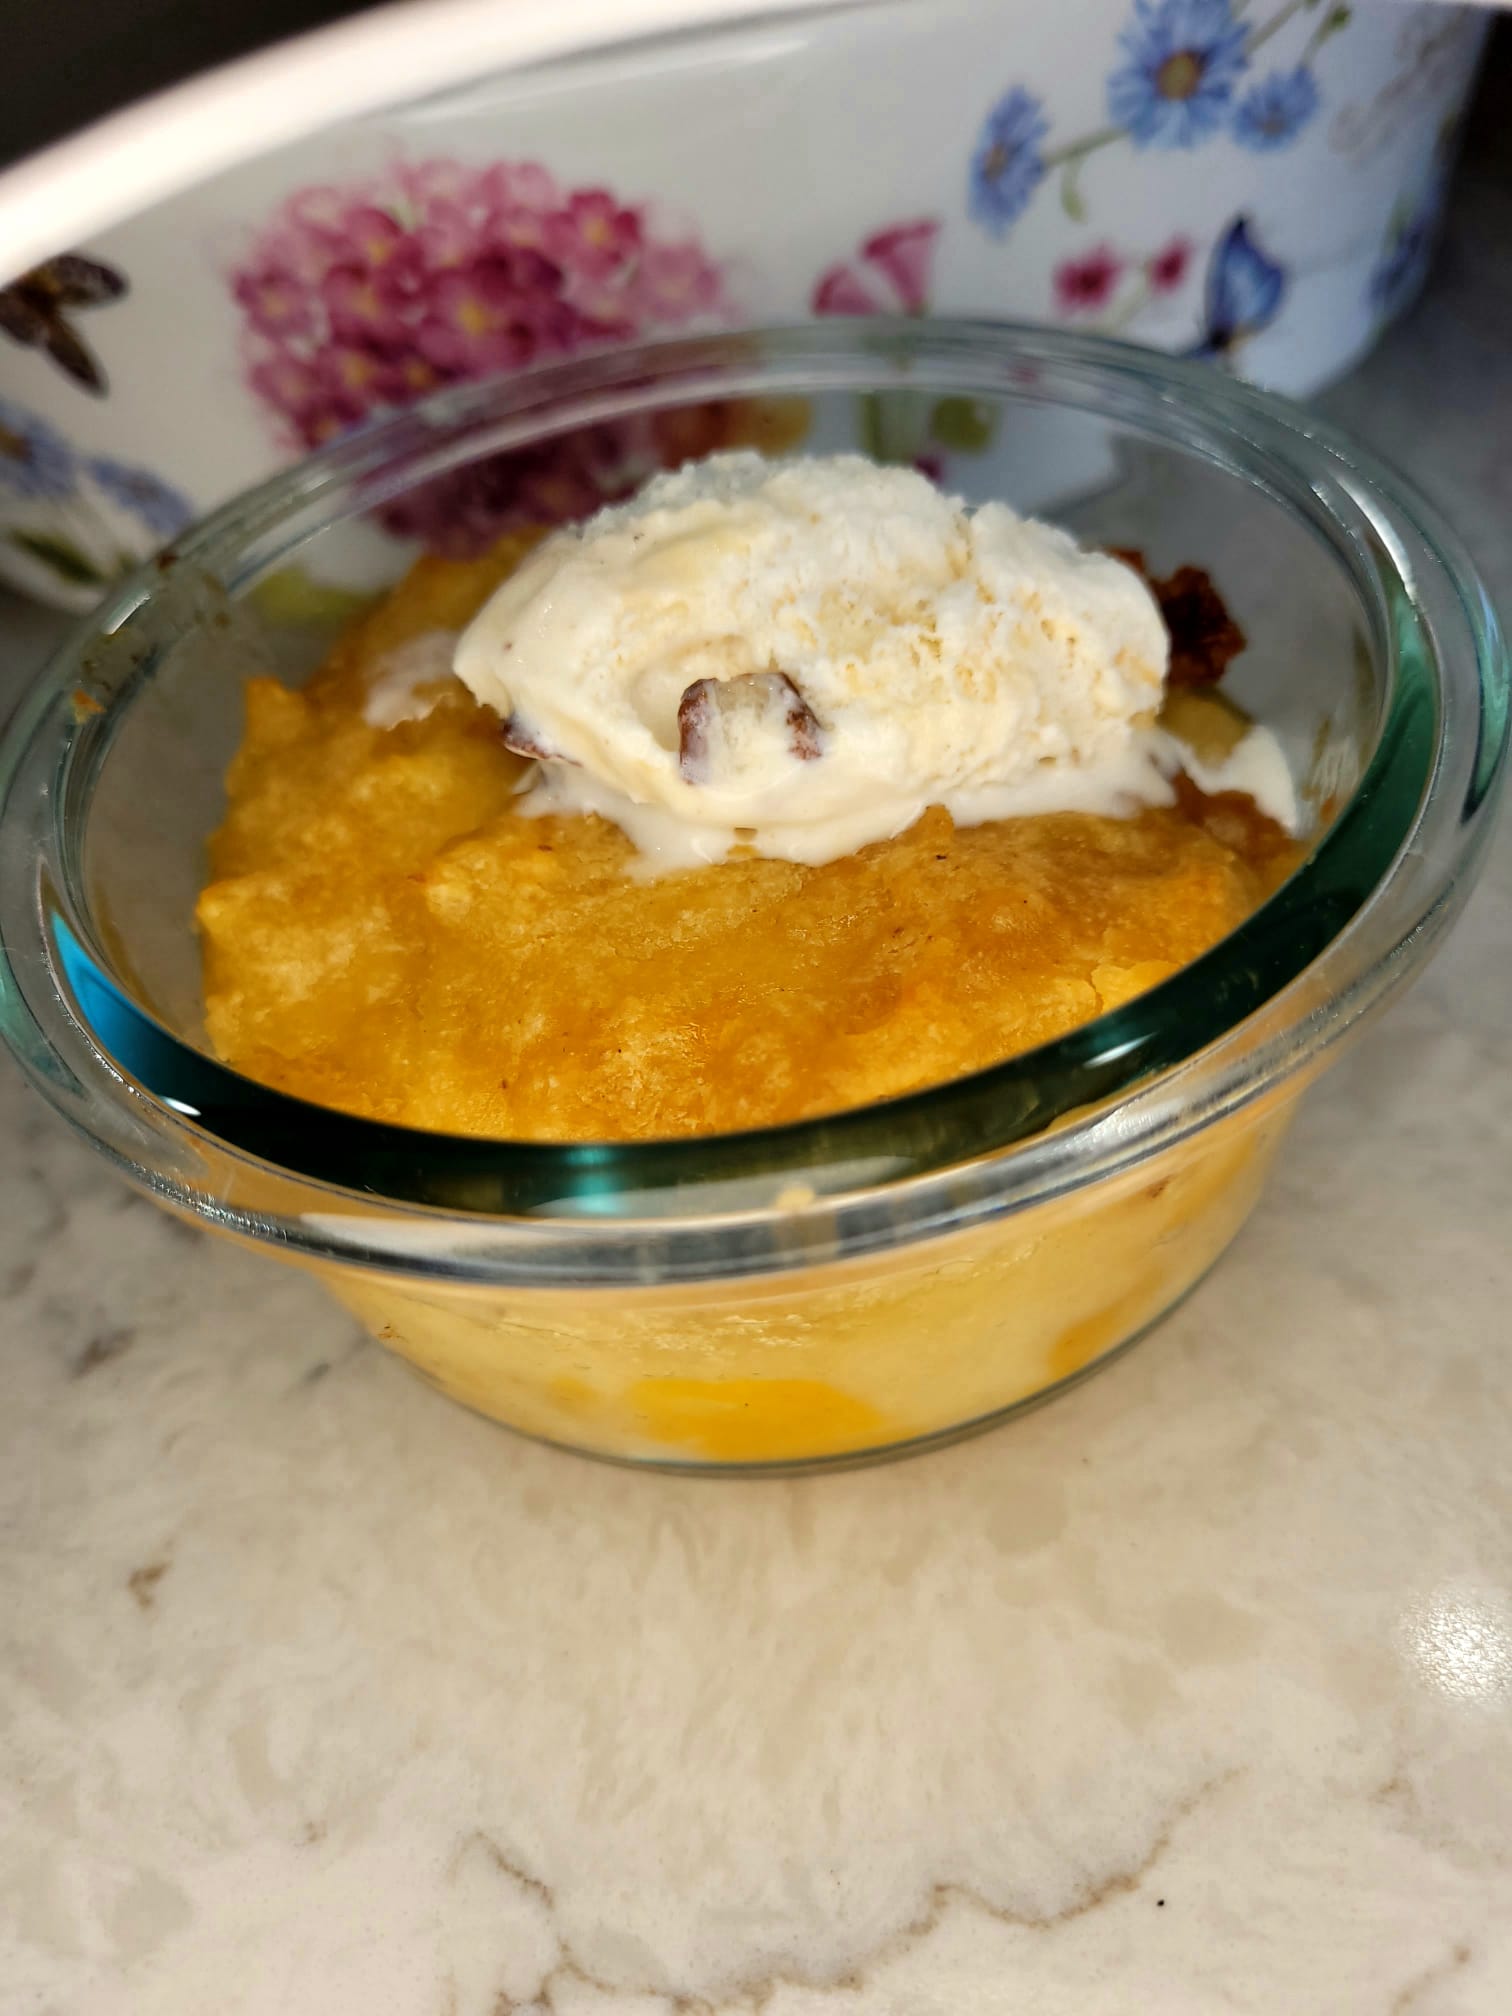
This is one of the easiest desserts you can make and I guarantee, it will be a hit. This super-simple, 4-ingredient peach cobbler is always polished off at parties. So…
Read More
Easy instructions for a clean-ingredient, simple yet finger-licking made-at-home caramel sauce. I have fond memories of my classmate Jaya - two braids with blue-ribbons - the school-house color. She was…
Read More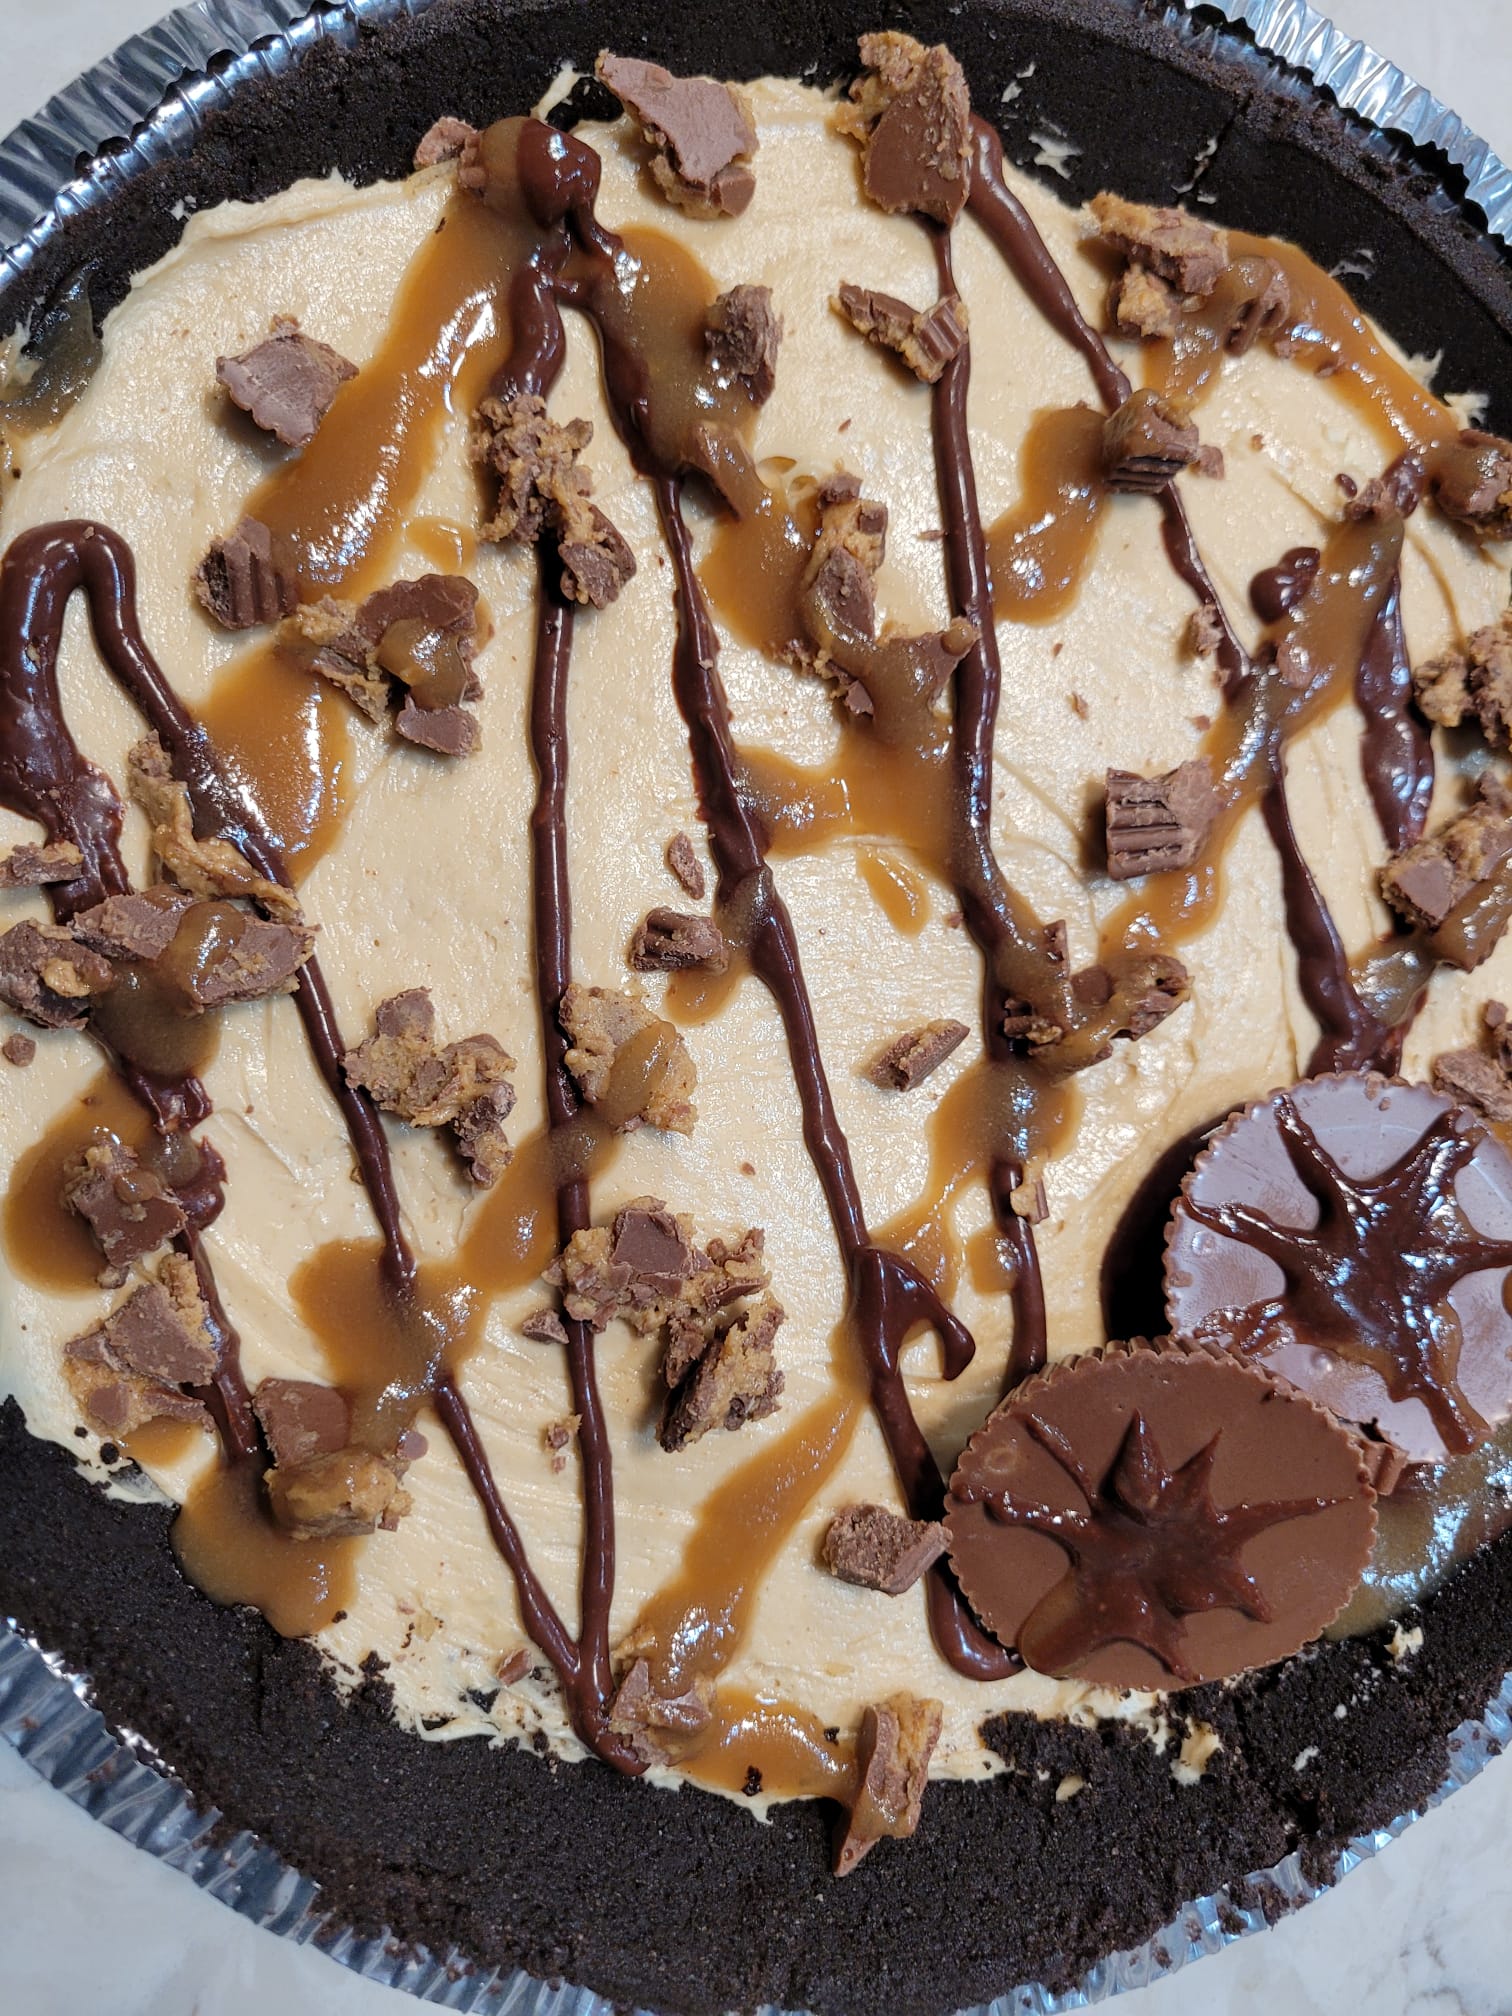
We love desserts in this home. Chocolate is a favorite but just about anything goes. So, quick desserts are always welcome. Around Thanksgiving, Sean enthusiastically announced he was competing in…
Read More
Nothing entices kids more than the sound of the ice-cream truck on a hot summer day. In India, that sound was the ringing of a bell, as the kulfi cart…
Read More