
Protein packed Beet, Orange Ginger smoothie
Looking for a smoothie that’s as vibrant as it is nourishing? This bold blend of beets, creamy ricotta cheese, zesty orange juice, spicy ginger, and antioxidant-rich blueberries is anything but…
Read More
Looking for a smoothie that’s as vibrant as it is nourishing? This bold blend of beets, creamy ricotta cheese, zesty orange juice, spicy ginger, and antioxidant-rich blueberries is anything but…
Read More
A lion cub that regaled us with his antics The graceful giraffe A family of elephants emerging from their mud-bath Three brothers, unperturbed by our presence Don't move, for a…
Read More
As a parent sending my first kid off to college, I was bombarded with things I was “supposed” to buy for his dorm room — and it was so easy…
Read More
✈️Traveling can be one of the most exciting experiences, especially for teens who are ready to explore new places and make unforgettable memories. But before you set off, it's important…
Read More
🔥 Smoky. Spicy. Comforting.My take on Baingan Bharta—a North Indian classic where roasted eggplant gets mashed and simmered with garlic, onions, tomatoes, and warm spices. The result? A rich, smoky…
Read More
Kickstart your morning with a burst of energy and flavor by trying this healthy Blueberry Banana Overnight Oats recipe! Packed with fiber, antioxidants, and natural sweetness, it’s the perfect make-ahead…
Read More
Looking for a family vacation that excites your teens and creates lasting memories? We picked Costa Rica because it truly is a dream destination. With its lush rainforests, epic zip…
Read More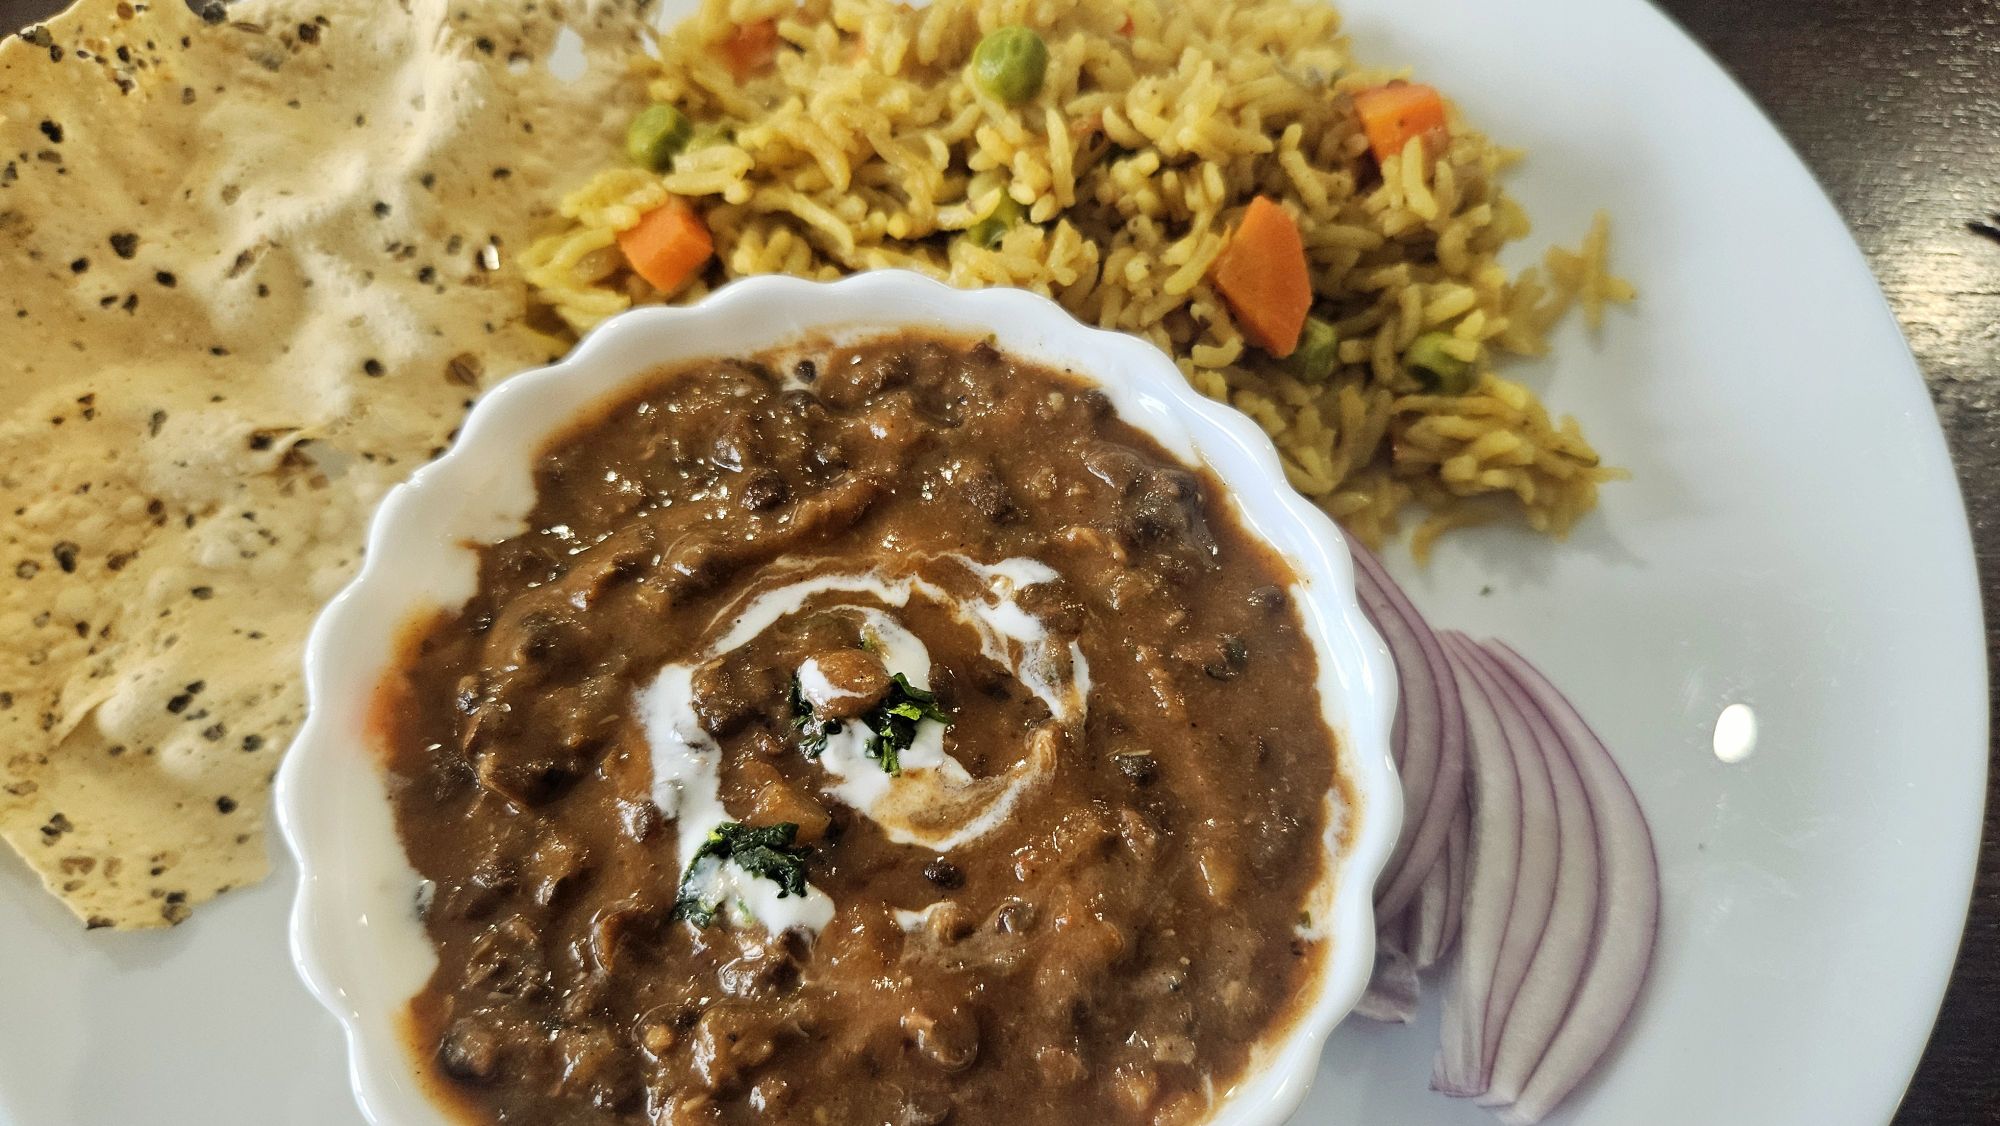
The Ultimate Creamy Dal Makhani (Without the Guilt!) If you love a rich, creamy, and deeply comforting bowl of Dal Makhani but want to keep things on the healthier side,…
Read More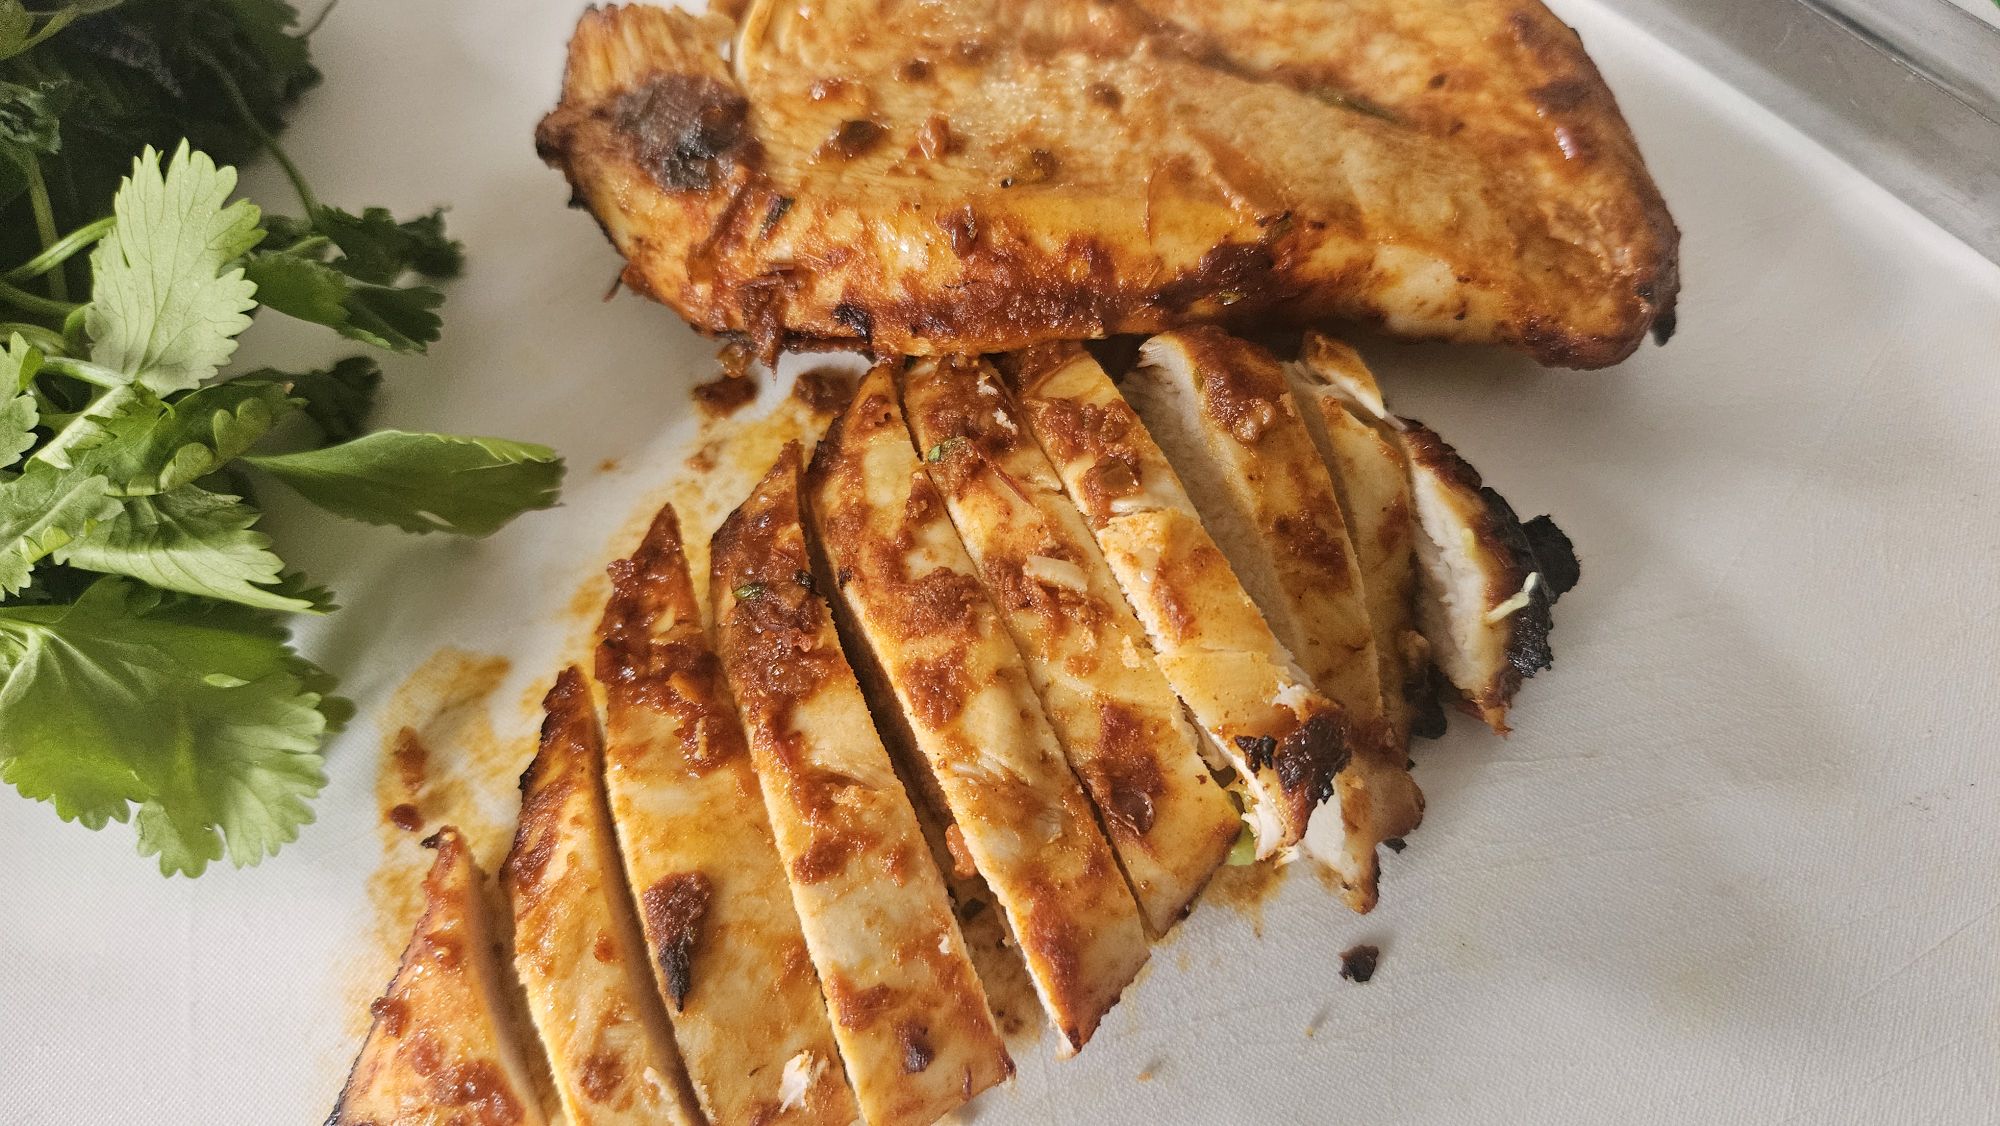
As someone who’s always looking to streamline weeknight meals, meal prepping is a game-changer. Marinating chicken, soaking and cooking beans, and prepping vegetables ahead of time allow me to quickly…
Read More
Looking for a bright, refreshing, and slightly spicy dish to elevate your meals? This Zesty Corn Salsa is packed with crisp veggies, a citrusy zing, and just the right amount…
Read More
If there’s one dish that always steals the show at gatherings, it’s my friend Prafulla's bold, flavorful, and perfectly broiled salmon. Whether served on toast, crackers, over a salad, or…
Read More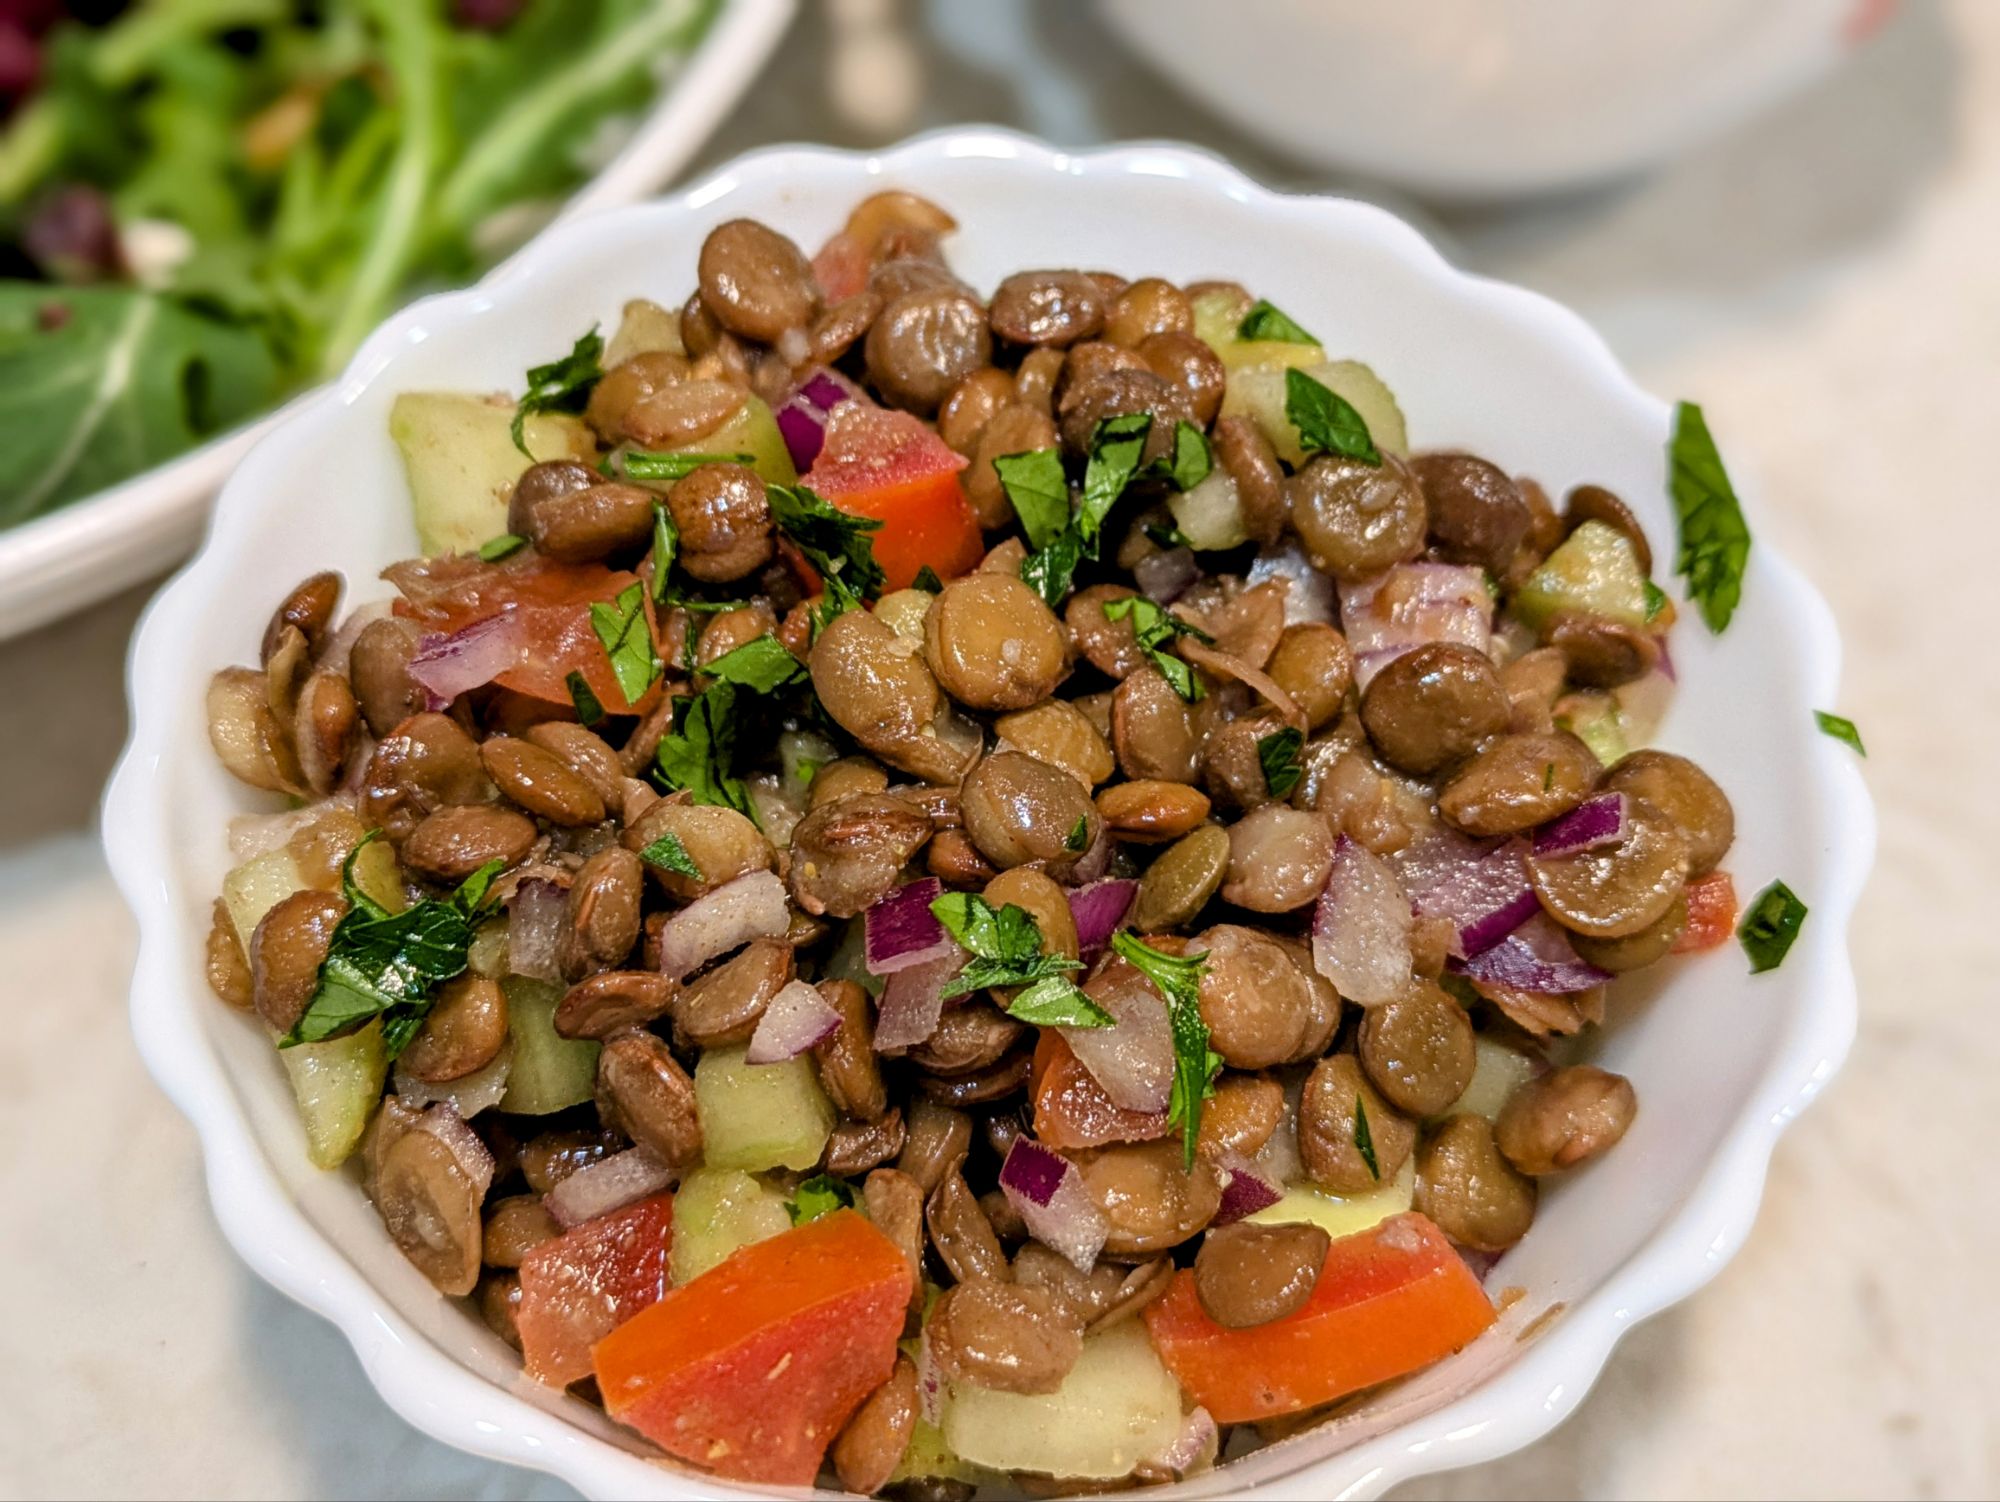
Discover the Delicious Green Lentil Salad We Fell in Love with in Istanbul Have you ever tasted something so delicious that you couldn’t stop thinking about it? That’s exactly what…
Read More
If you’ve never had Potato Chops, you’re in for a delicious surprise! These golden, crispy patties are stuffed with a spiced meat filling, coated in breadcrumbs, and fried to perfection.…
Read More
For as long as we can remember, Sunday lunches were always special when we were growing up. And that's something we have tried to do with our kids. We usually…
Read More
Healthy and chocolate mousse don't go together, or do they? If you’re craving a rich and creamy chocolate dessert but want something lighter and packed with goodness (vegan to boot),…
Read More
Easy weeknight recipe. Looking to elevate your weeknight dinner with bold flavors? This spiced chicken thigh recipe with vibrant chimichurri sauce delivers the perfect combination of heat, crunch, and herby…
Read More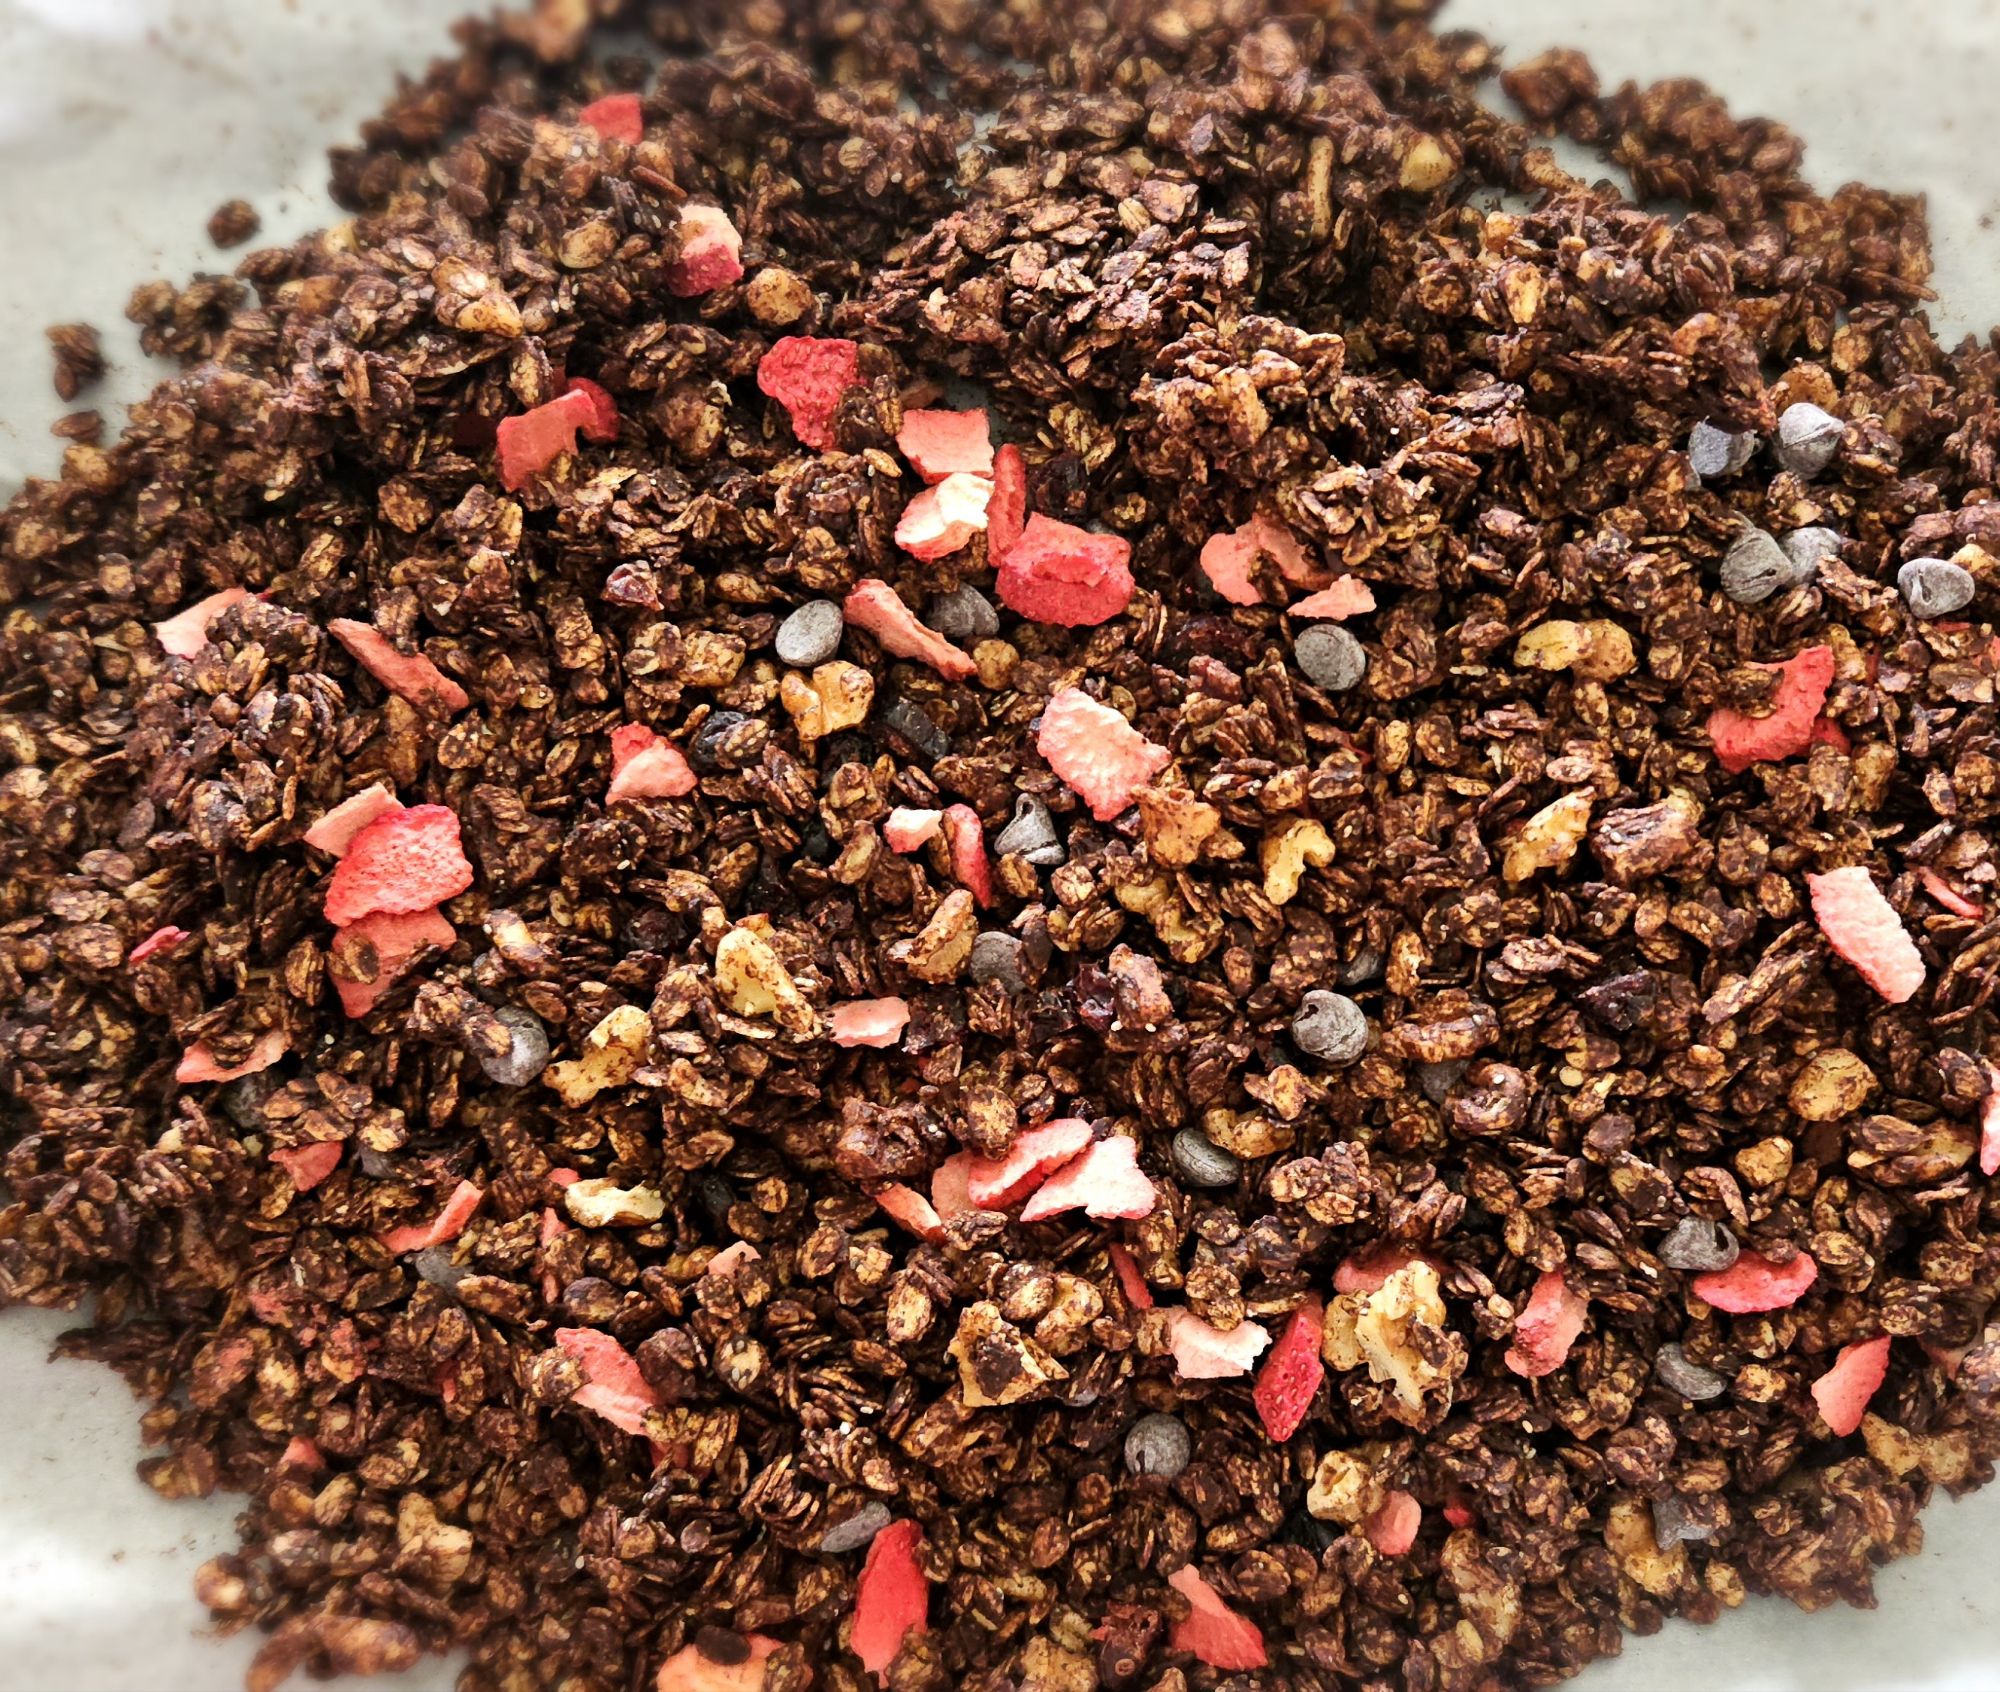
Love granola? Love chocolate? Those delicious flavors come together in under thirty minutes with this healthy chocolate granola. And make it even more delicious with the addition of strawberry slices!…
Read More
Stir up nostalgia with this simple but so flavorful chicken stew. Growing up, my dad always brought home a live chicken that my mom would cull at home. I remember…
Read More
4 ingredients - that's it. I can't say enough good things about these bars. No syrups, artificial ingredients, or colors. Minimal, clean, good-for-you ingredients, no baking or cooking, and takes…
Read More
An Indian lamb curry that you will make over and over again. It is to die for! Rogan josh is a traditional dish from the Kashmir region of India, with…
Read More
Introducing a tantalizing Chinese delicacy: boneless spare ribs. Succulent strips of pork marinated in a symphony of flavors, boasting a perfect balance of sweetness and tanginess. Marinate it the night…
Read More
Chorizo, avocado, and egg on toast offer a flavorful and protein-packed start to your day, combining the richness of avocado with the zesty kick of chorizo. Its balanced combination of…
Read More
20 minutes and dinner is on the table. Experience the explosive flavors of our firecracker ground chicken—tender, spicy, and perfectly balanced. With a blend of garlic, hot sauce, tangy vinegar…
Read More
On St. Patty's day, why go with boiled cabbage?Bursting with the freshness of cabbage and an aromatic blend of just a couple of spices, this South Indian delicacy is sure…
Read More
Starting the day with a bowl of creamy blueberry overnight oats sets the perfect tone for a great morning ahead. Blueberry oatmeal is a healthy breakfast option due to its…
Read More
Savor our healthy bagel delight for breakfast or lunch! Creamy avocado mash meets vibrant tomatoes and red onion, complemented by garlic-infused cream cheese. Nestled between toasted bagel halves, fluffy omelettes…
Read More
Here's a simple recipe for Aloo Masala, which is often used as a filling for masala dosas. A dosa is a popular South Indian savory crepe made from fermented rice…
Read More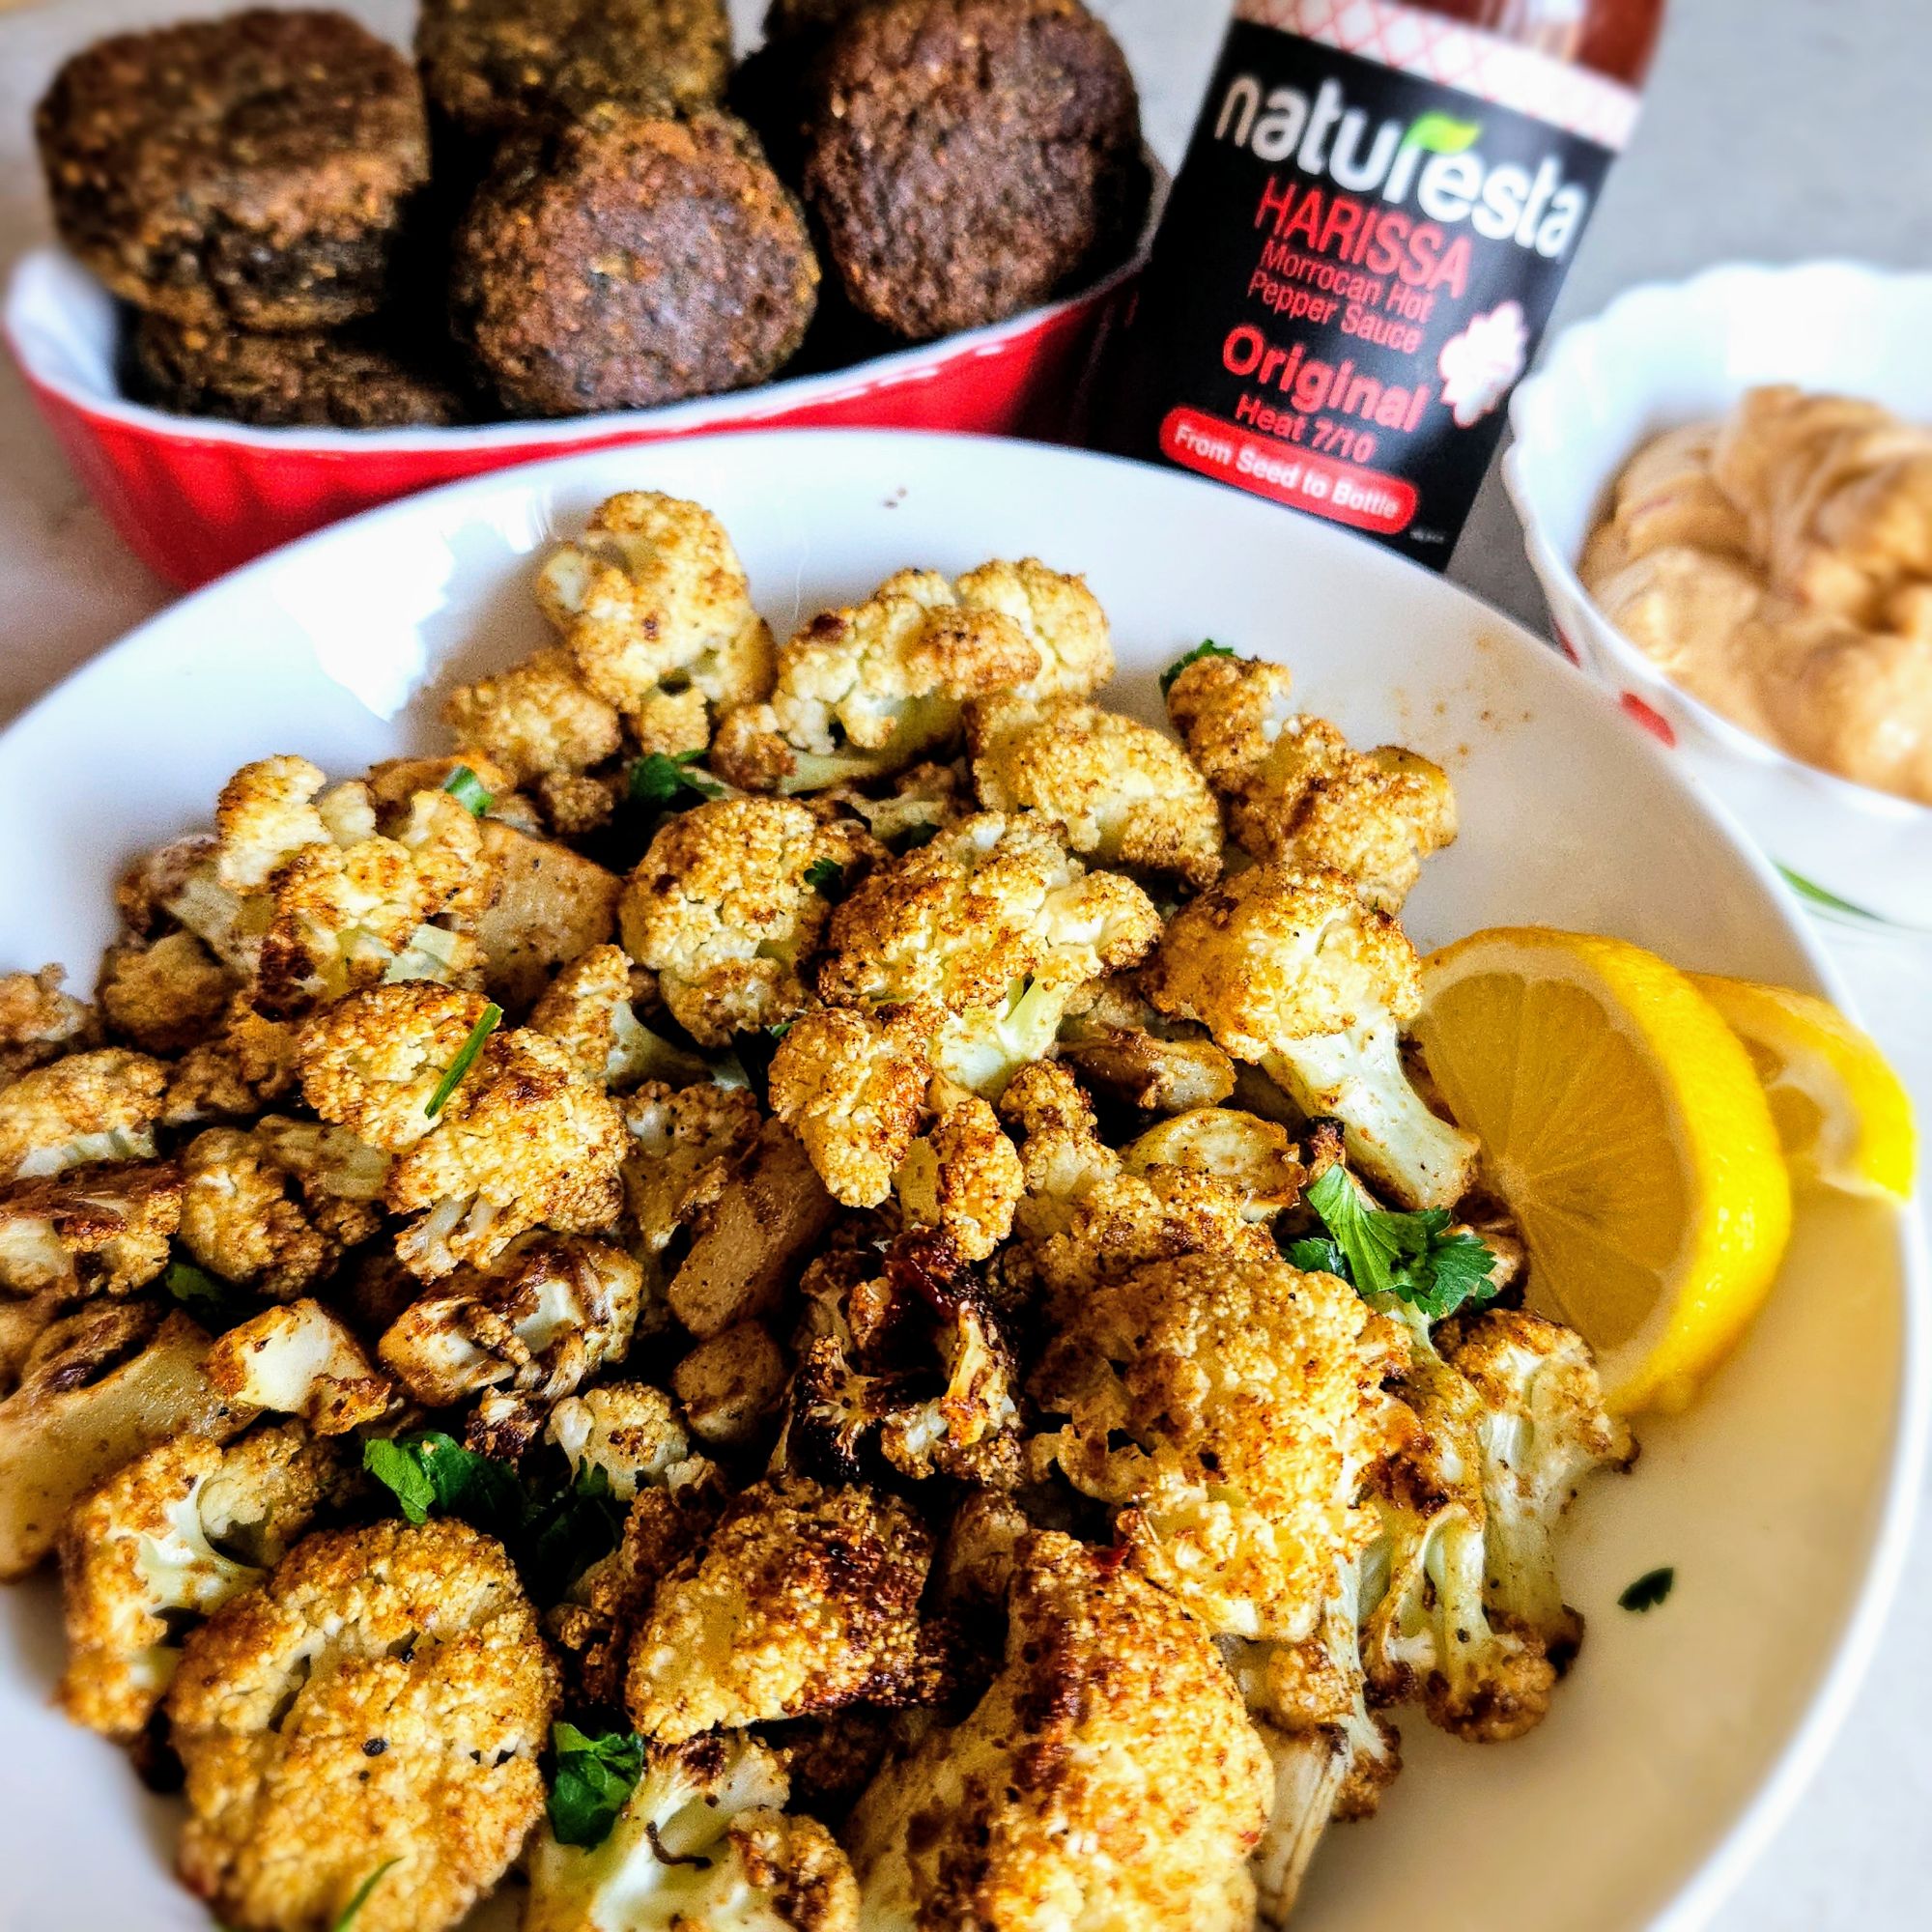
Roasted cauliflower with harissa is a vibrant Mediterranean dish that combines tender cauliflower florets with the bold flavors of Moroccan harissa sauce. The cauliflower is roasted to perfection, achieving a…
Read More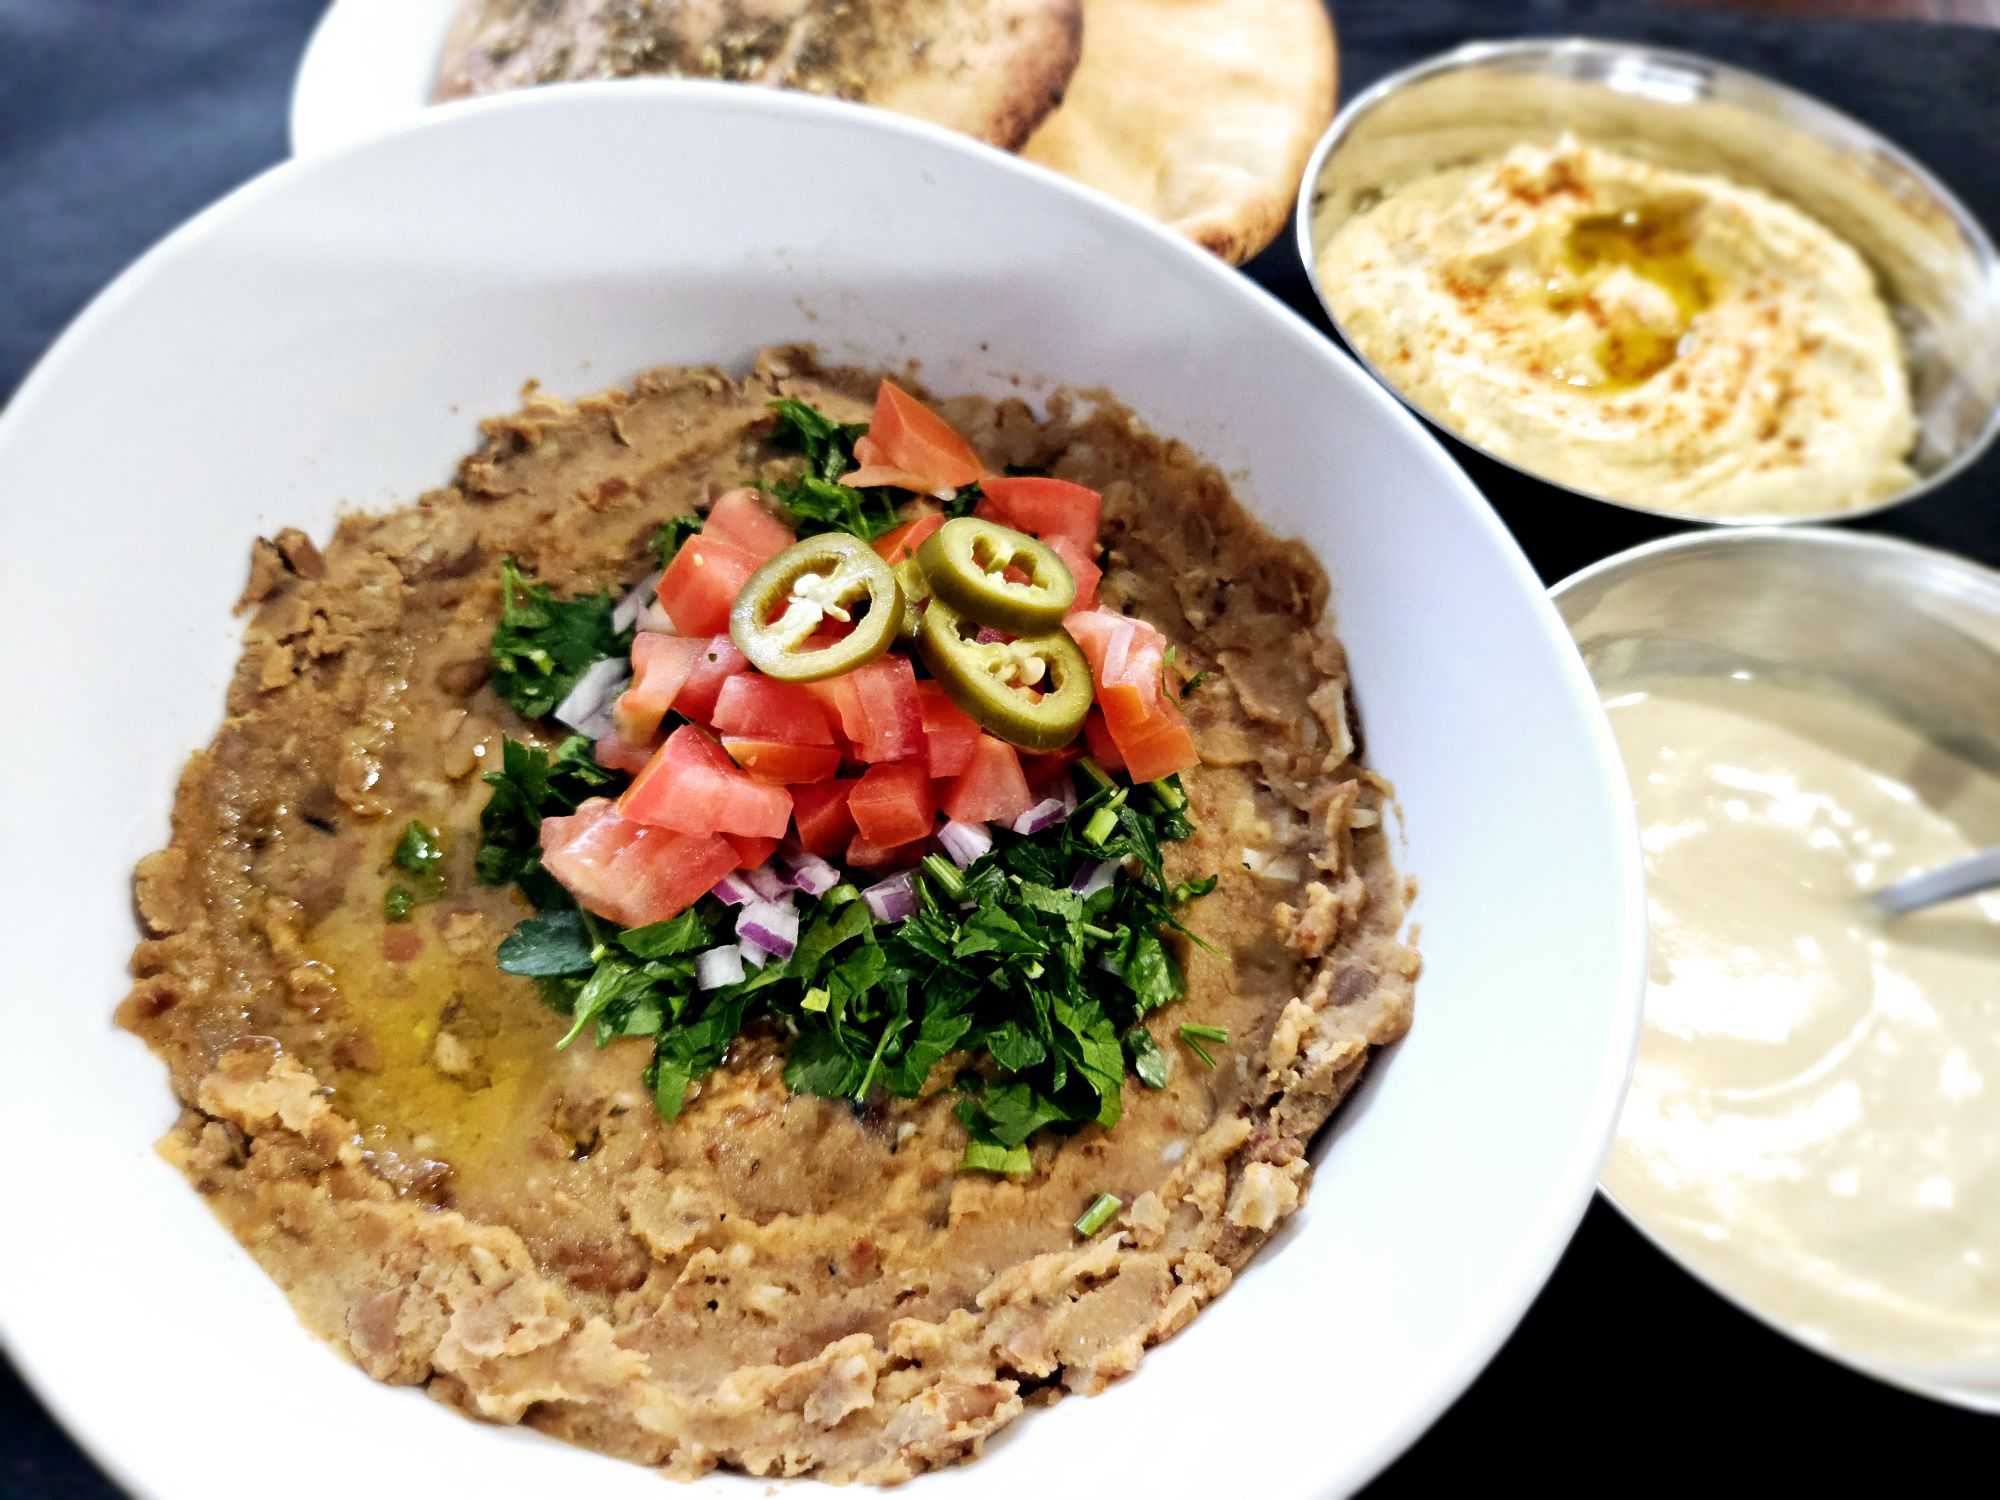
During December 2023, our three-day stay in Cairo involved indulging in a variety of delightful, traditional Egyptian cuisines. Despite battling jet lag, our perpetual hunger found solace in the delightful…
Read More
Imagine being nestled in a canvas tent amidst the vast African wilderness. Every rustle, every distant lion's roar, etches unforgettable memories. At night, the sounds of the wild thrill as…
Read More
Cairo in three days? Doable! Embarking on a three-day journey in Cairo opens the door to exploring pivotal historical, cultural, and religious sites, providing a comprehensive glimpse into the essence…
Read More
The doors in Zanzibar are renowned for their intricate designs and cultural significance. They are ornate and the doors were made from teak, ebony or mahogany, which allowed for the…
Read More
Stone Town, located on the western coast of Zanzibar, is a historic and culturally rich UNESCO World Heritage Site. This atmospheric town is known for its labyrinthine streets, ancient architecture,…
Read More
Turai, also known as ridge gourd or Chinese gourd, is a long, cylindrical vegetable with a green, ridged skin. It is commonly used in Indian and Asian cuisines and has…
Read More
A kale, pineapple, and coconut water smoothie offers a powerhouse of nutrients and health benefits. Packed with vitamins, minerals, and antioxidants, this blend supports digestion, hydration, and immunity. It's a…
Read More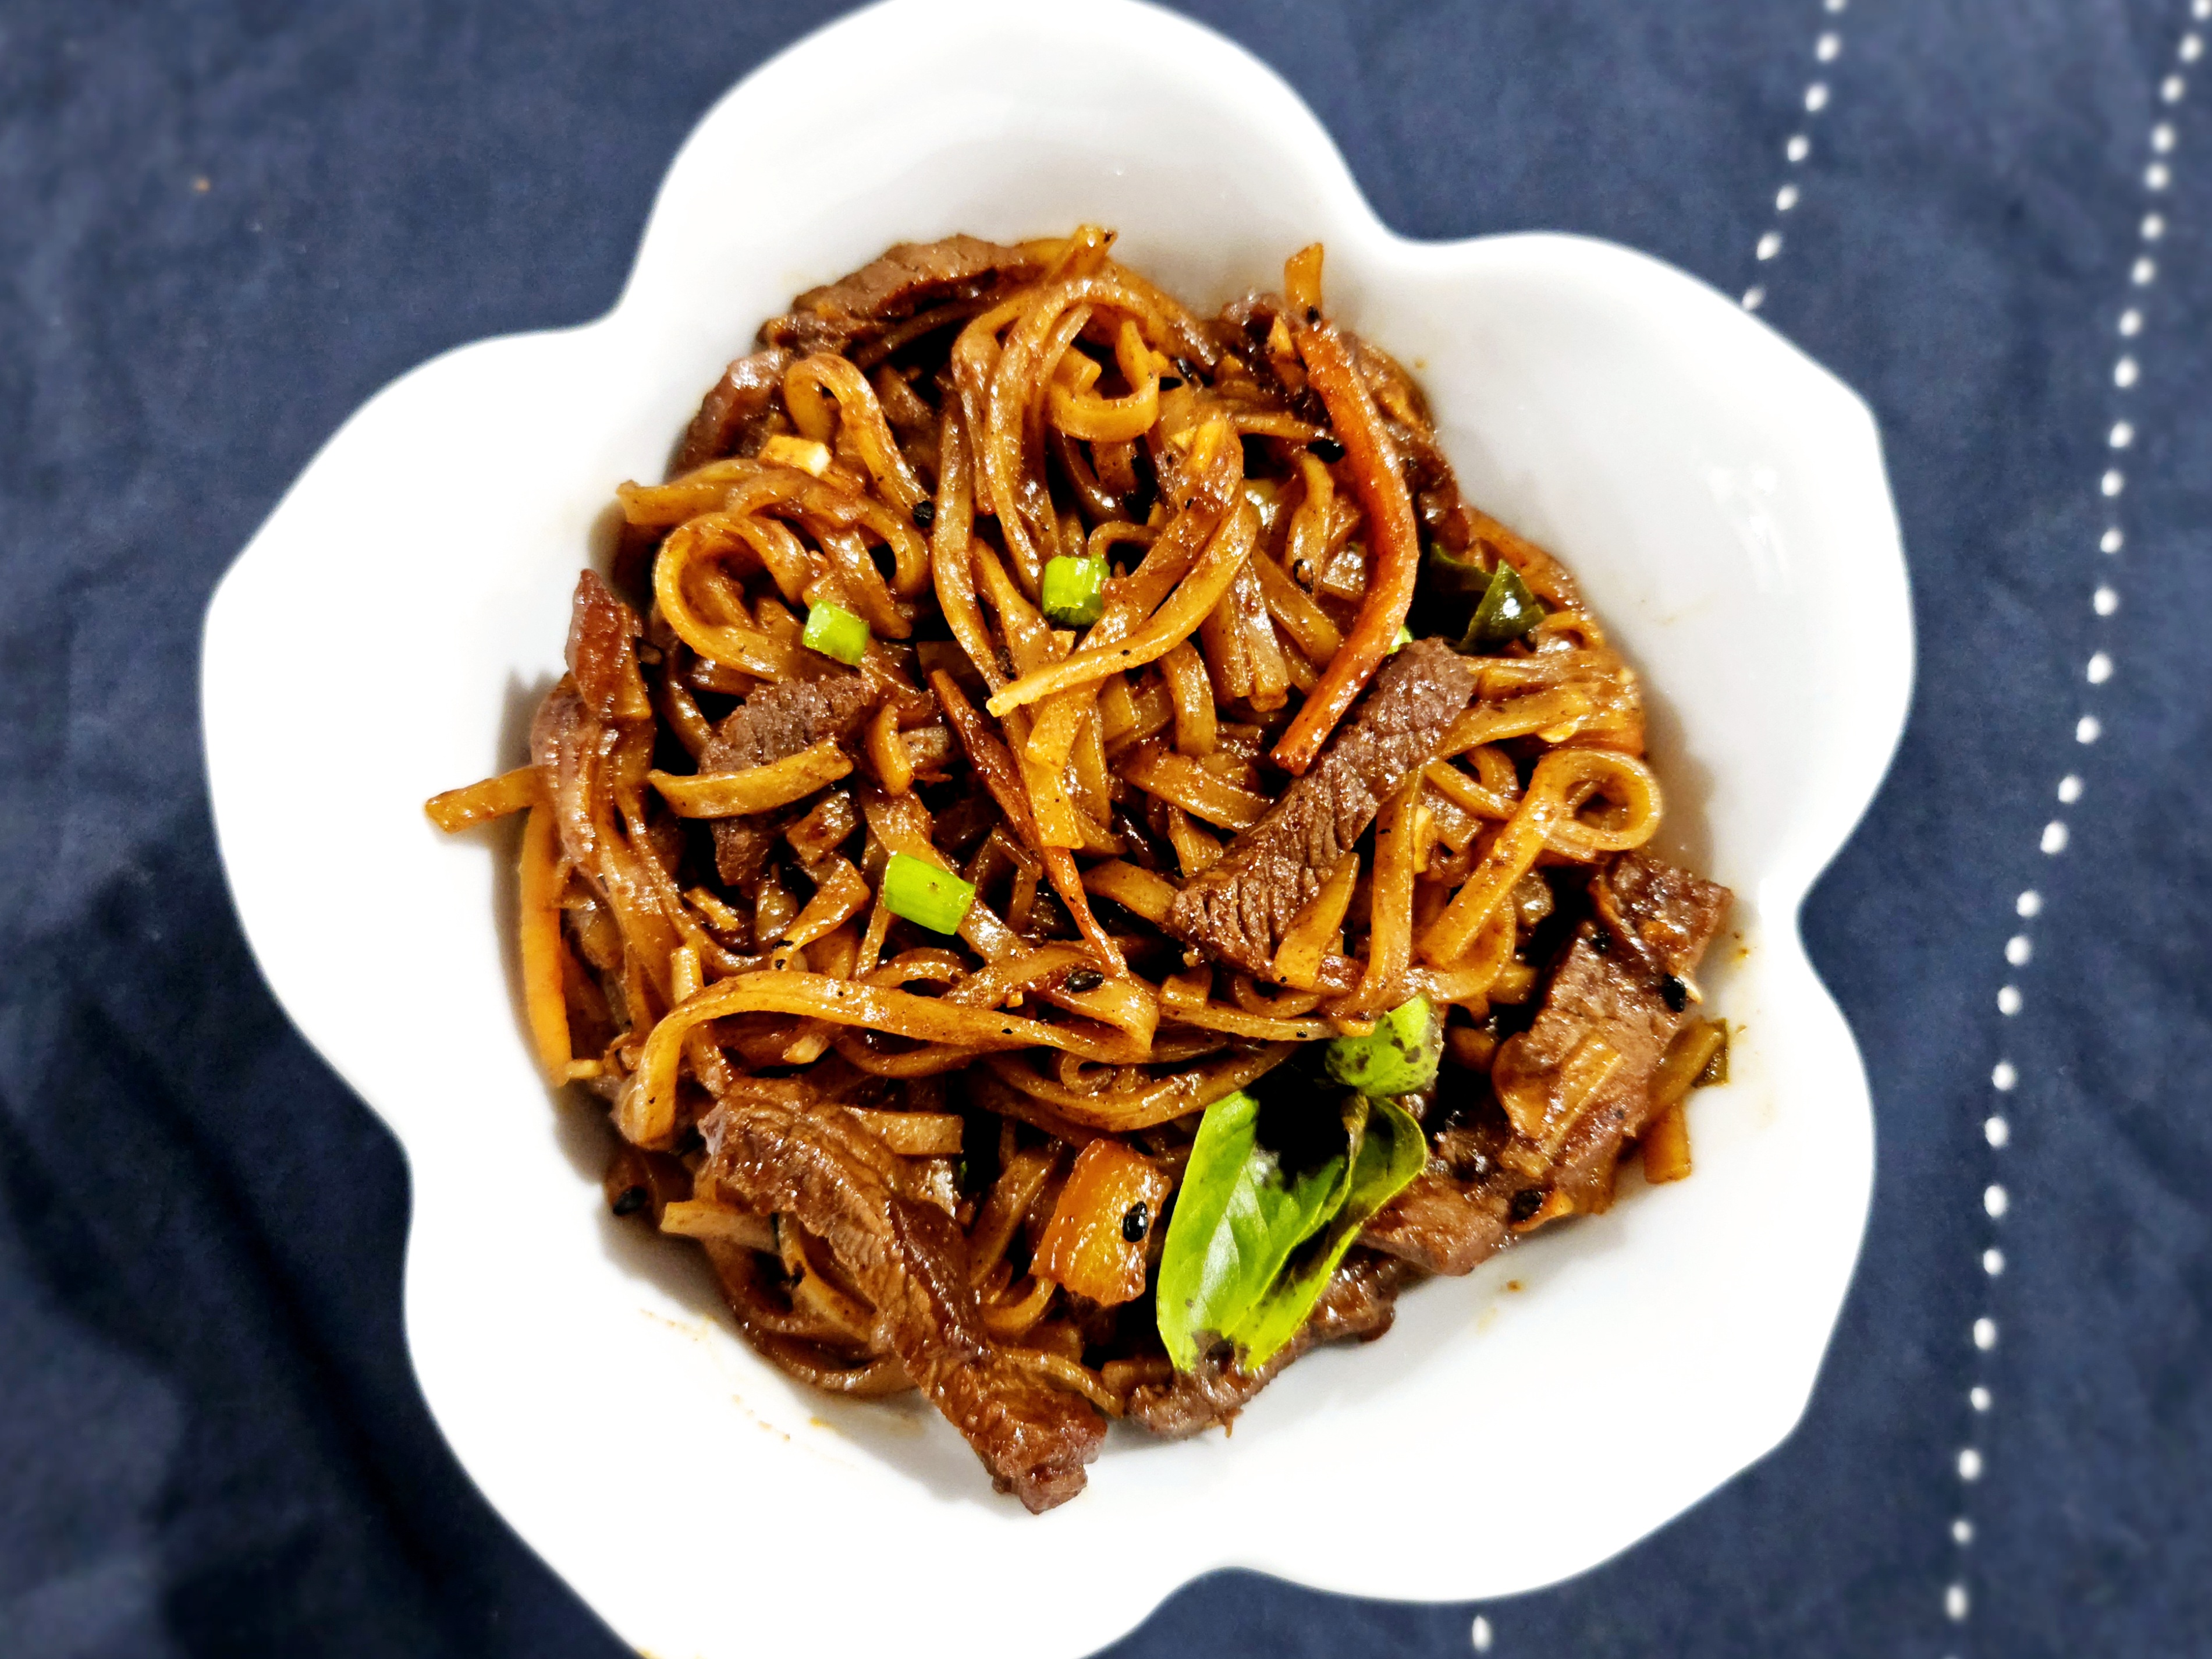
If we step into Noodles & Company, a local noodle restaurant, we know one kid will always order the spicy Korean noodles. Surprisingly, this dish is so easy to whip…
Read More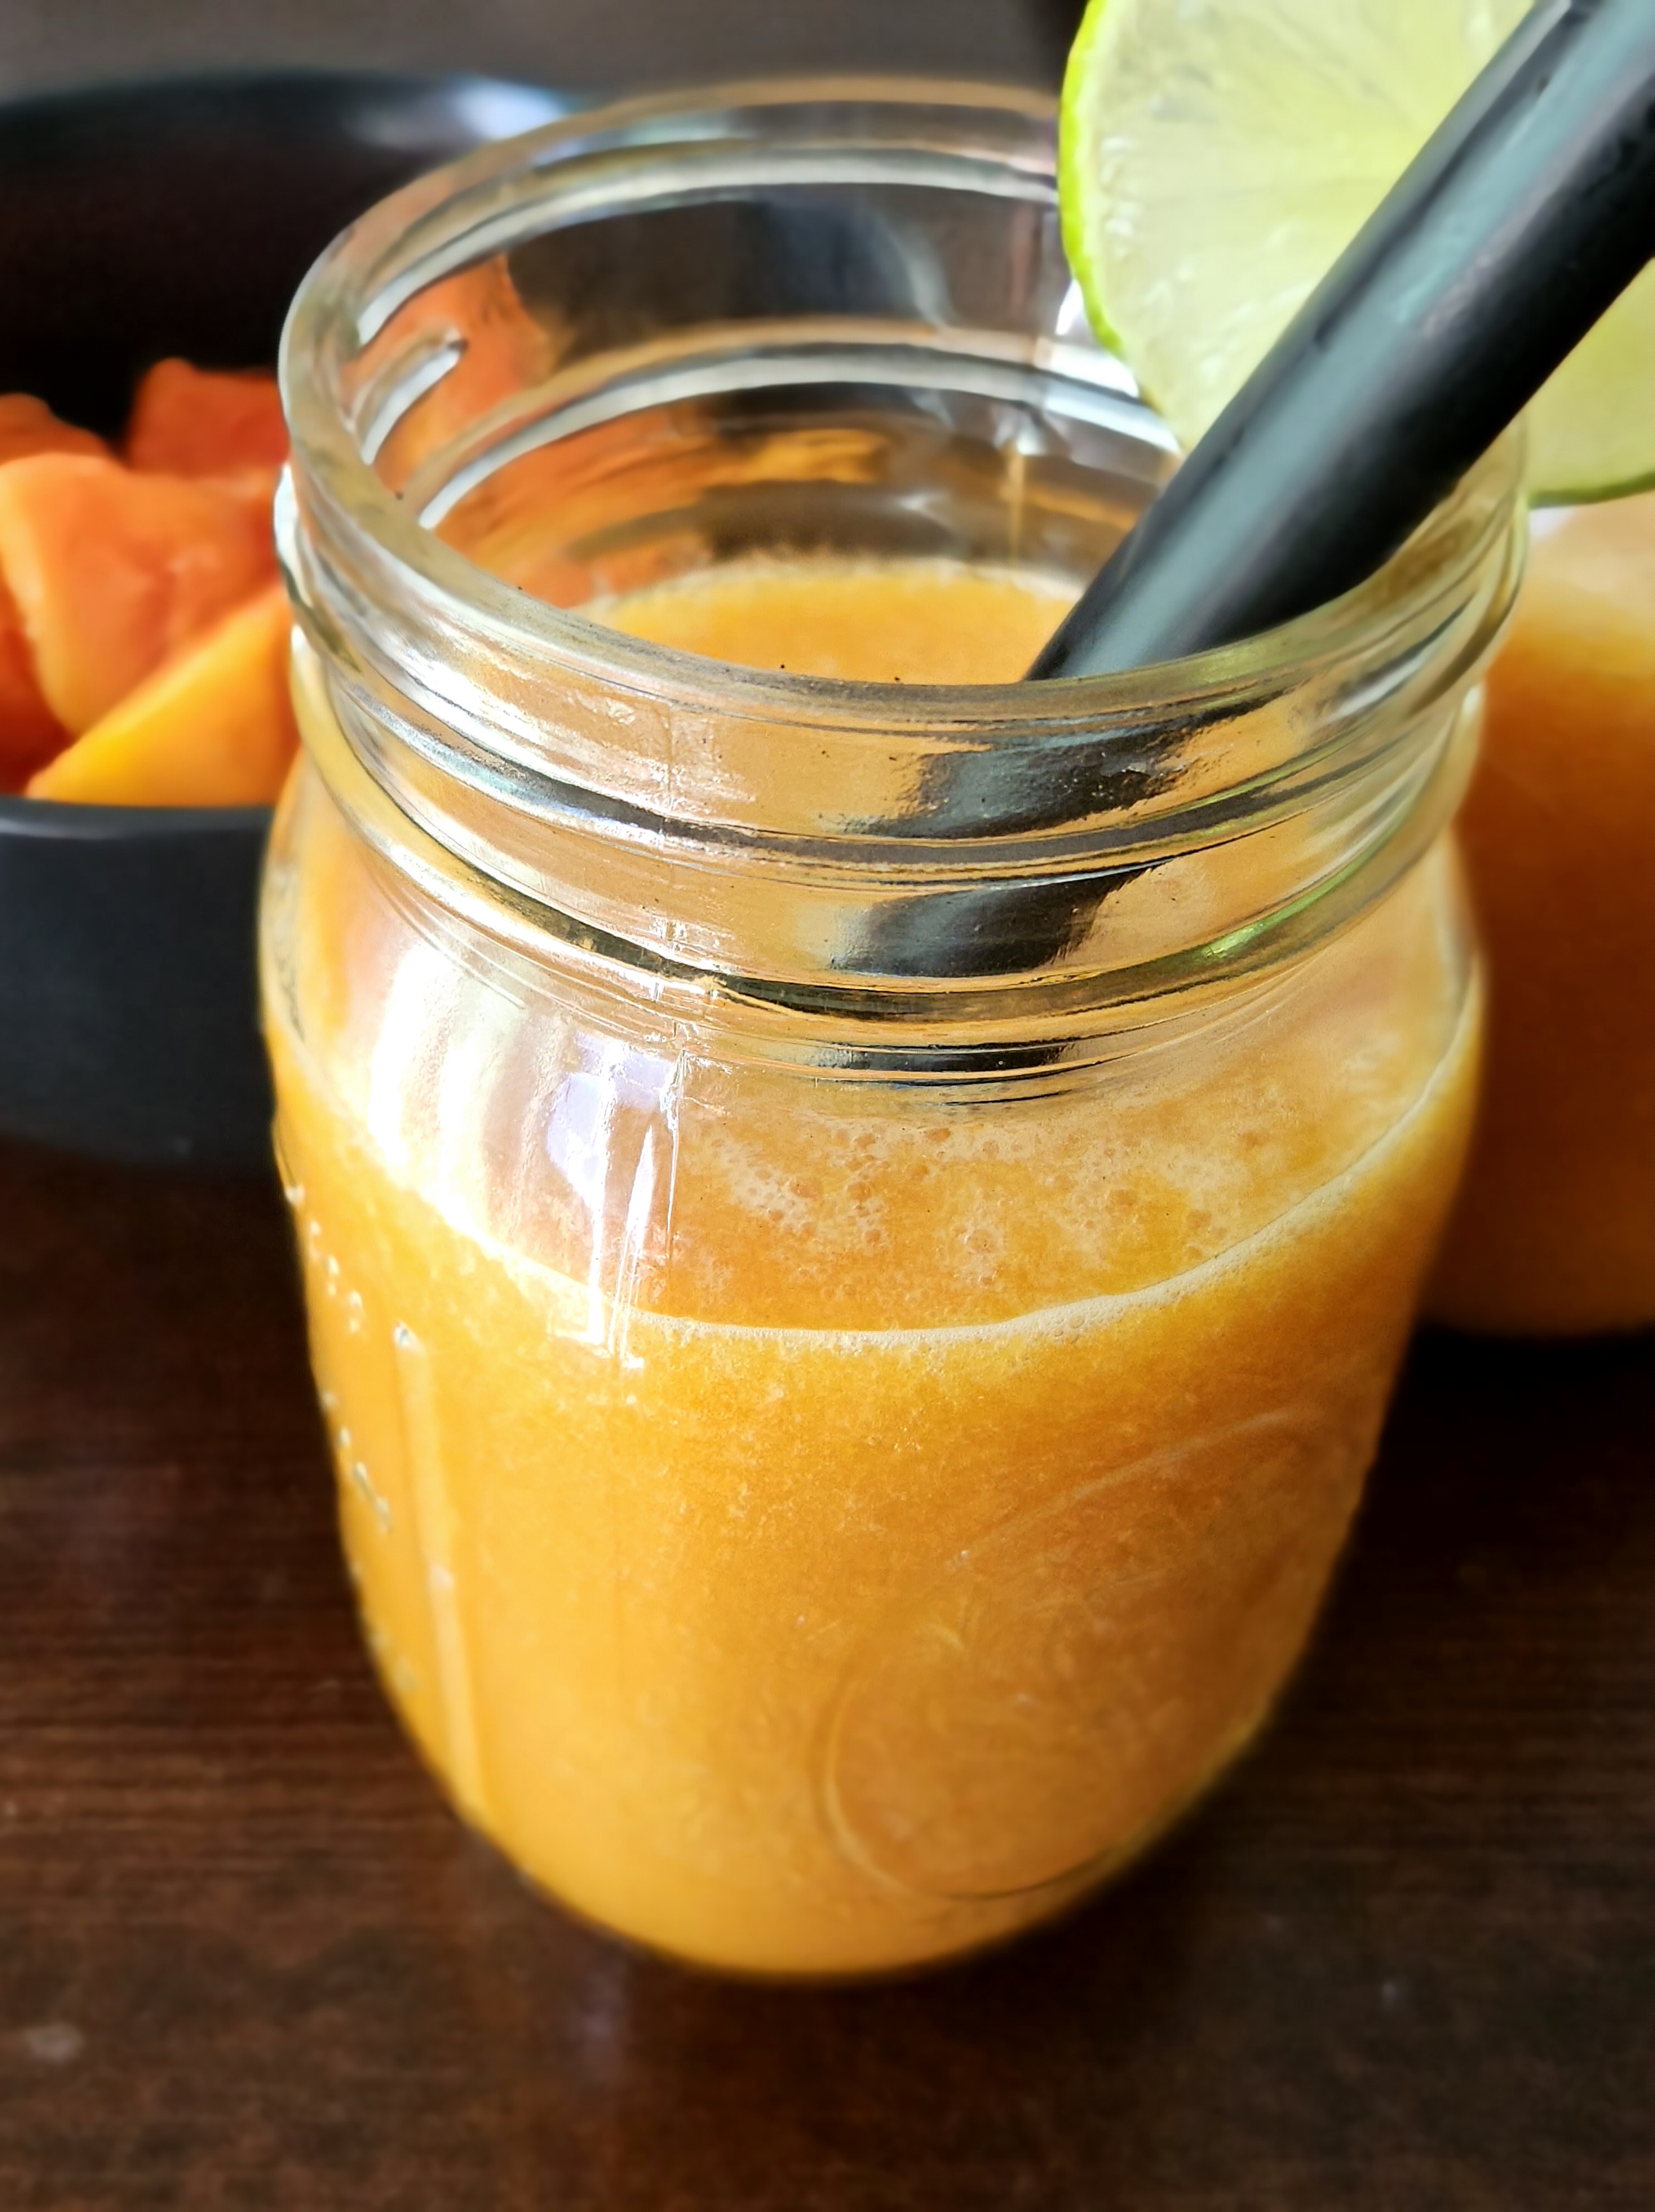
Papaya smoothies are rich in nutrients. Papaya contains an enzyme called papain, which aids in digestion and reduces digestive discomfort. Being a rich source of vitamin C and beta carotene,…
Read More
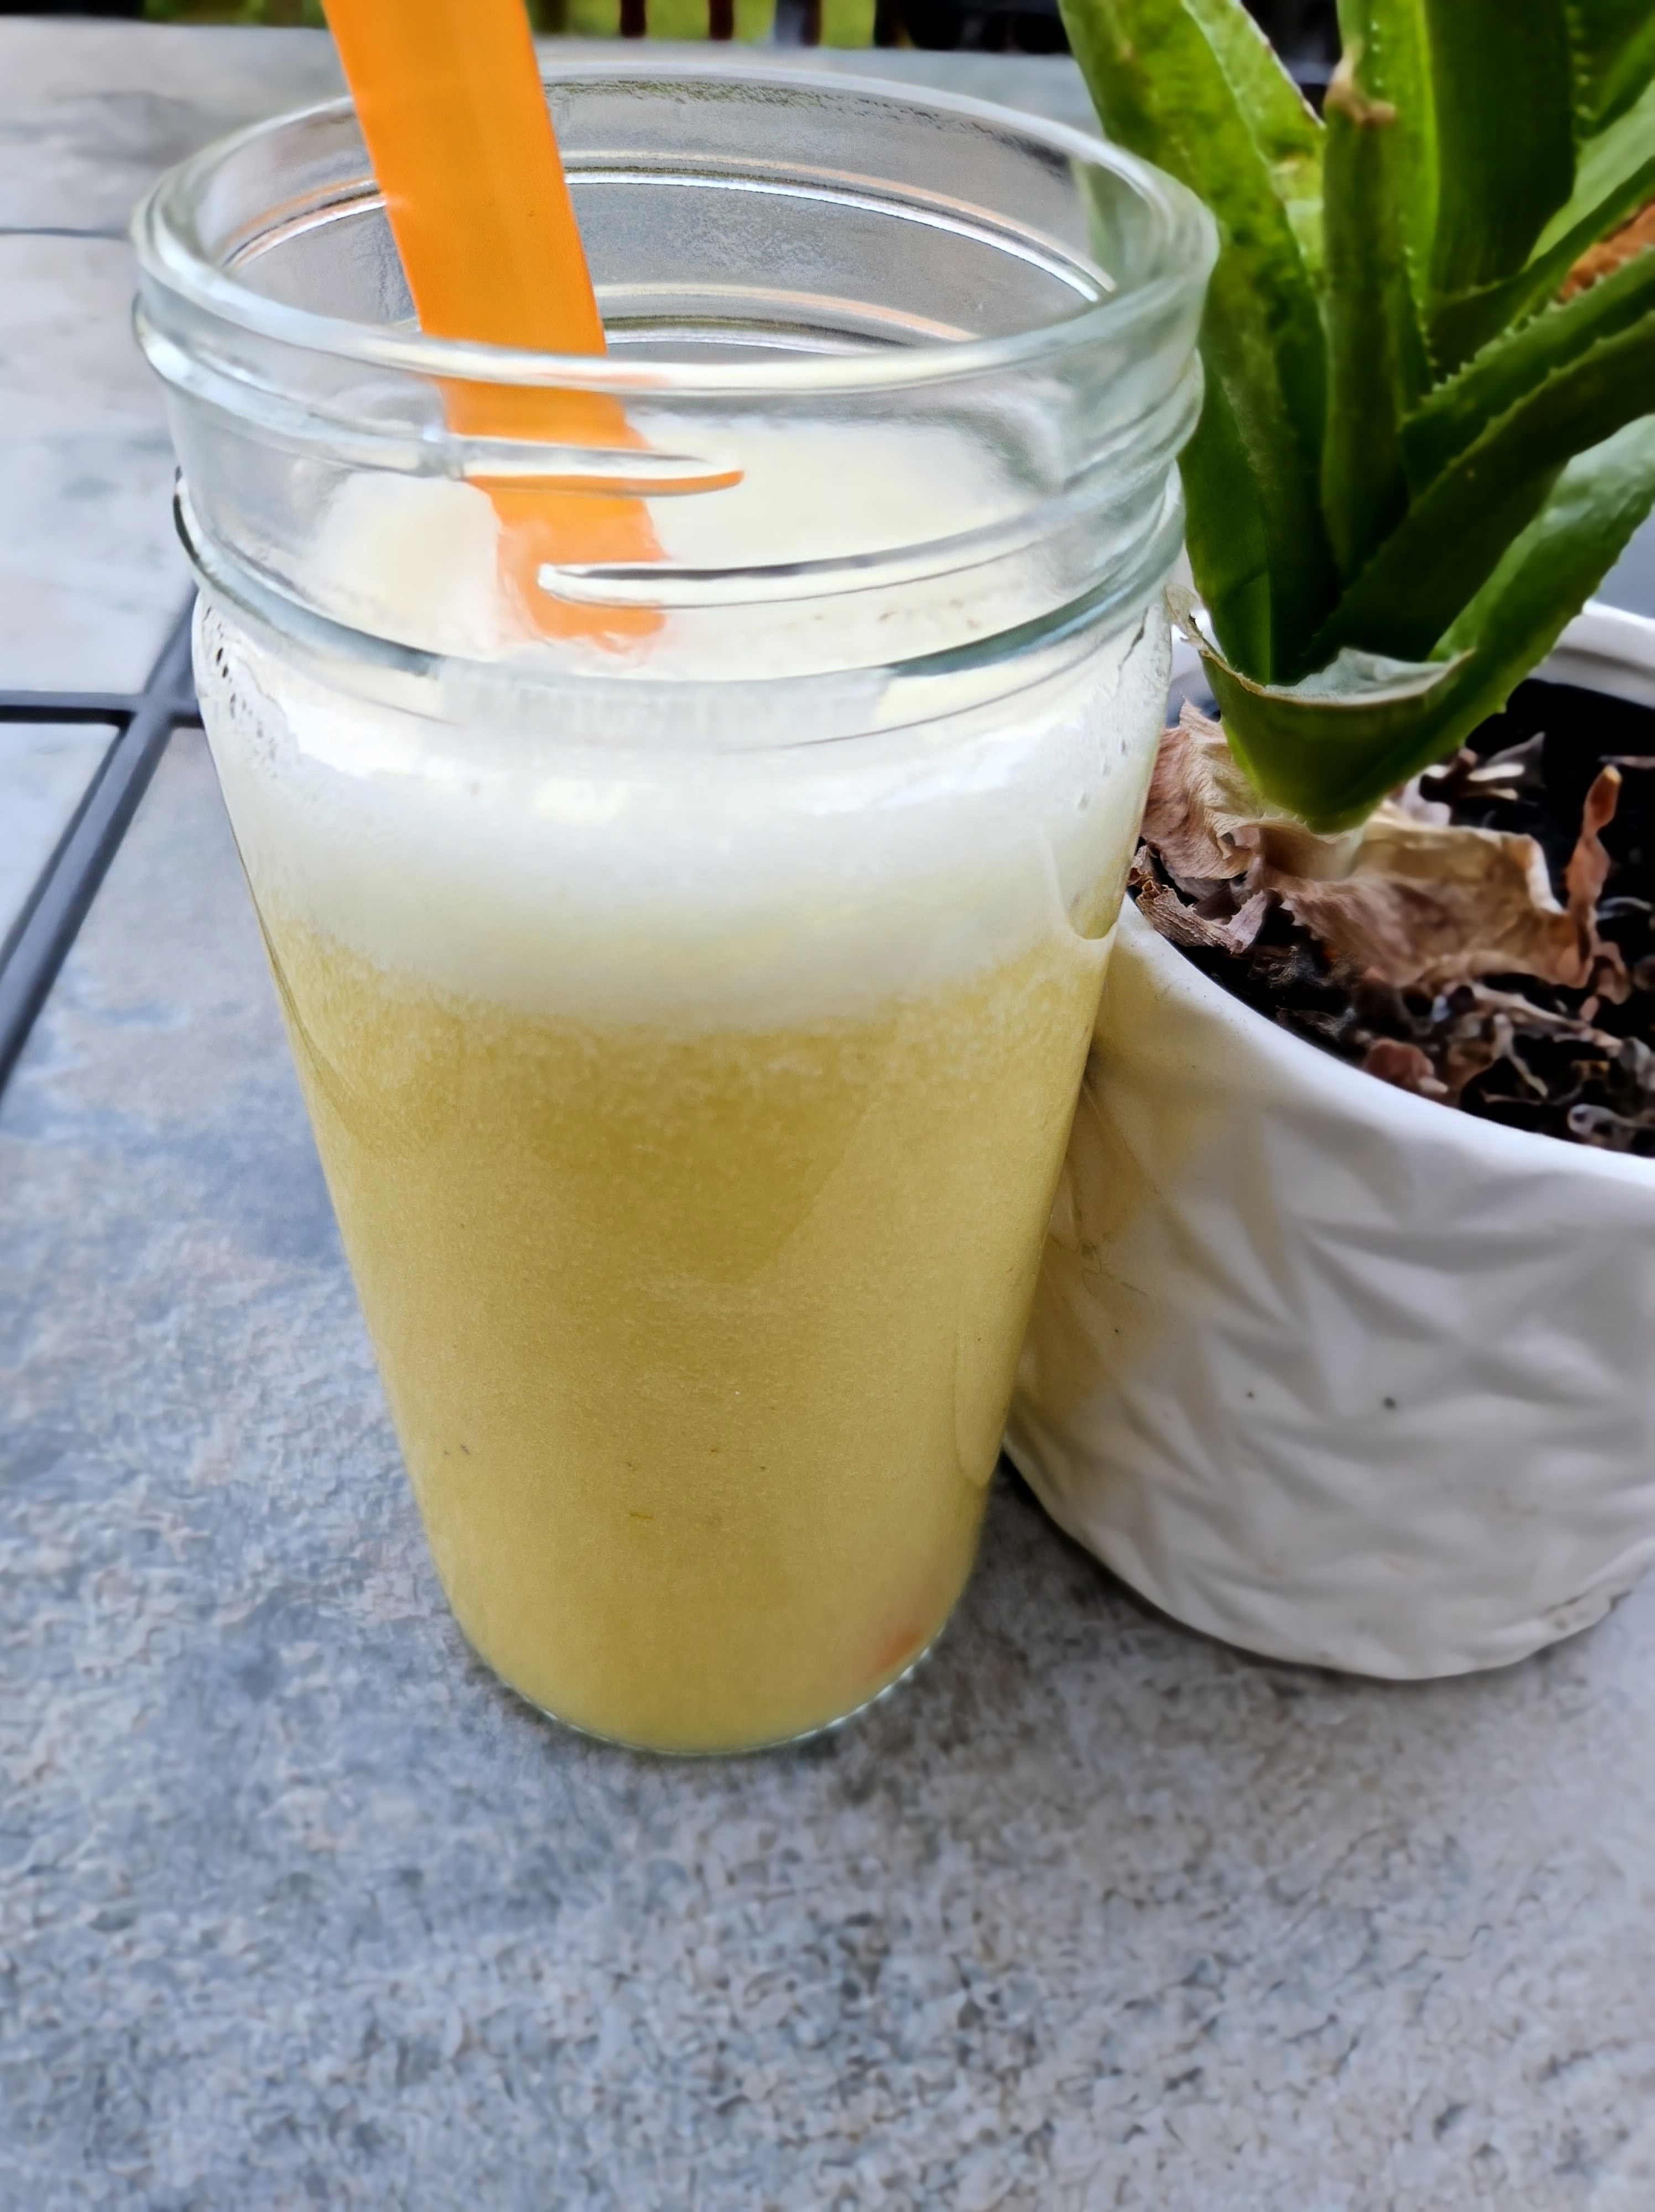
Want to cleanse toxins from your body, or reduce inflammation? Then this drink is for you. Pineapple' and ginger combine into a refreshing drink! Servings: 2 Ingredients 1 cup frozen…
Read More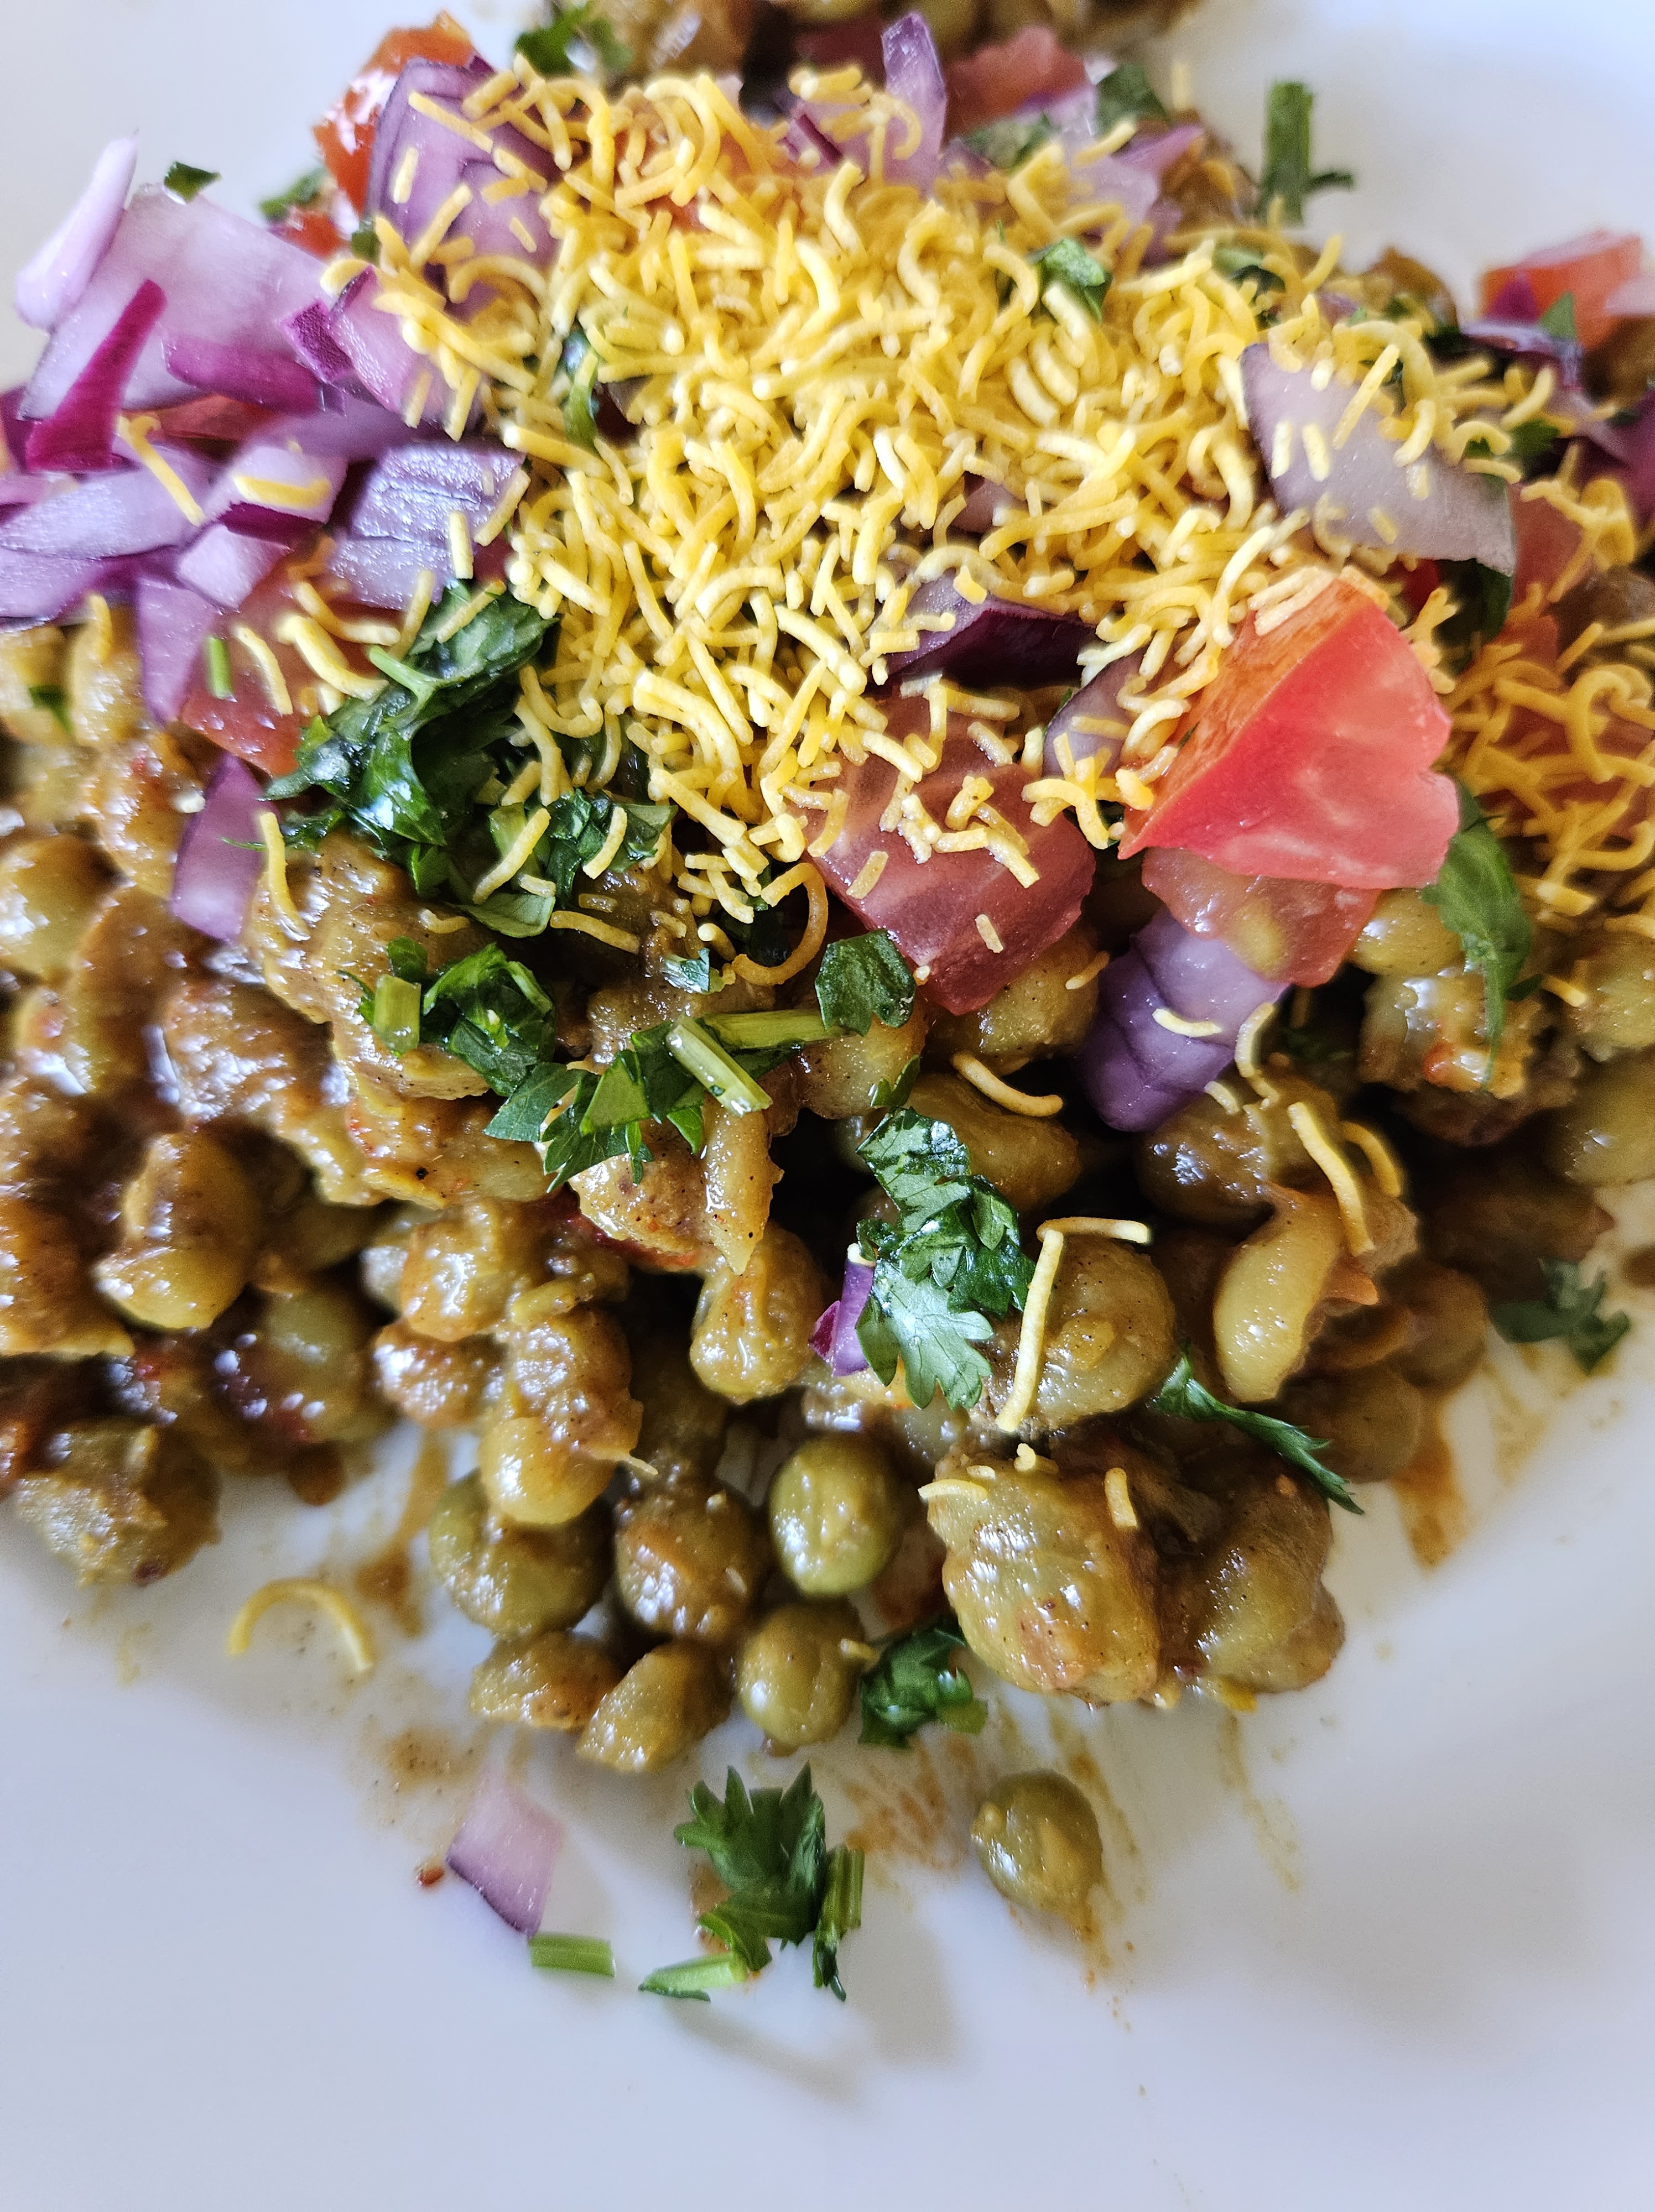
An Indian street food that is perfect as a snack, or a side. It's also a healthy appetizer, full of protein and is low fat. It's always been a hit…
Read More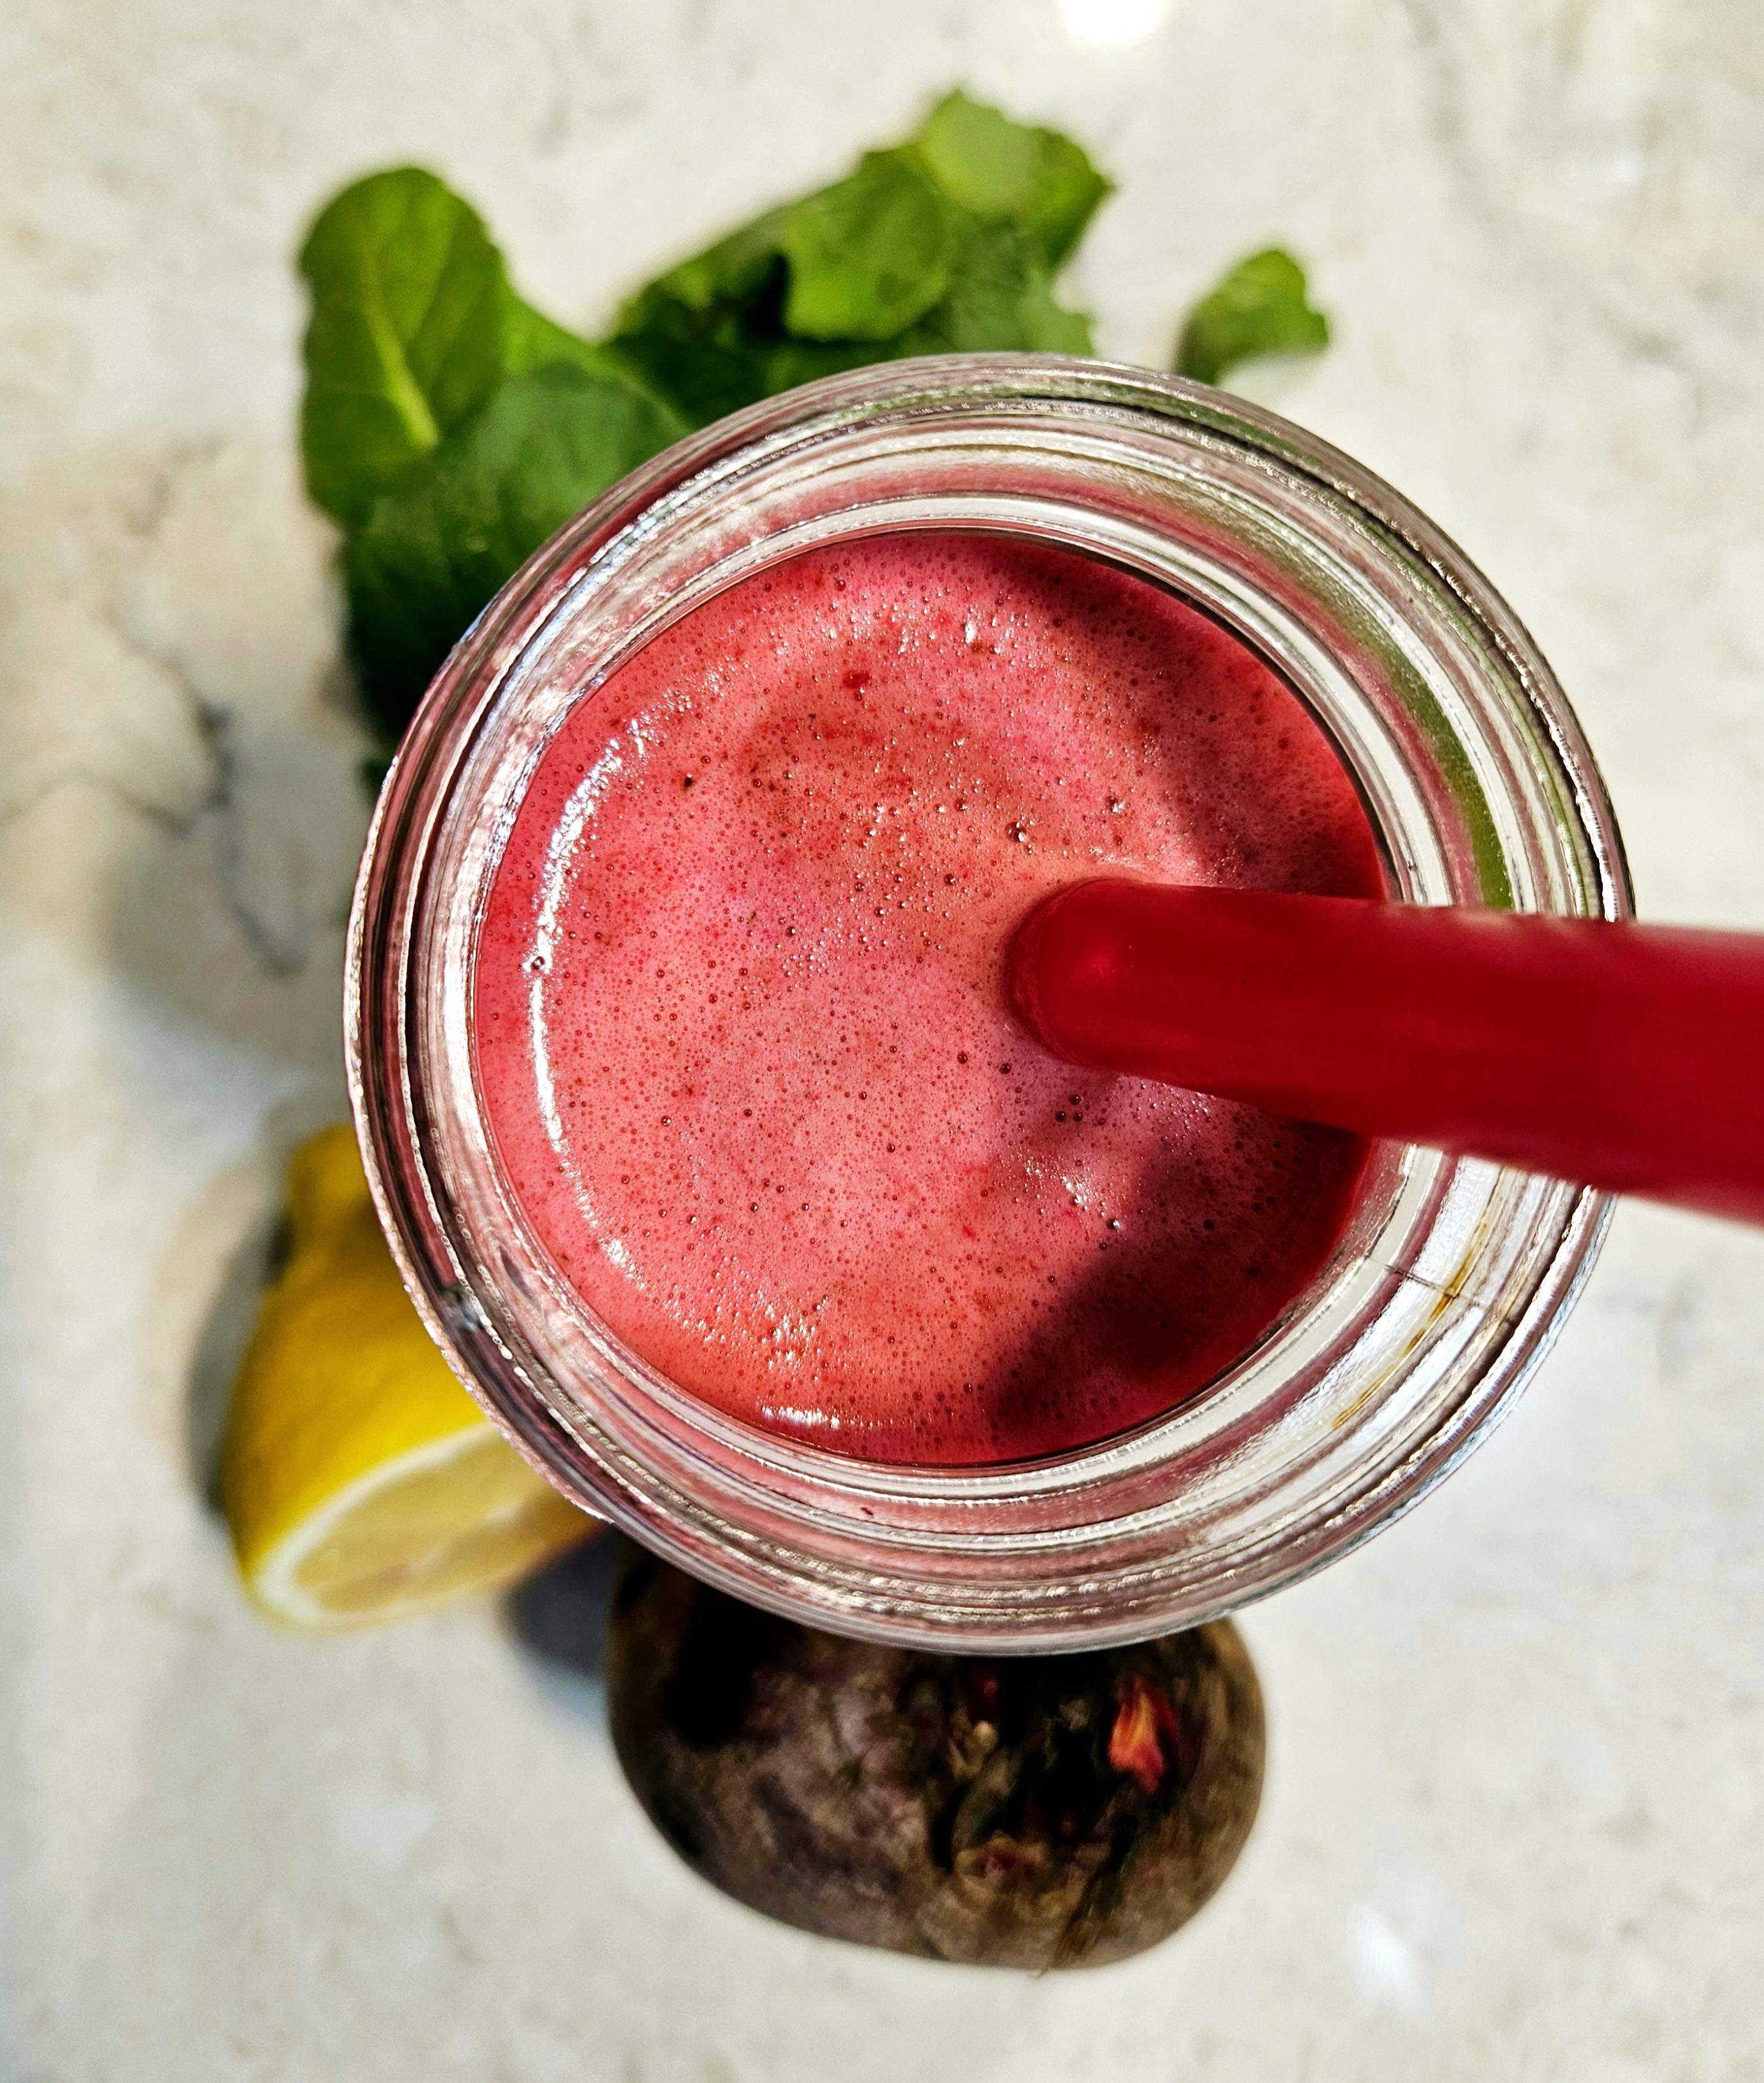
Low in calories, a great source of nutrients and inflammatory properties, why wouldn't you want beets in your diet?! It's also known to detox the liver. This smoothie is super…
Read More