
Tropical Green Detox Smoothie
Help detoxify your liver with this healthy mix of coconut water, vegetables, and fruit. Sugars from the fruit sweeten this drink naturally while the cayenne and ginger give it an…
Read More
Help detoxify your liver with this healthy mix of coconut water, vegetables, and fruit. Sugars from the fruit sweeten this drink naturally while the cayenne and ginger give it an…
Read More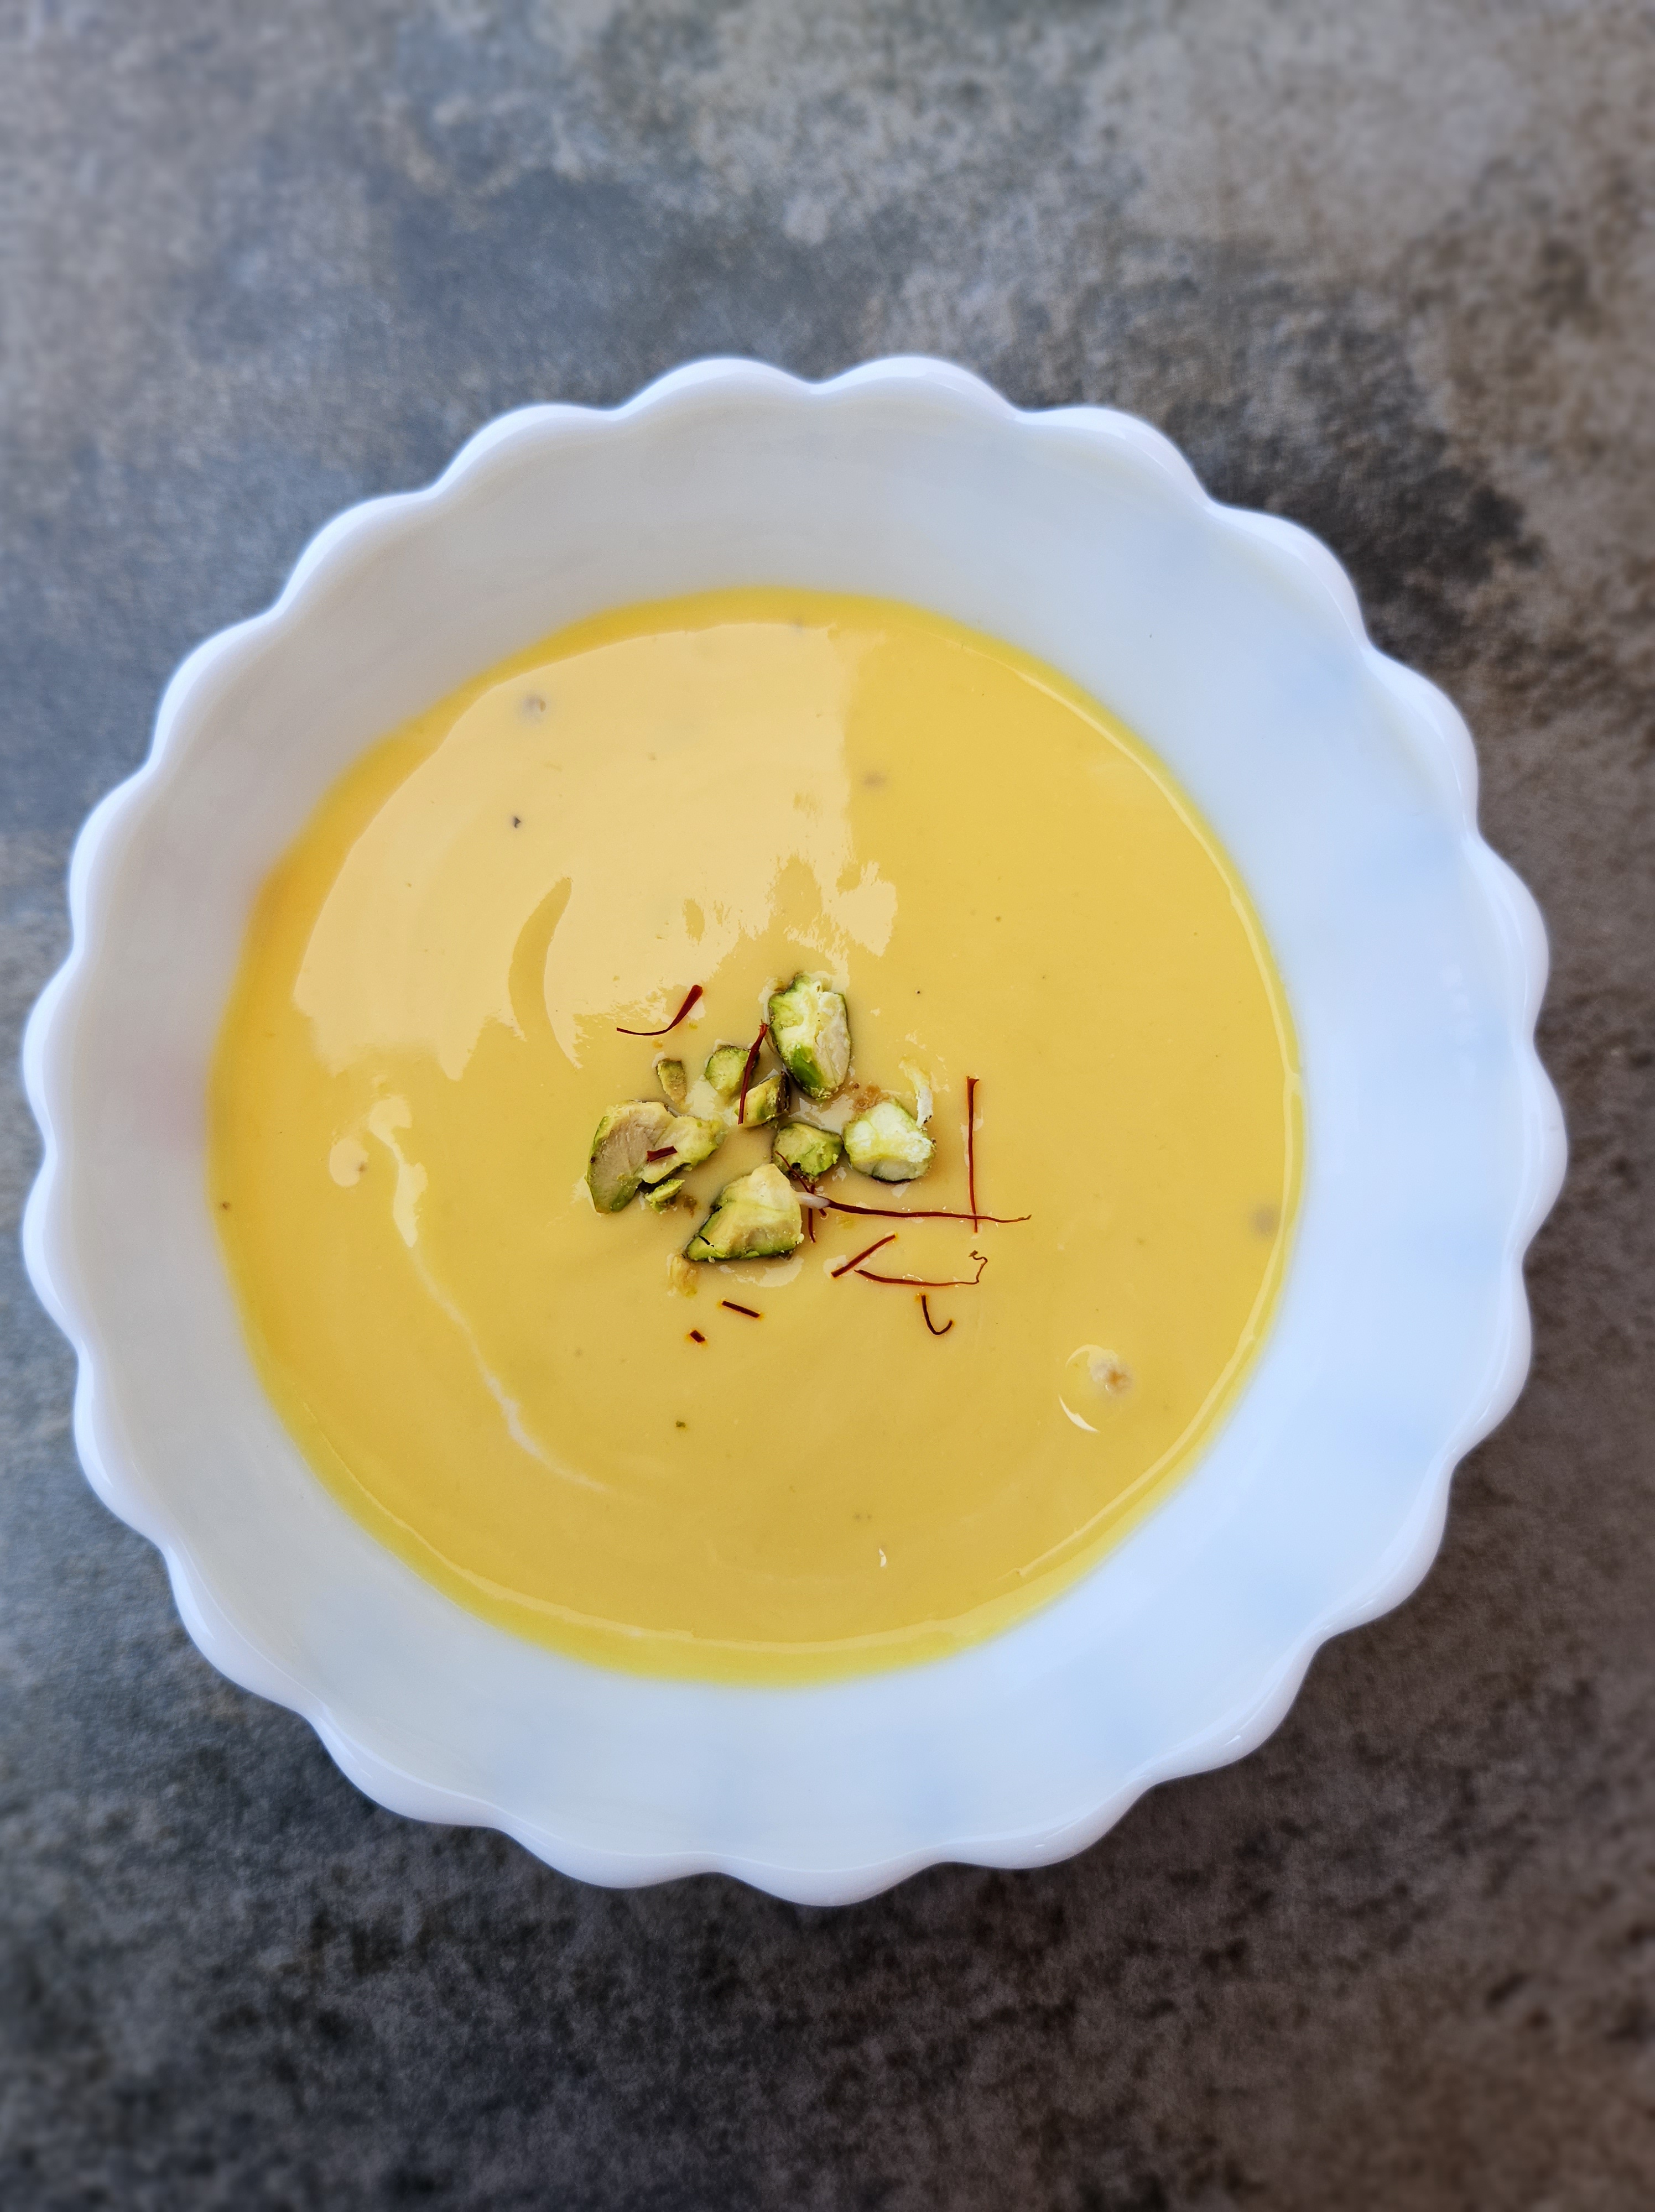
This deliciously refreshing and creamy Indian dessert comes together with Greek yogurt and mango. The sweet and tangy taste makes for a wonderfully different dessert that's elevated with the flavor…
Read More
Here's a smoothie that combines the goodness of turmeric, mango, coconut water, and kale. Not only is it a refreshing and tasty treat, but it also offers numerous health benefits…
Read More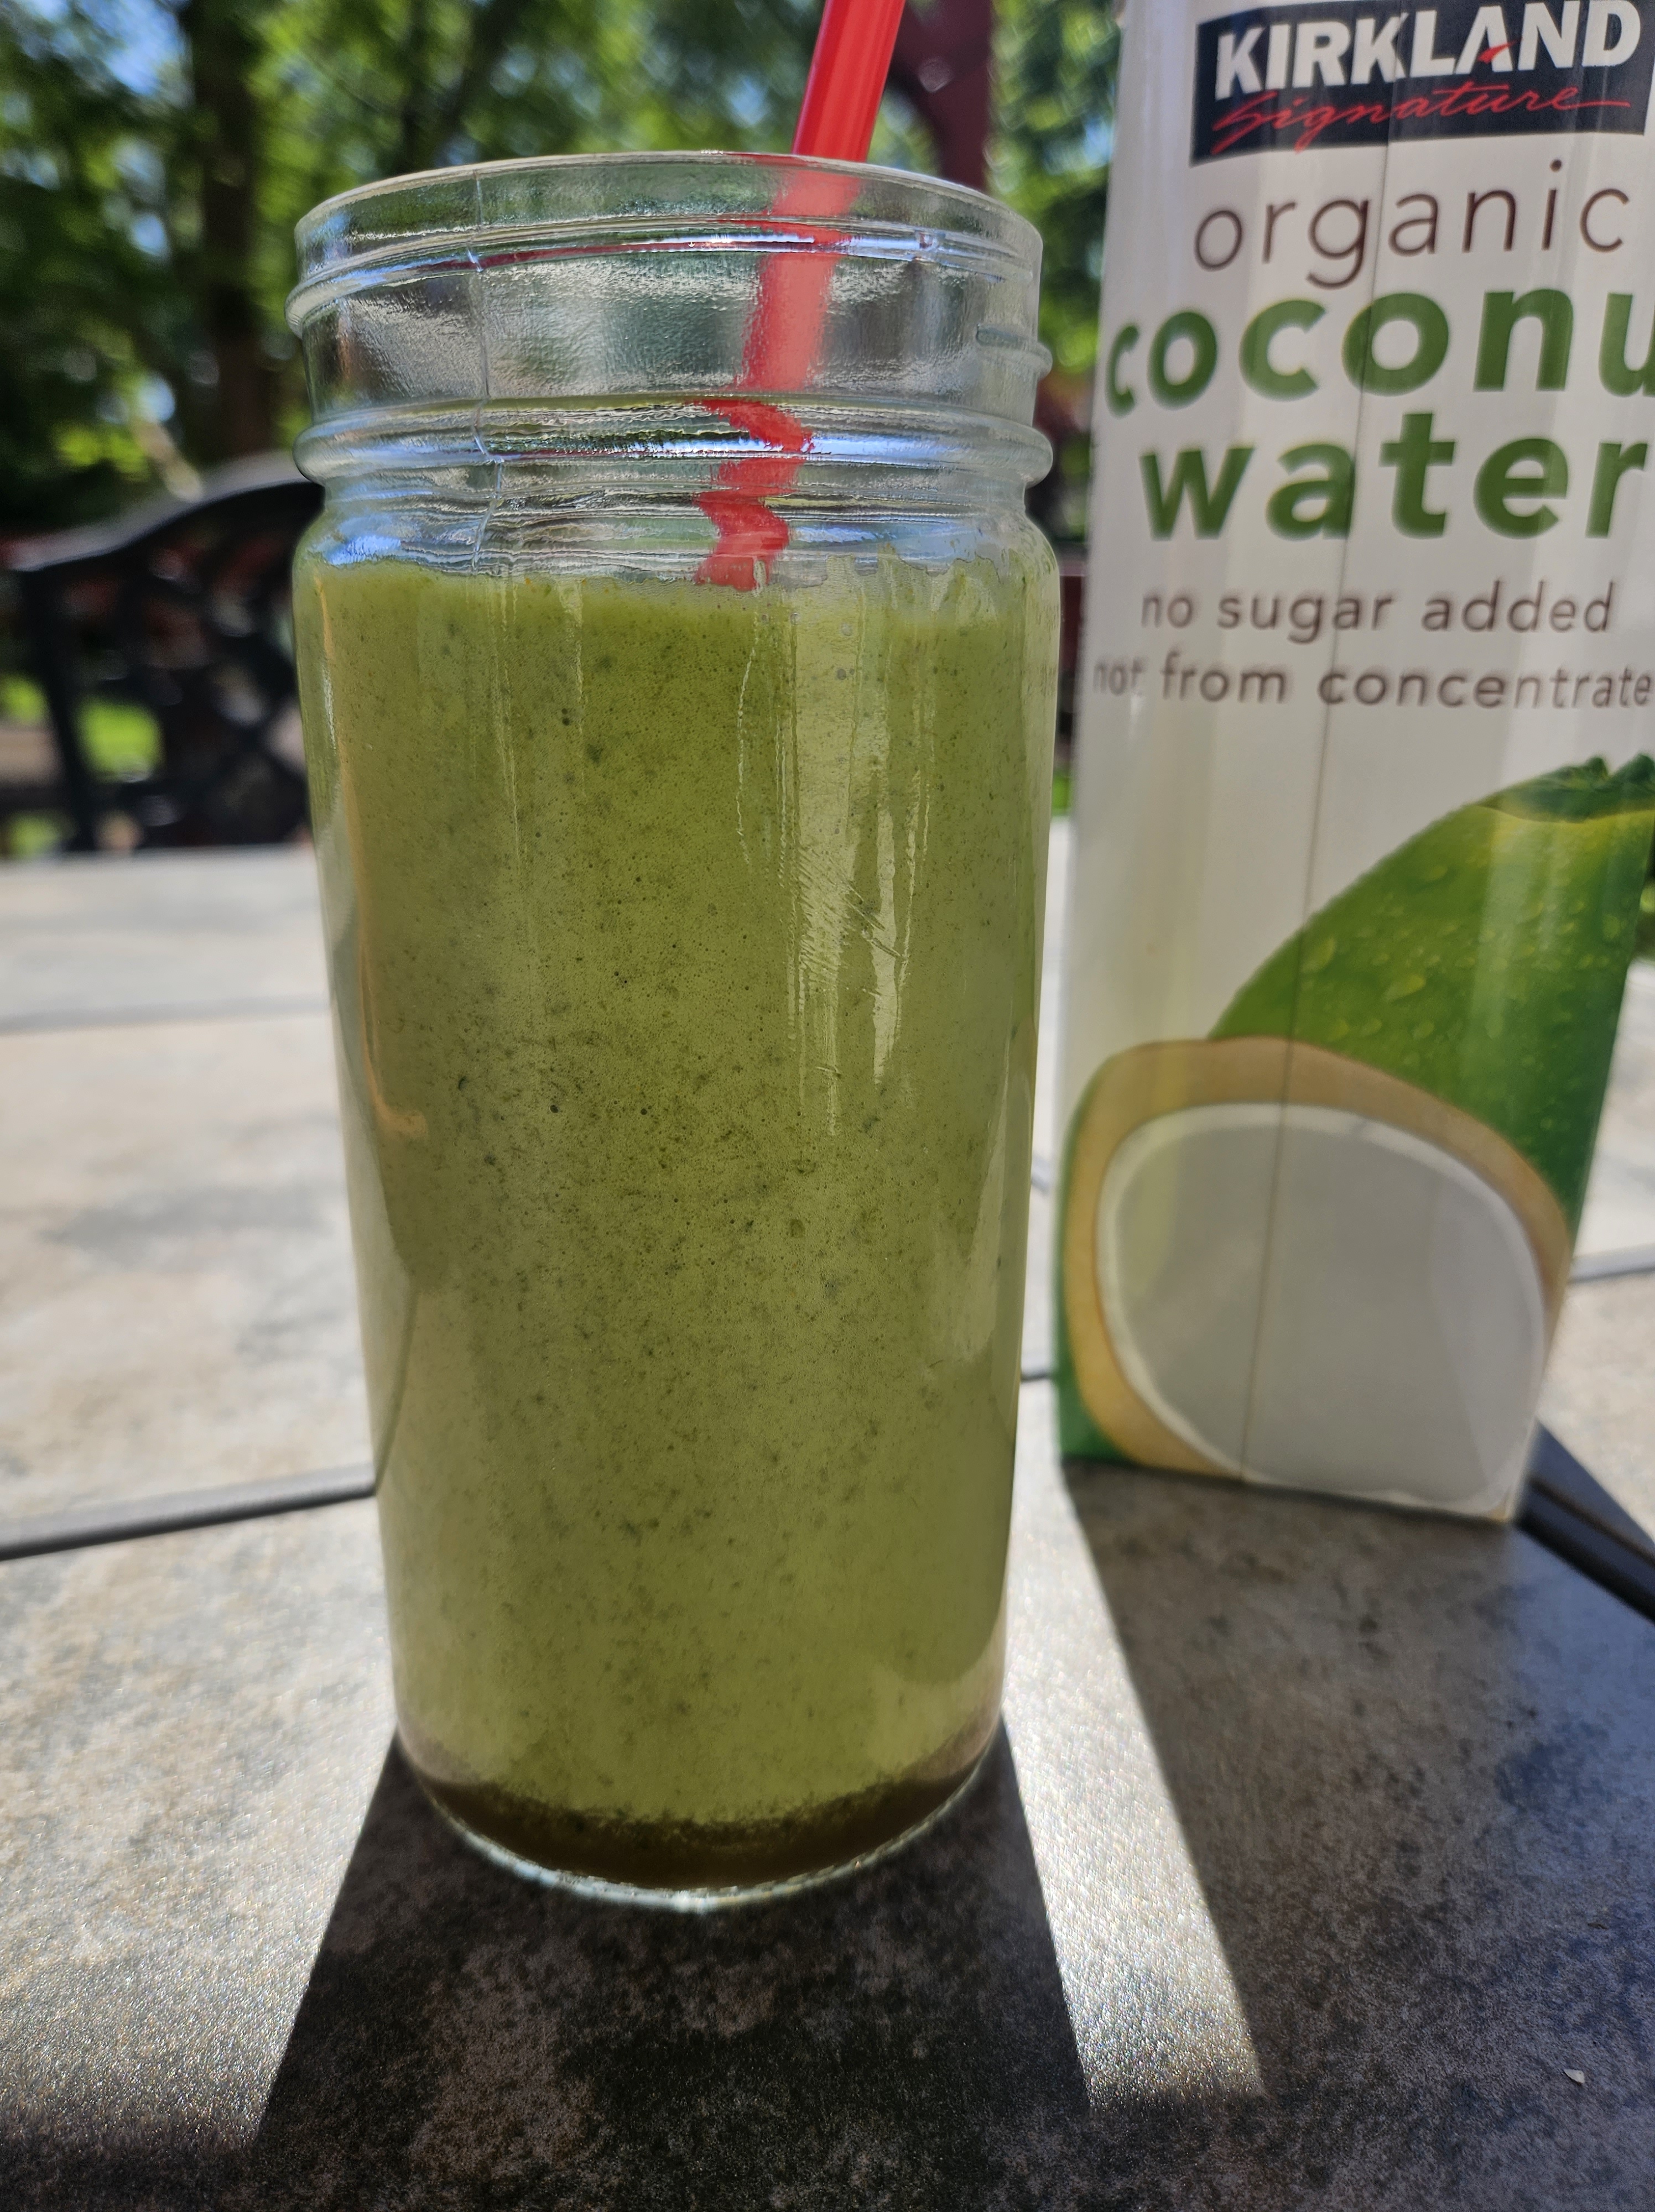
Turmeric is loaded with many health benefits. The curcumin in turmeric gives it the beautiful yellow color and spice flavor but is also a powerful anti-inflammatory and antioxidant. Ginger has…
Read More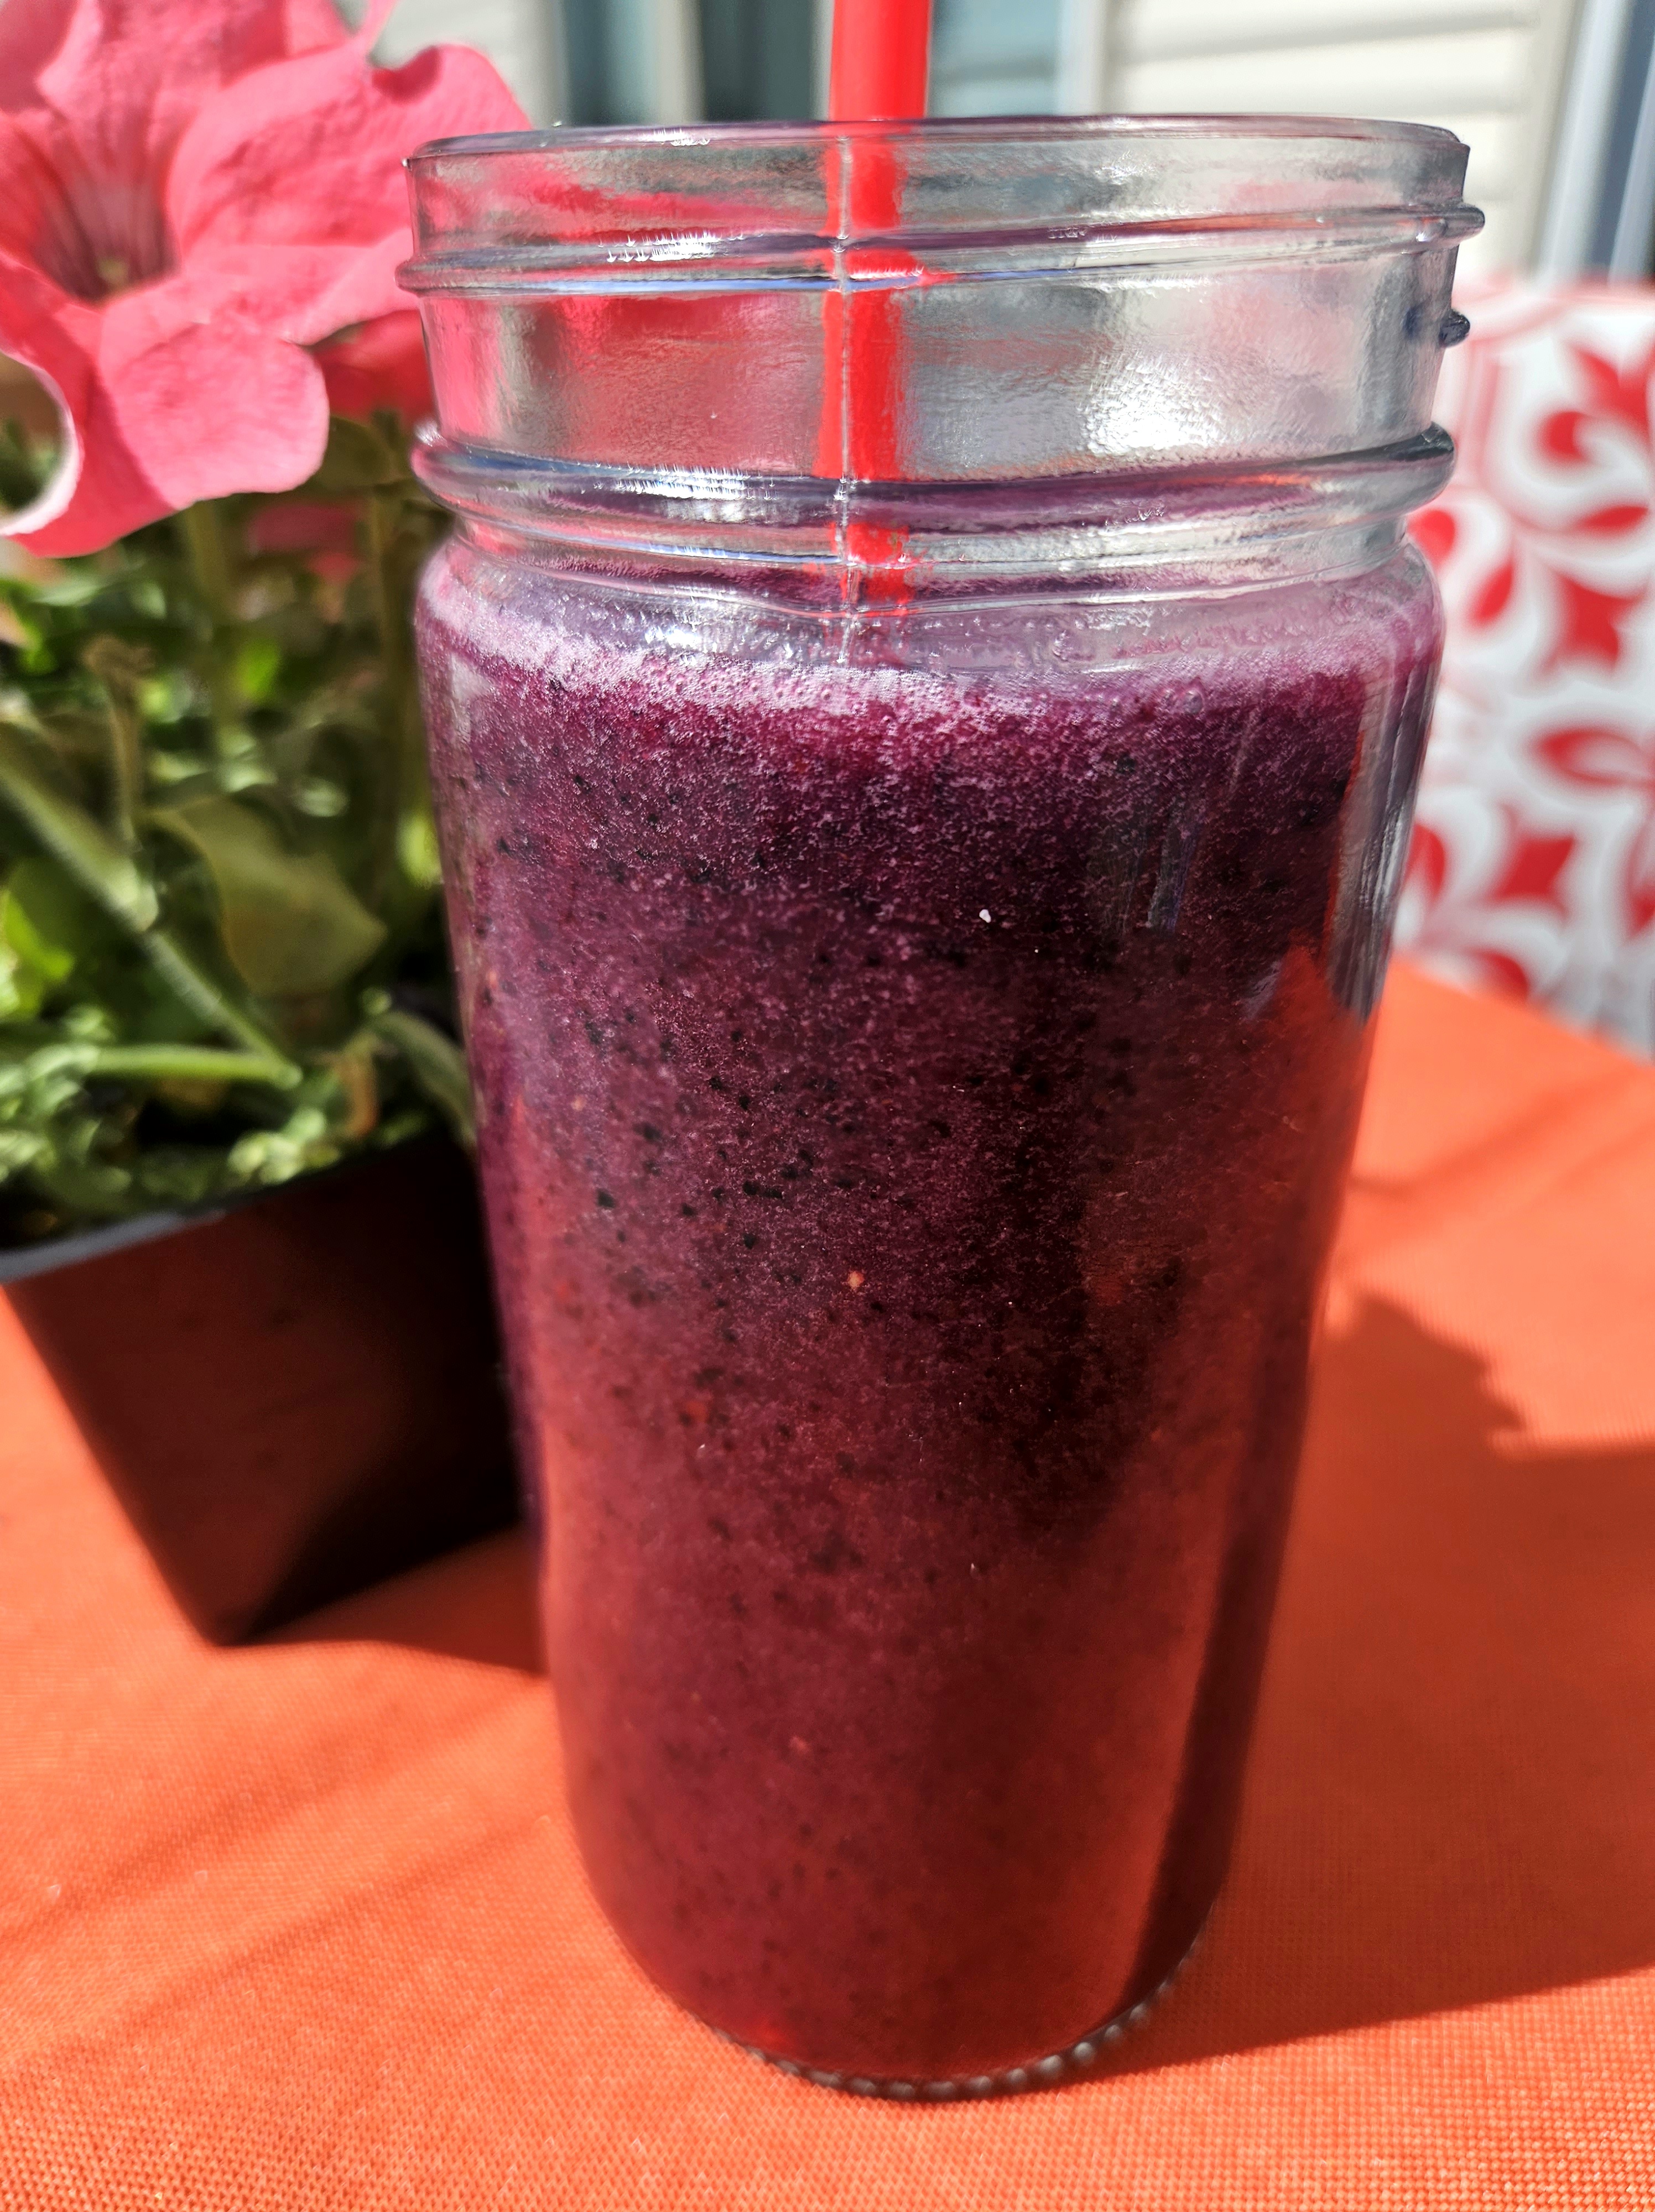
Nourish your body with a refreshing, 3-ingredient but yet antioxidant, potassium-filled dairy-free smoothie. Servings:2 large servings Ingredients: 1.5 cups frozen berry mix (or if using fresh berries, add a couple…
Read More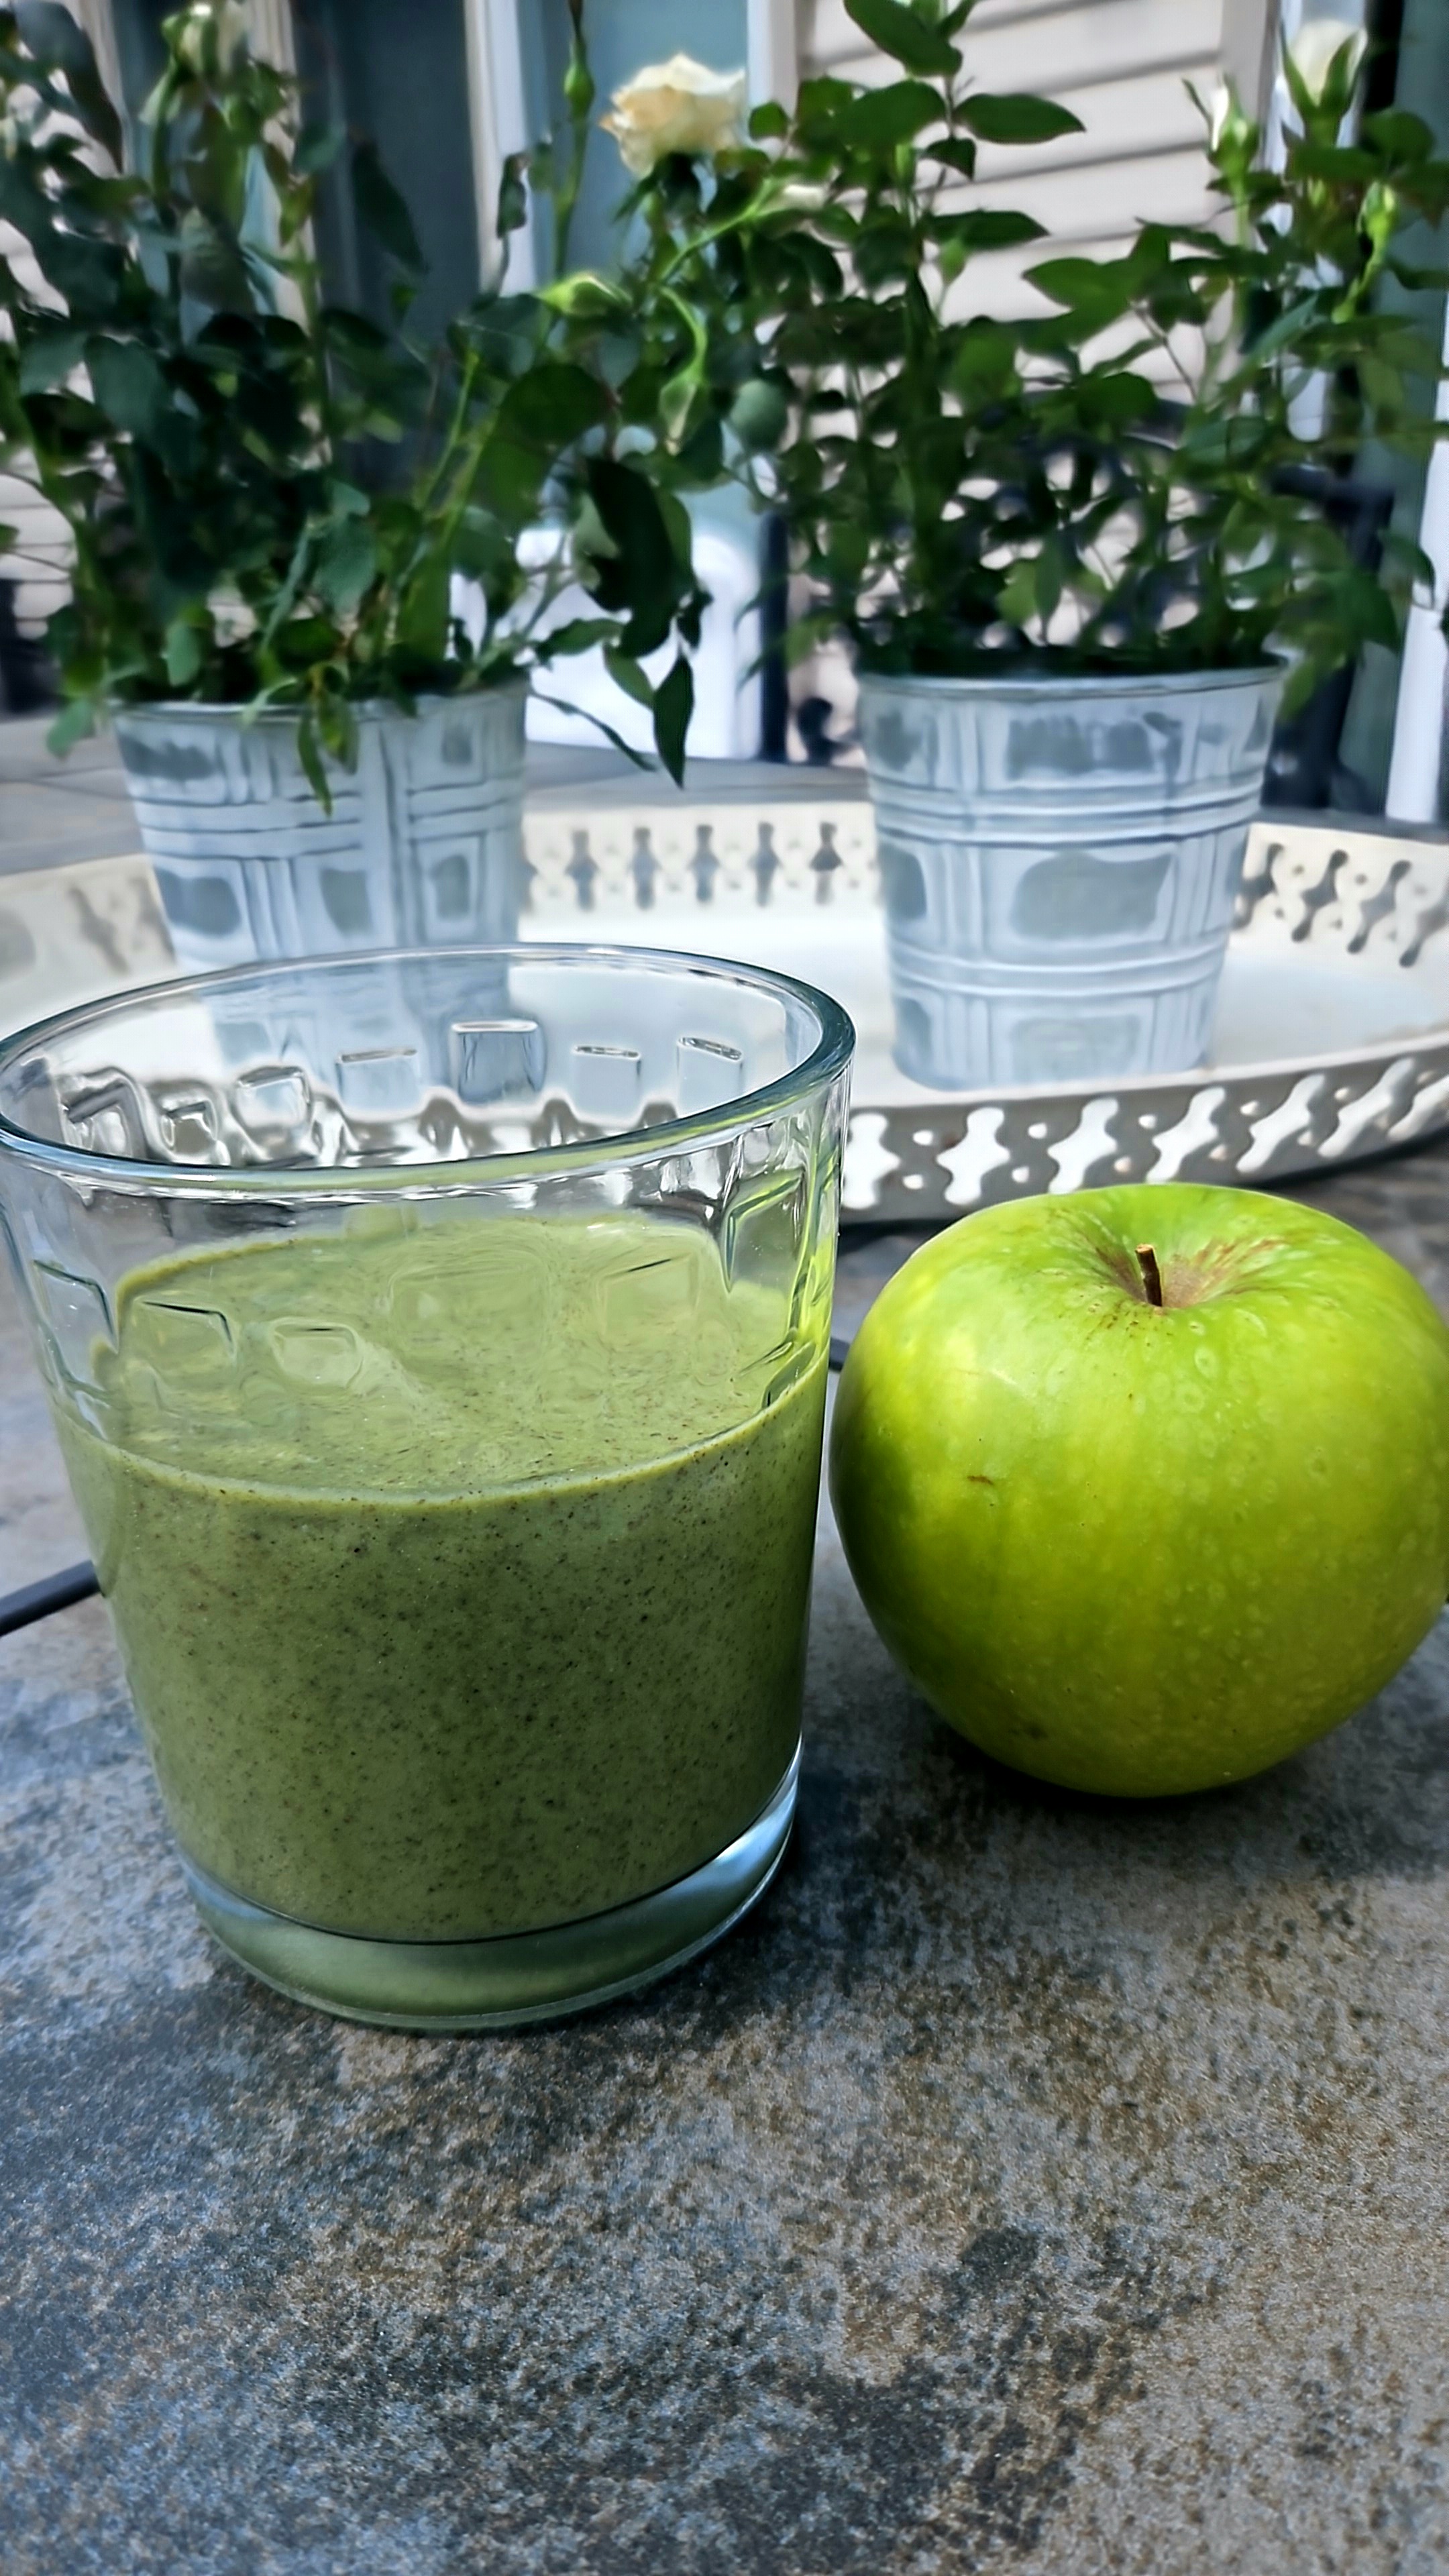
A vegan, simple, delicious, cleansing smoothie with all the goodness of apples, spinach, fiber and healthy fats. It tastes great and will leave you satiated. Total time: under 10 minutes…
Read More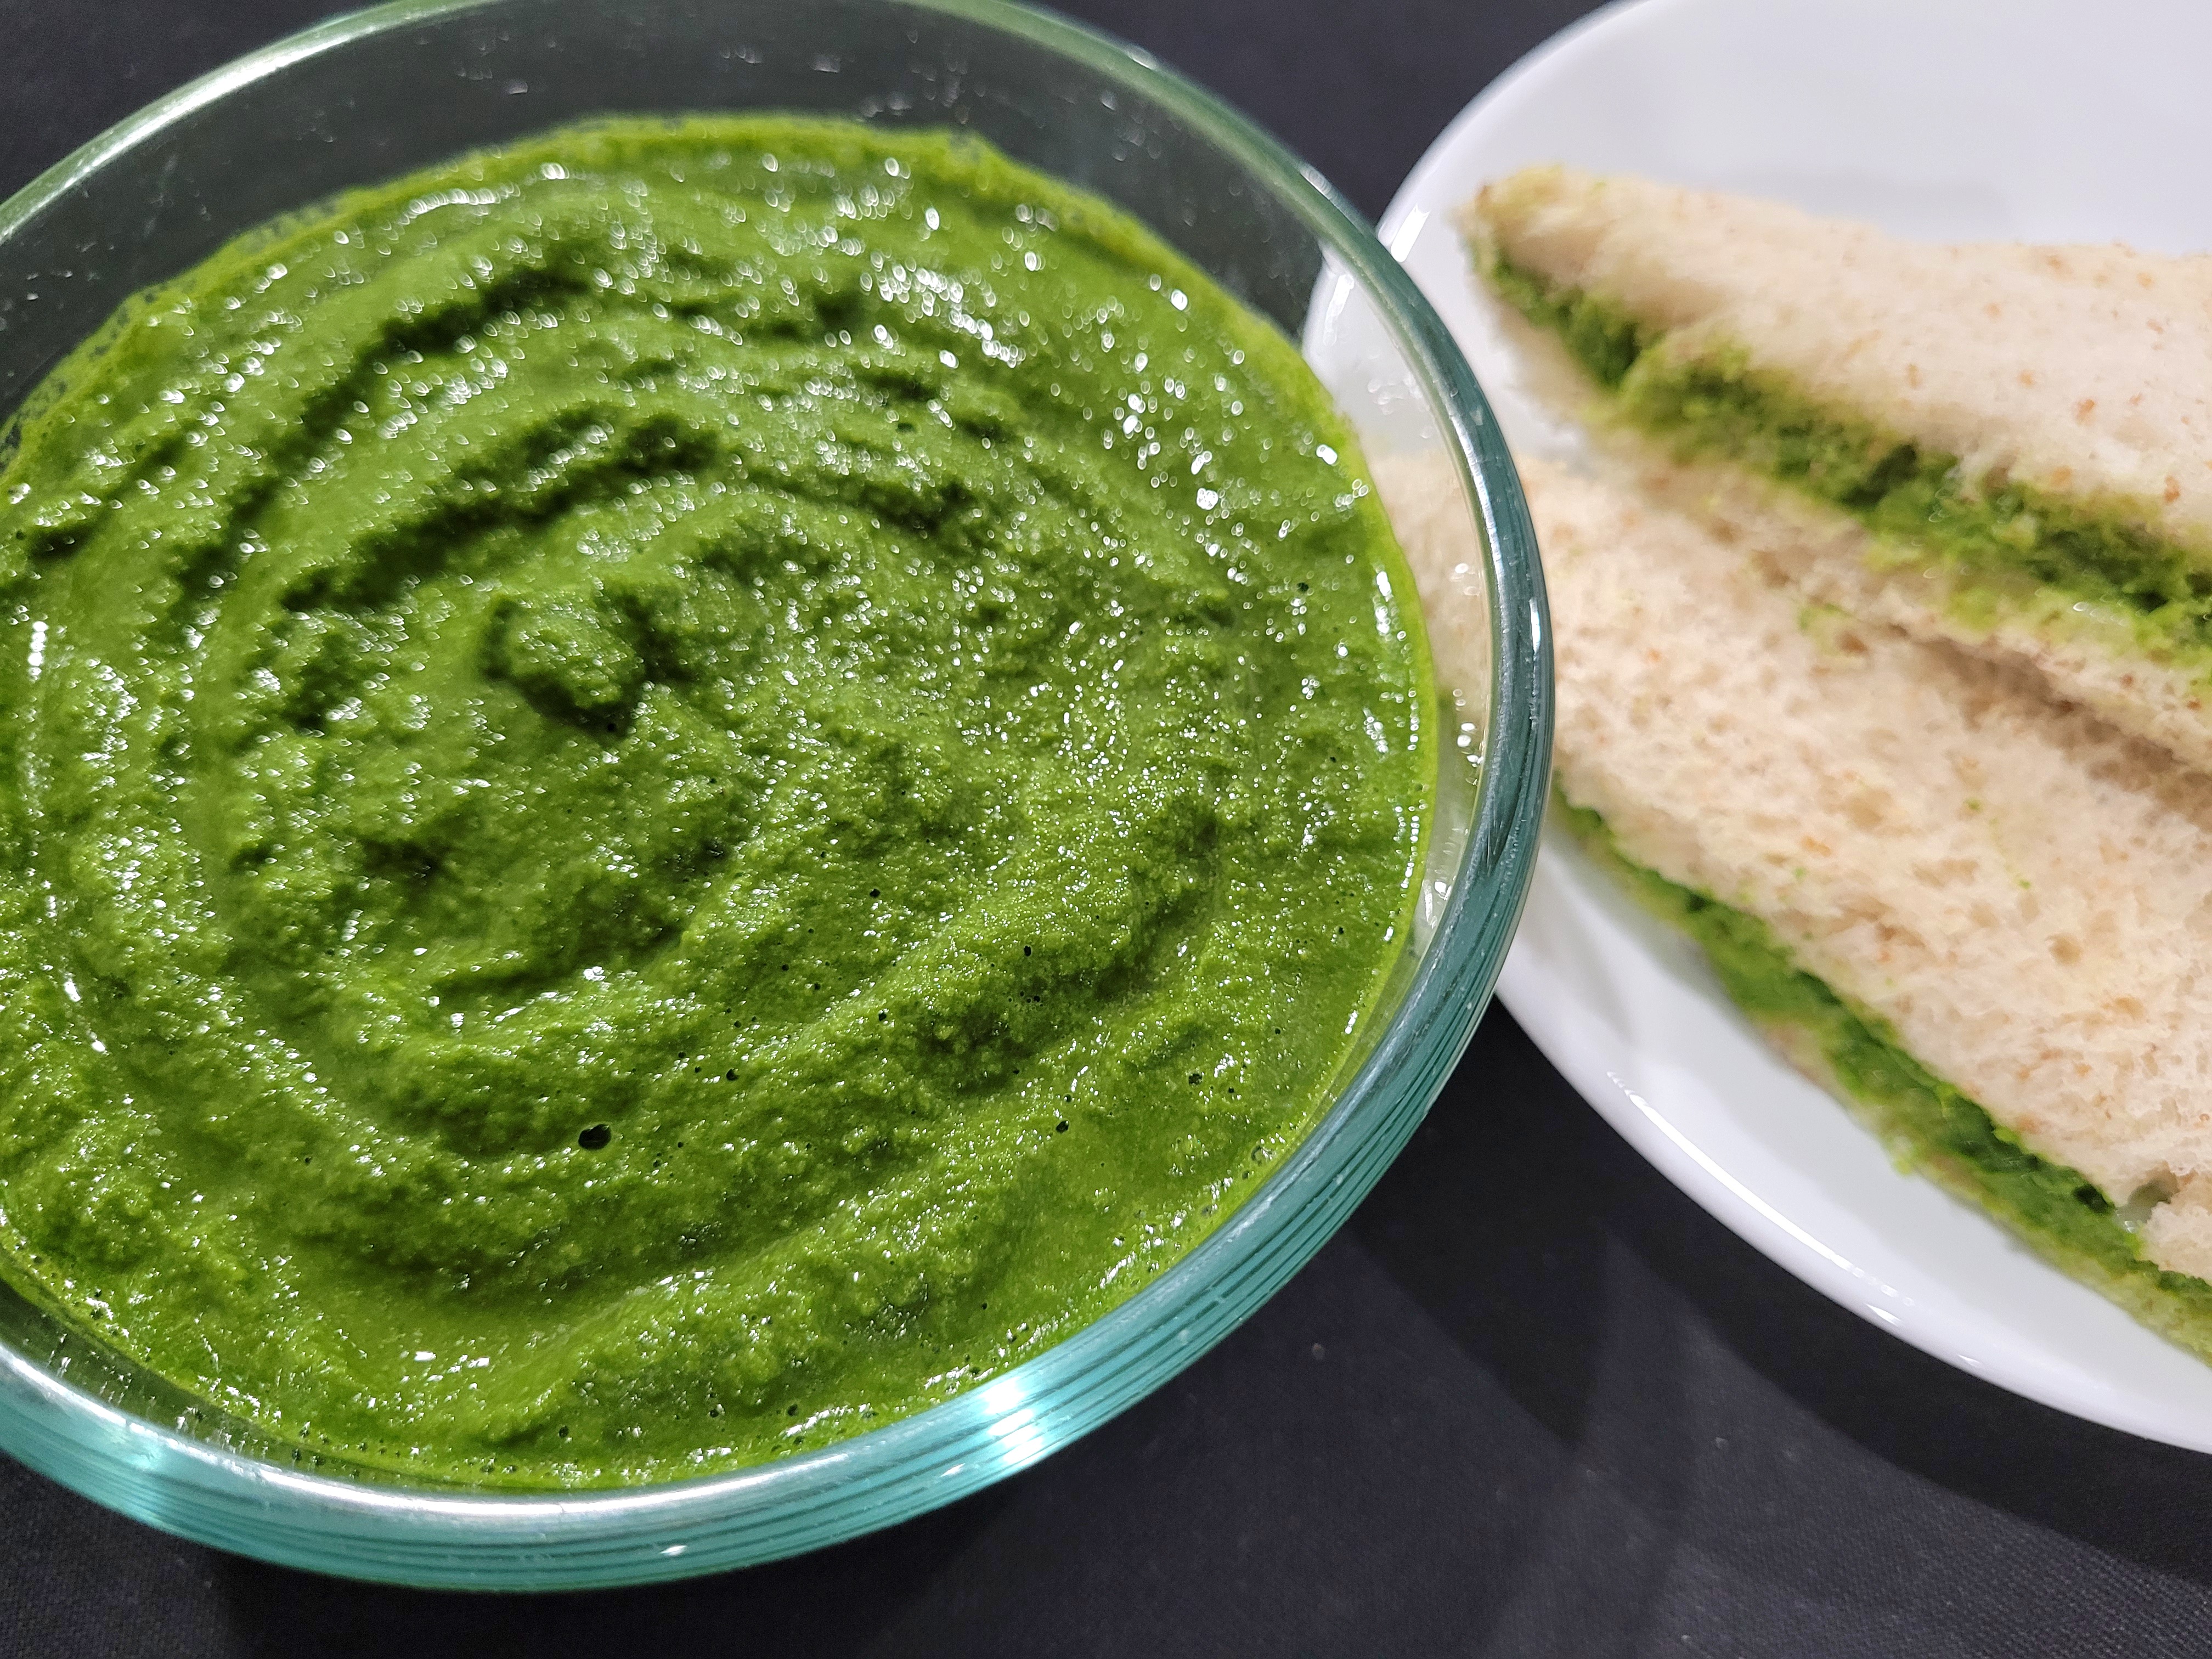
A staple of train journeys while we were growing up - chutney sandwiches. Each summer, we journeyed from Nagpur to Margao, Gap, about 1600 kms, to visit our grandparents. At…
Read More
Parathas are griddle fried, Indian flatbreads. These unleavened breads are easy to make and are a favorite in our home. Made with whole wheat, water, and ghee/olive oil for a…
Read More
Pronounced pa-ra-thas, these delicious, healthy, flaky, unleavened Indian flatbreads, are made with whole wheat flour. These are best enjoyed warm with curries, lentils or vegetable dishes. They are also a…
Read More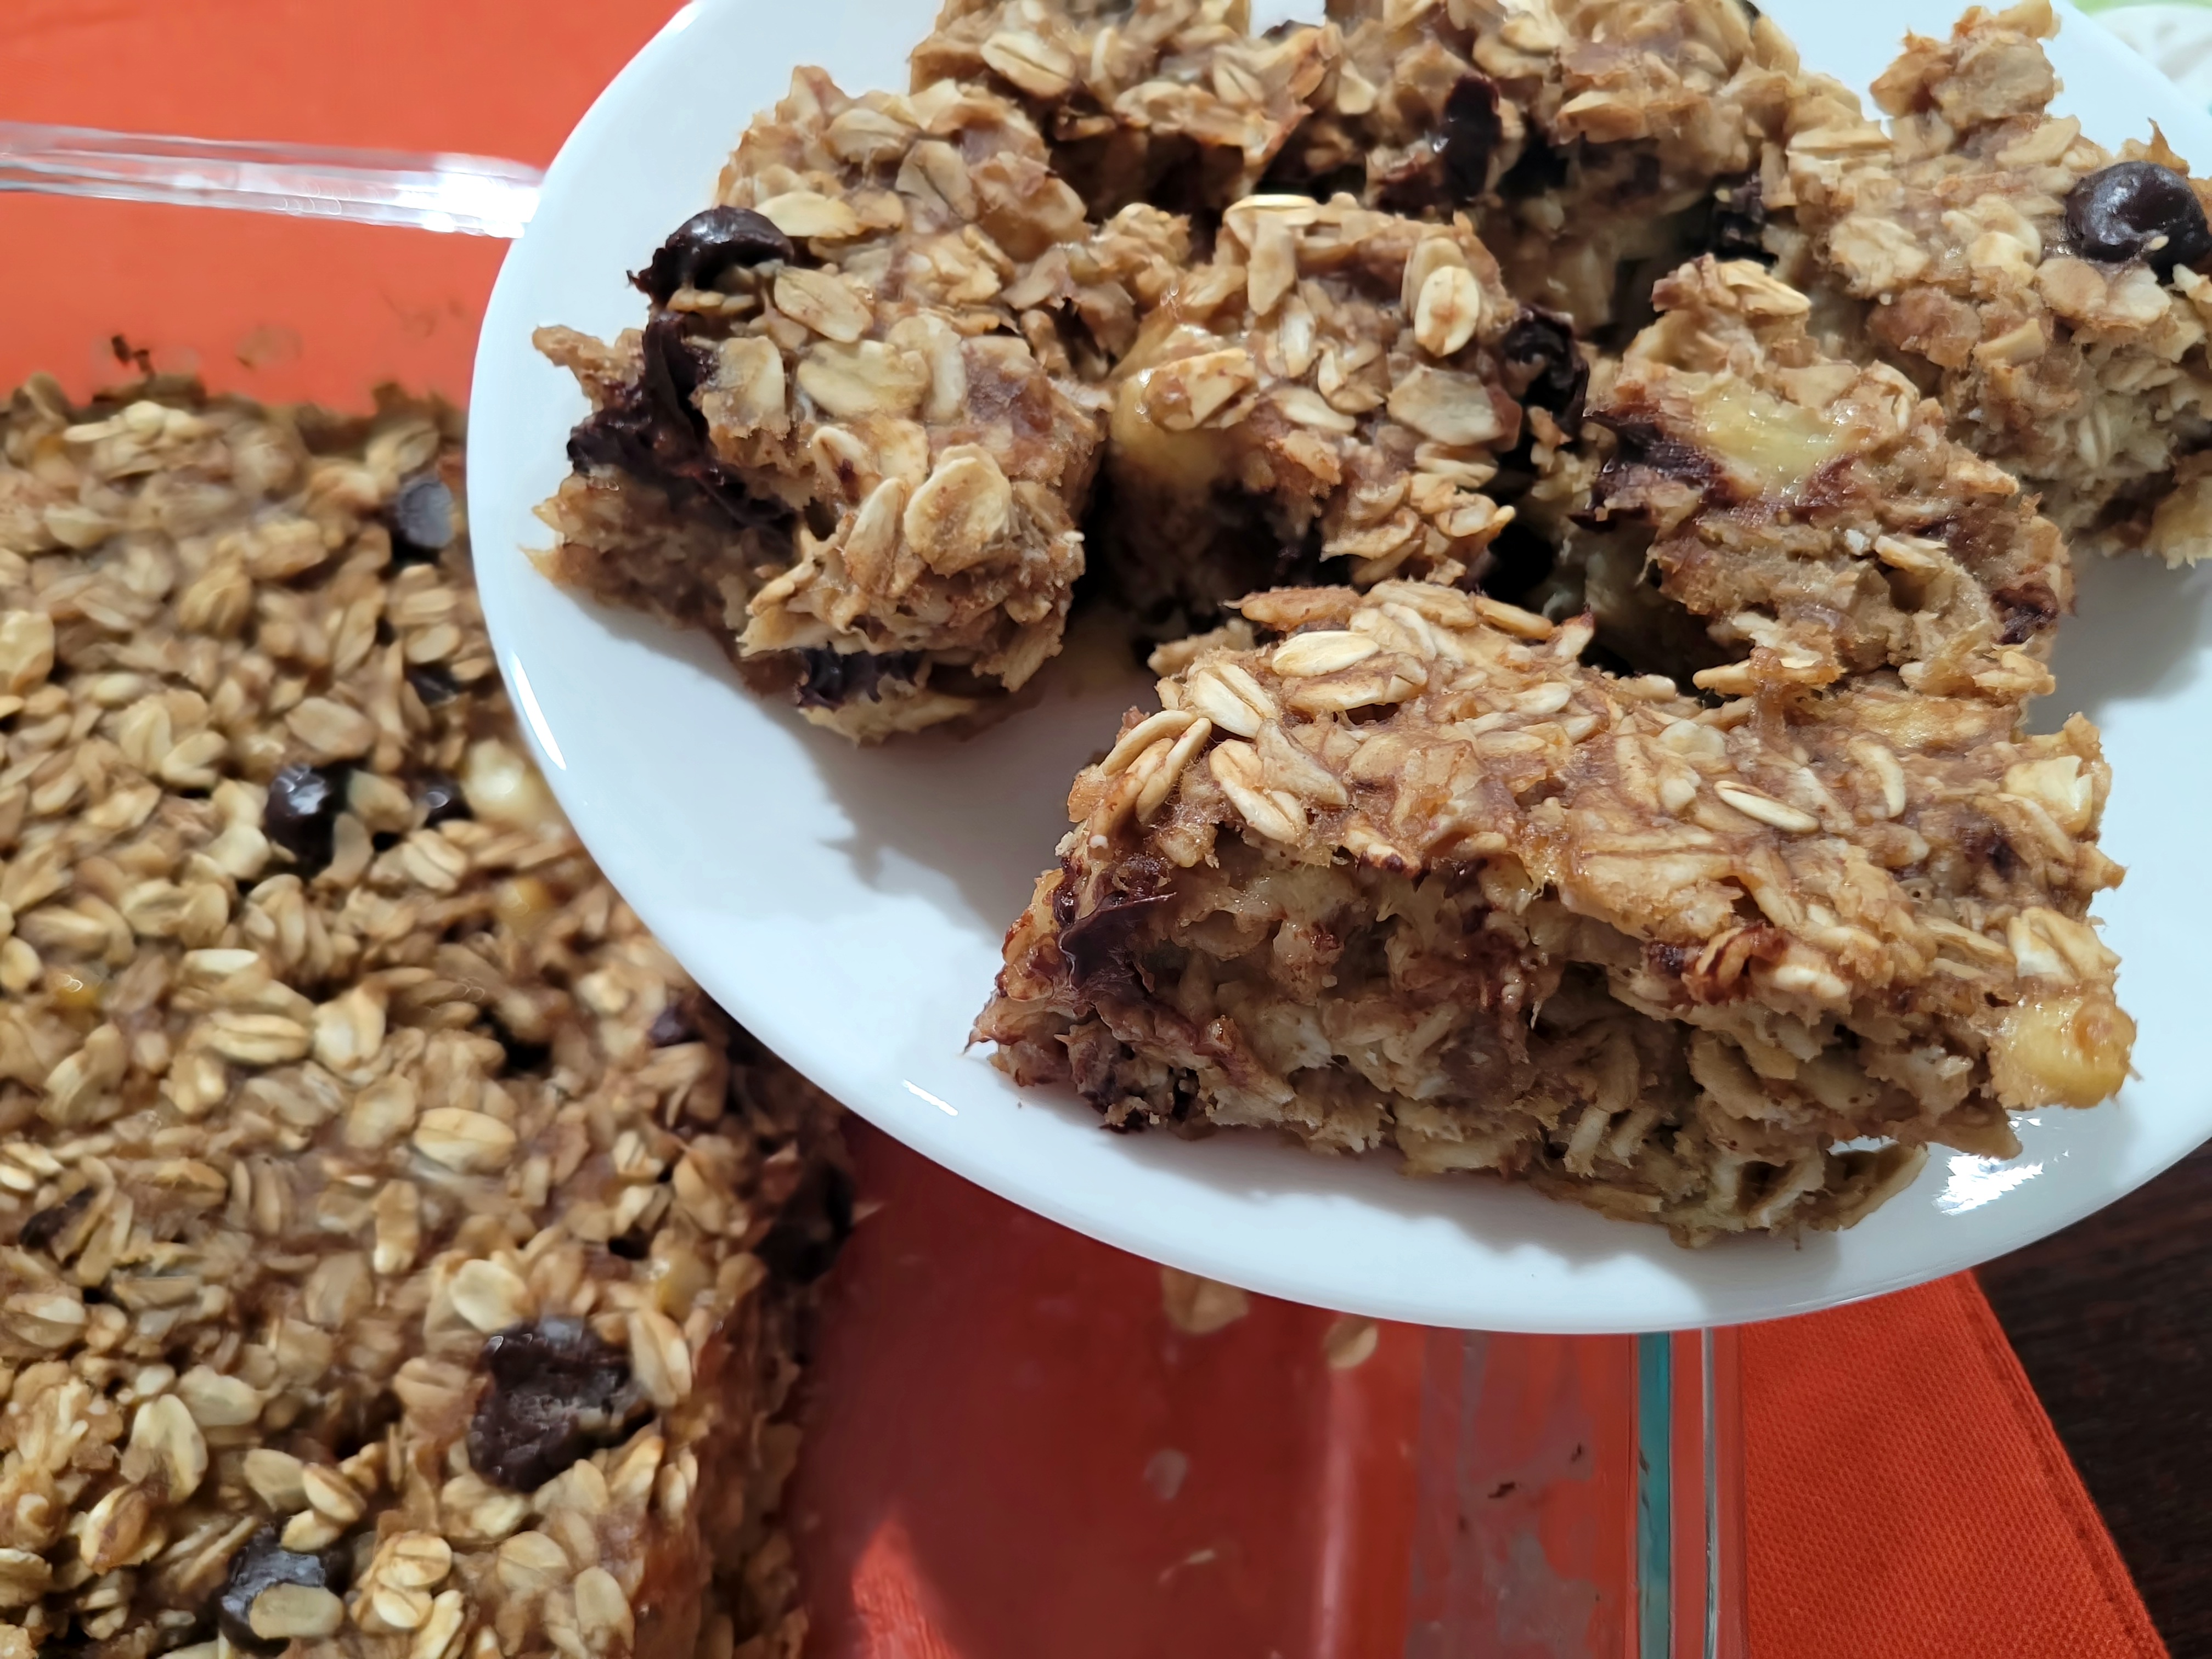
Thick, chewy, oozing with goodness and made with only four ingredients, these bars come together in a jiffy. They are clean and nutritious, and devoid of artificial ingredients with the…
Read More
Delicious, succulent meatballs that are smothered with a sauce that is sweet and tangy make for a side dish, appetizer or main dish. Serve with a side of vegetable fried…
Read More
There is so much to discover in Montmartre - lovely cobblestone streets, ivy-covered homes, the Wall of Love, cafes visited by thinkers and writers, and off-course, the bastion of Paris…
Read More
Best things to do in Paris in 3 days - how do you make the most of your trip especially with teens? Paris! The one city that seems to be…
Read More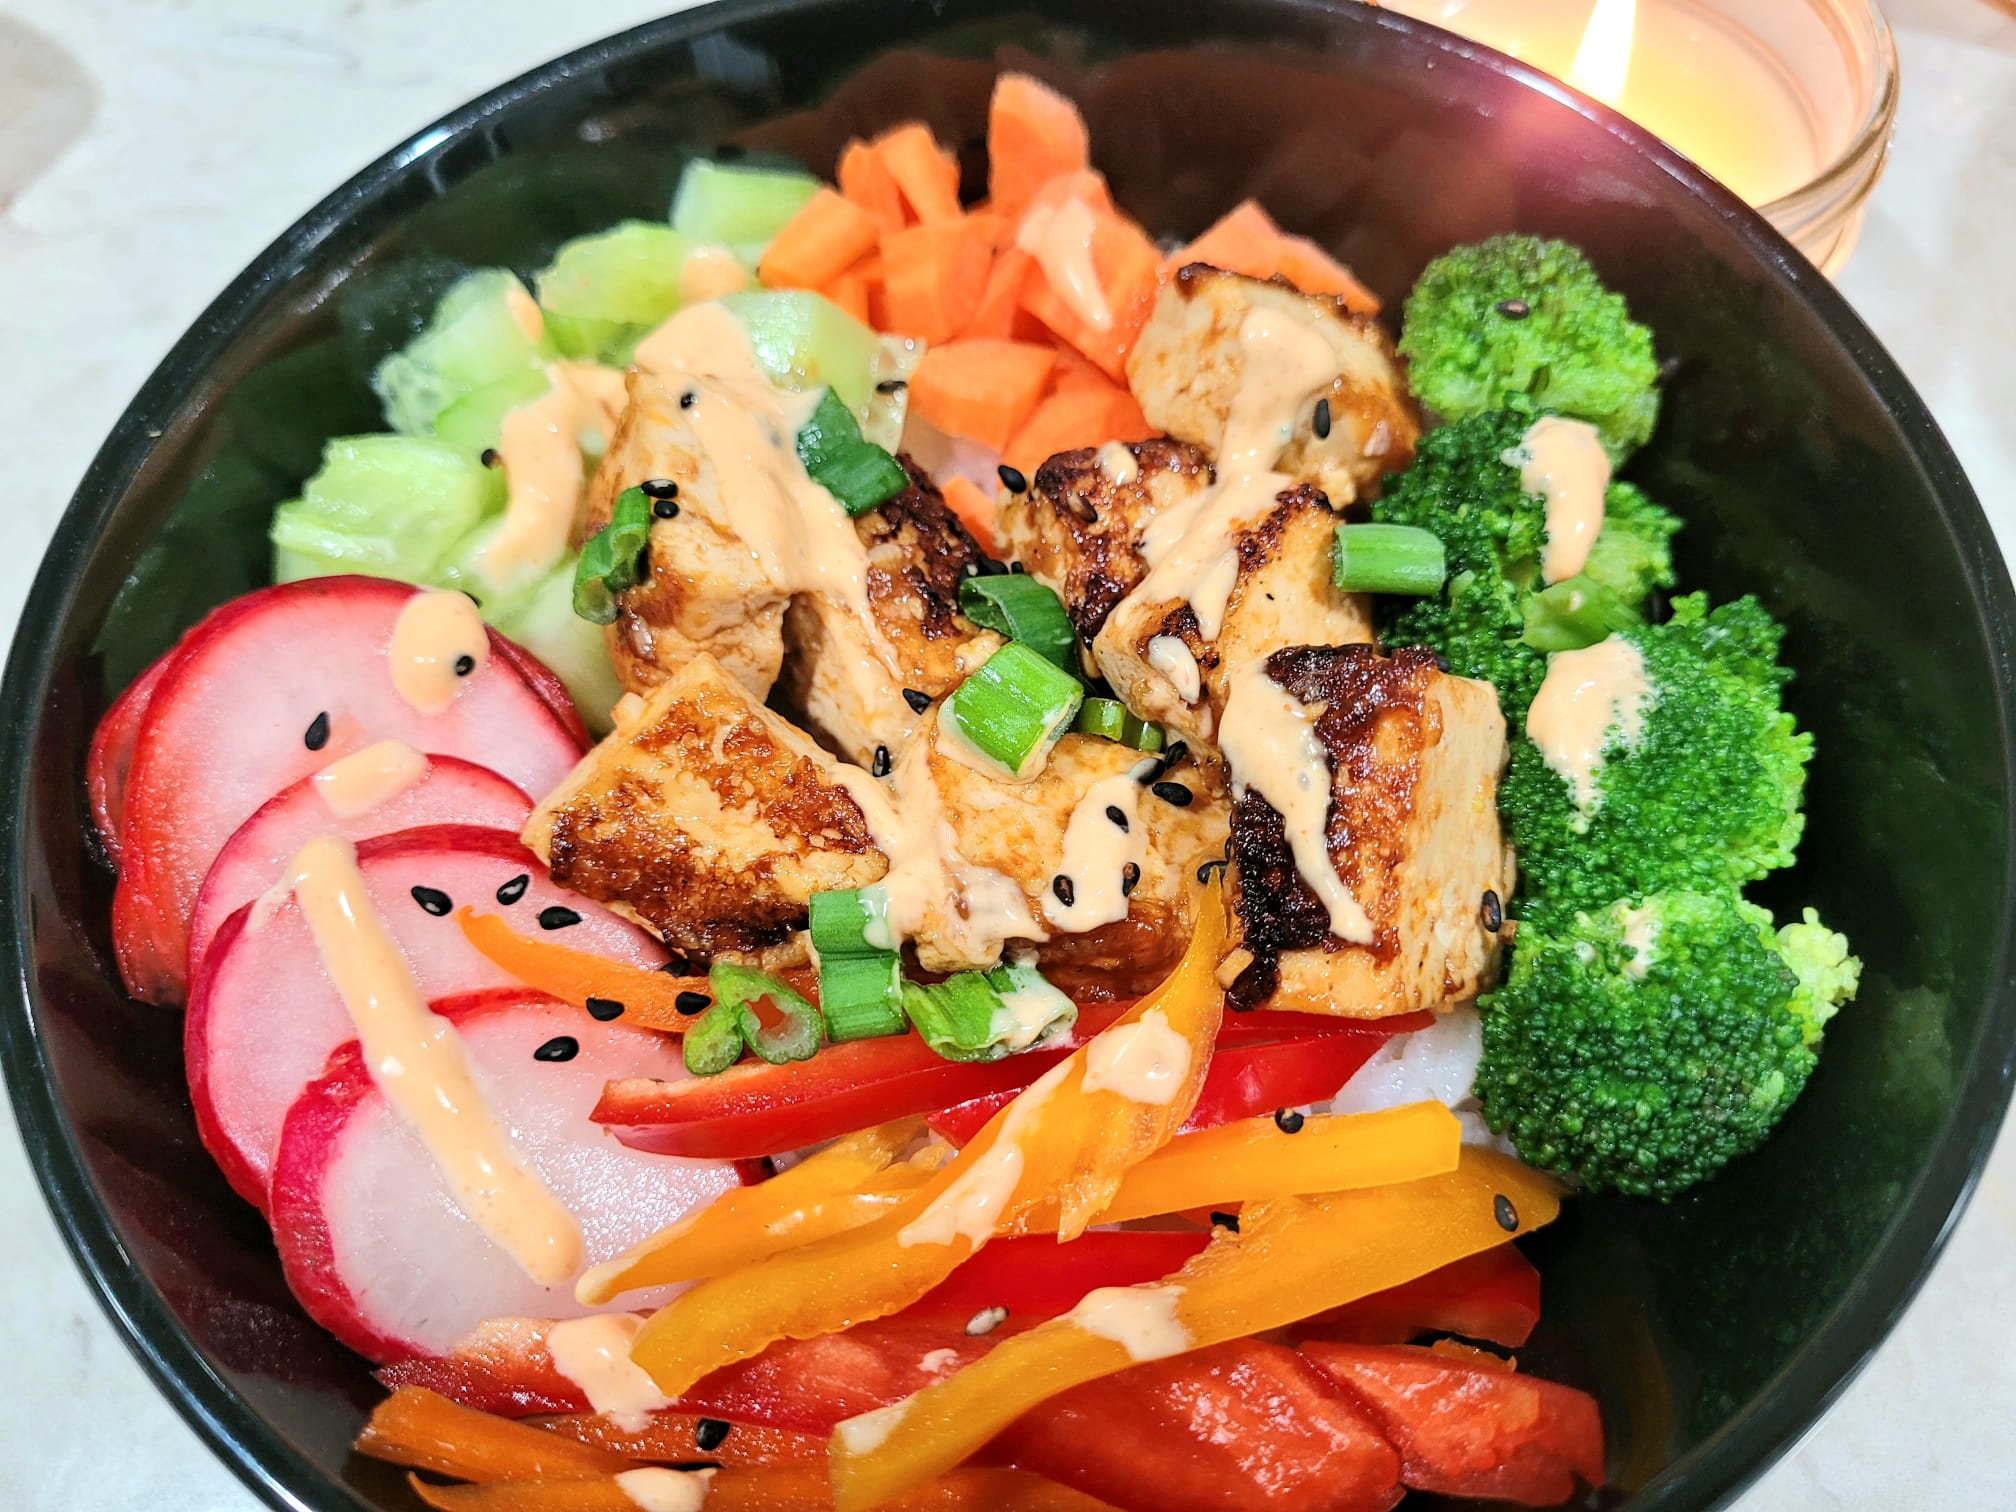
Vegan, and deliciously flavorful, this tofu bowl is worth skipping takeout for. Servings: 4 bowls Ingredients 14 ounce package extra firm tofu 2 tablespoons cornstarch 3 Tbsp toasted sesame oil Marinade: 1/2 cup tamari (or soy sauce…
Read More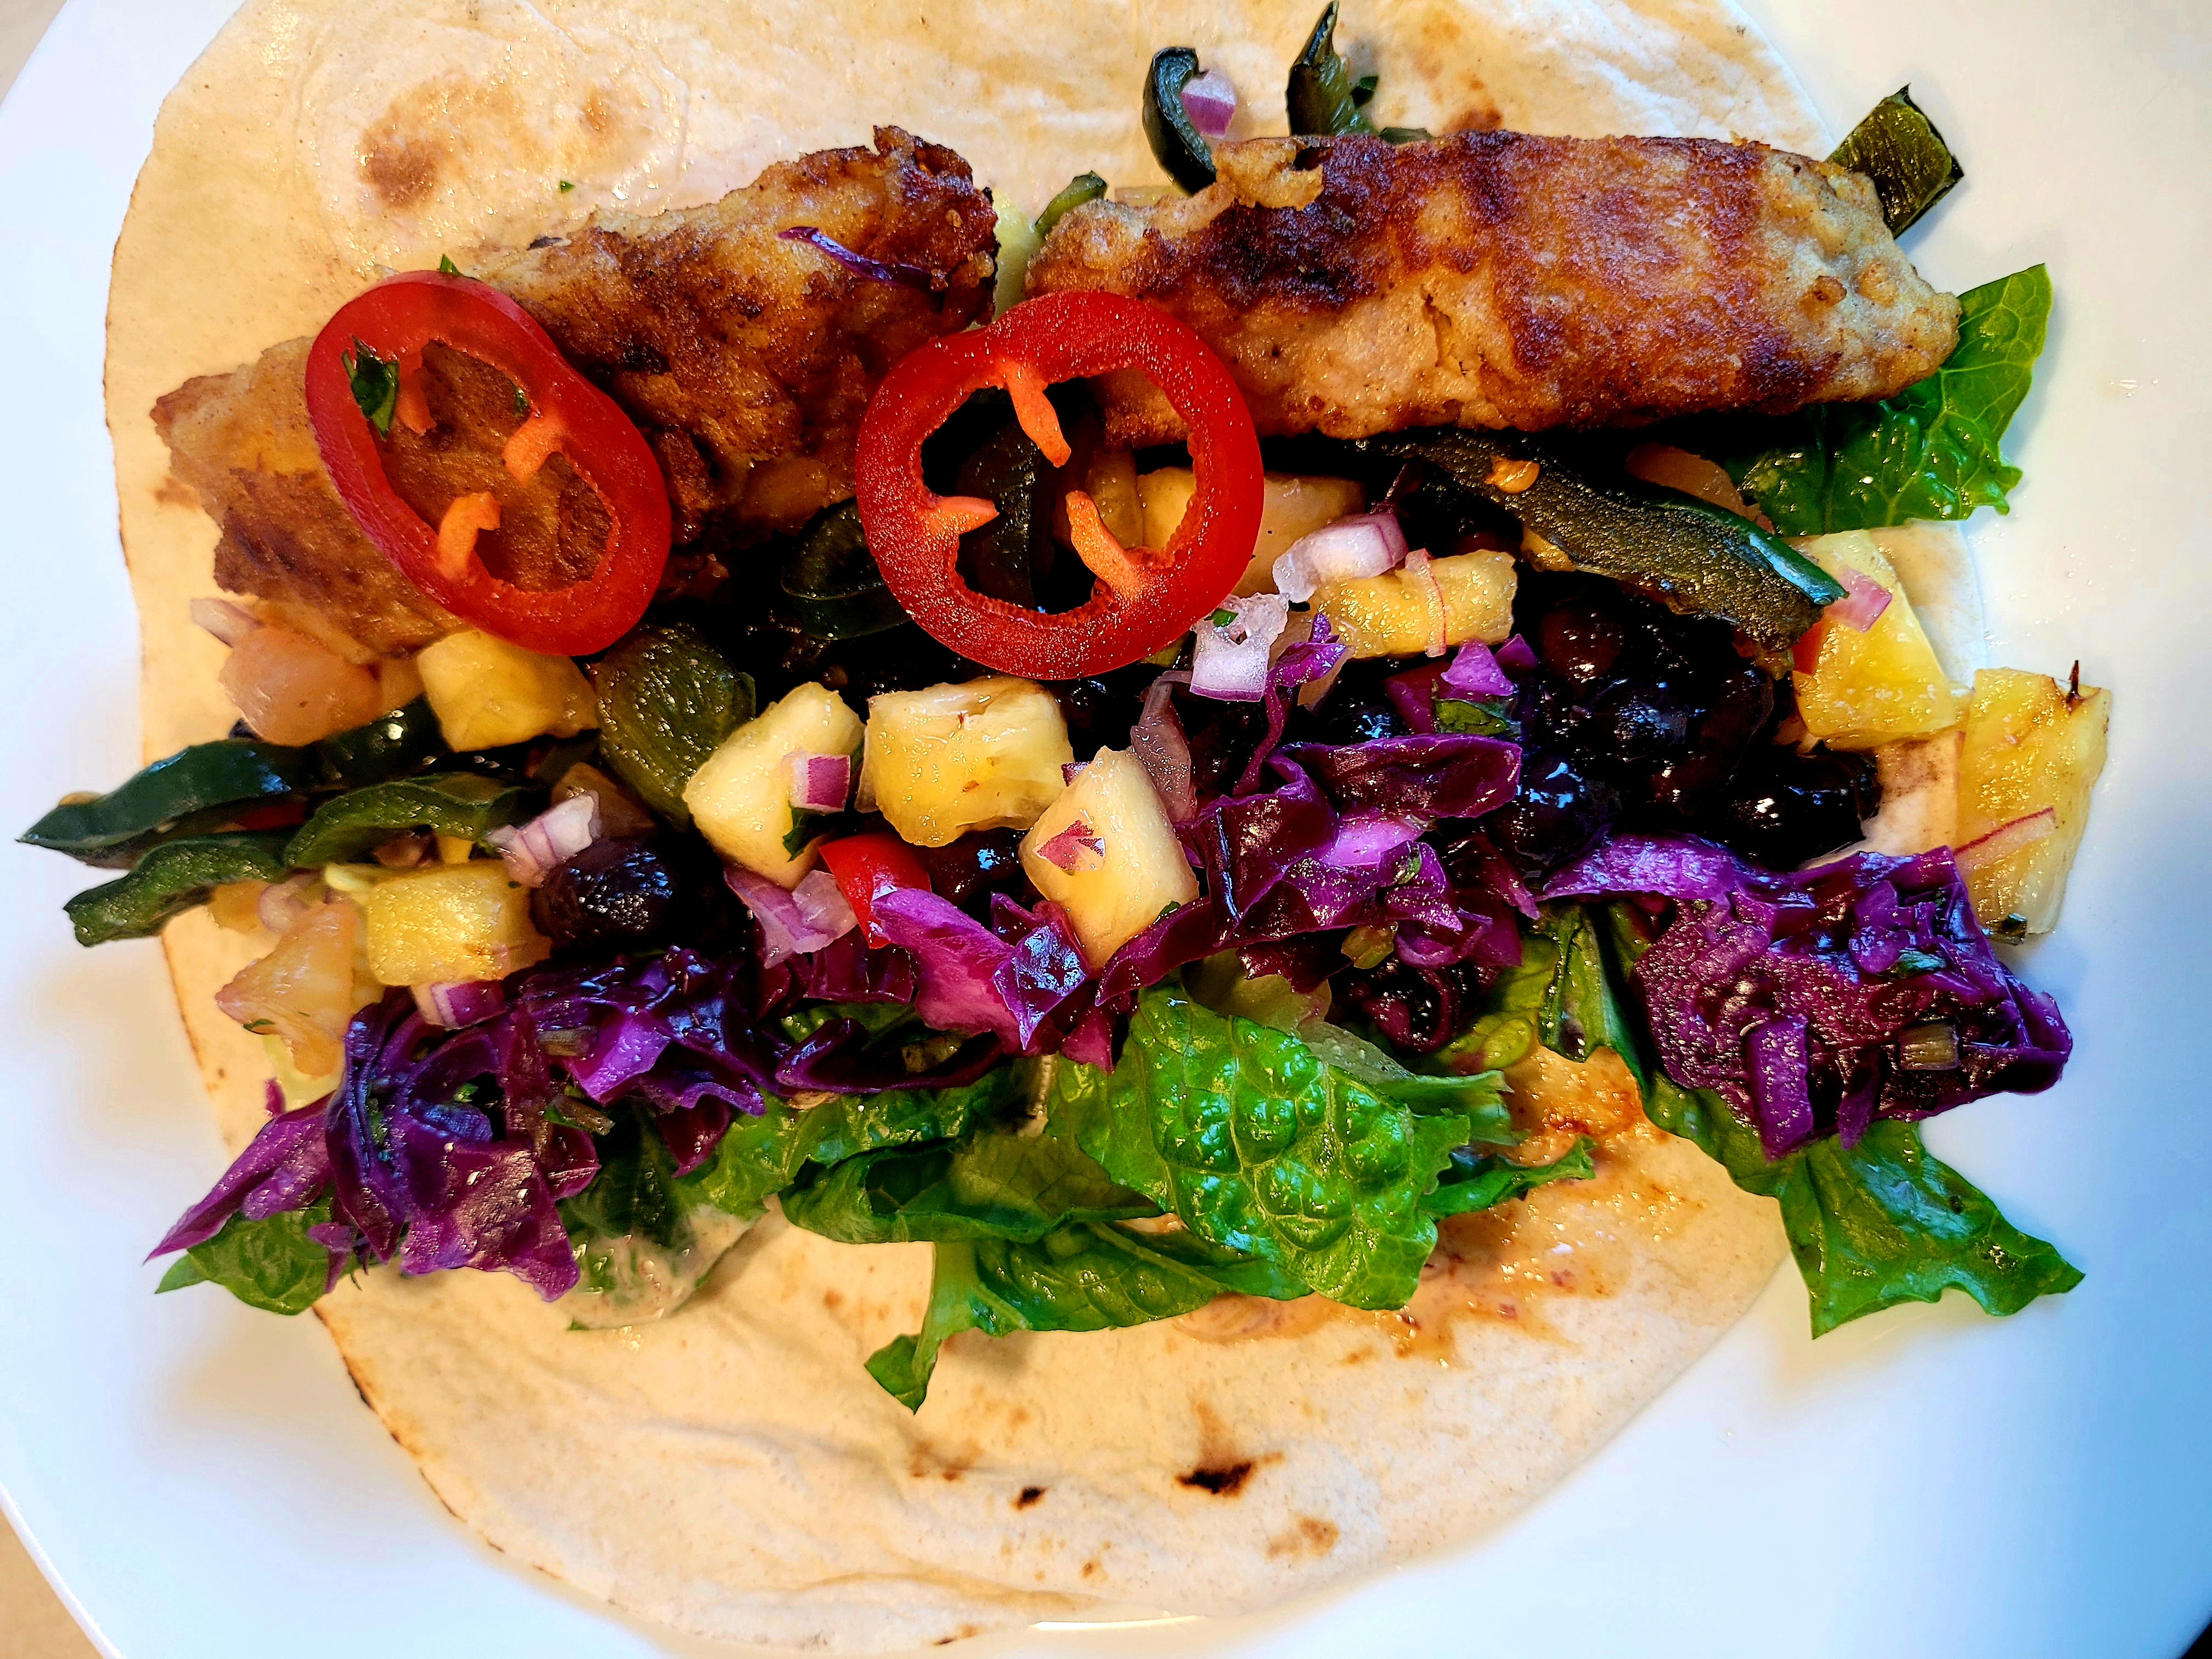
These fish tacos are the best. Easy to make, fresh, and flavorful with smoky, spicy white fish, crunchy cabbage, pineapple salsa, and the best creamy fish taco sauce! It takes…
Read More
Washington DC has some great restaurants but it almost seems like if you don't make a reservation, you are out of luck. Having been told our wait times were closer…
Read More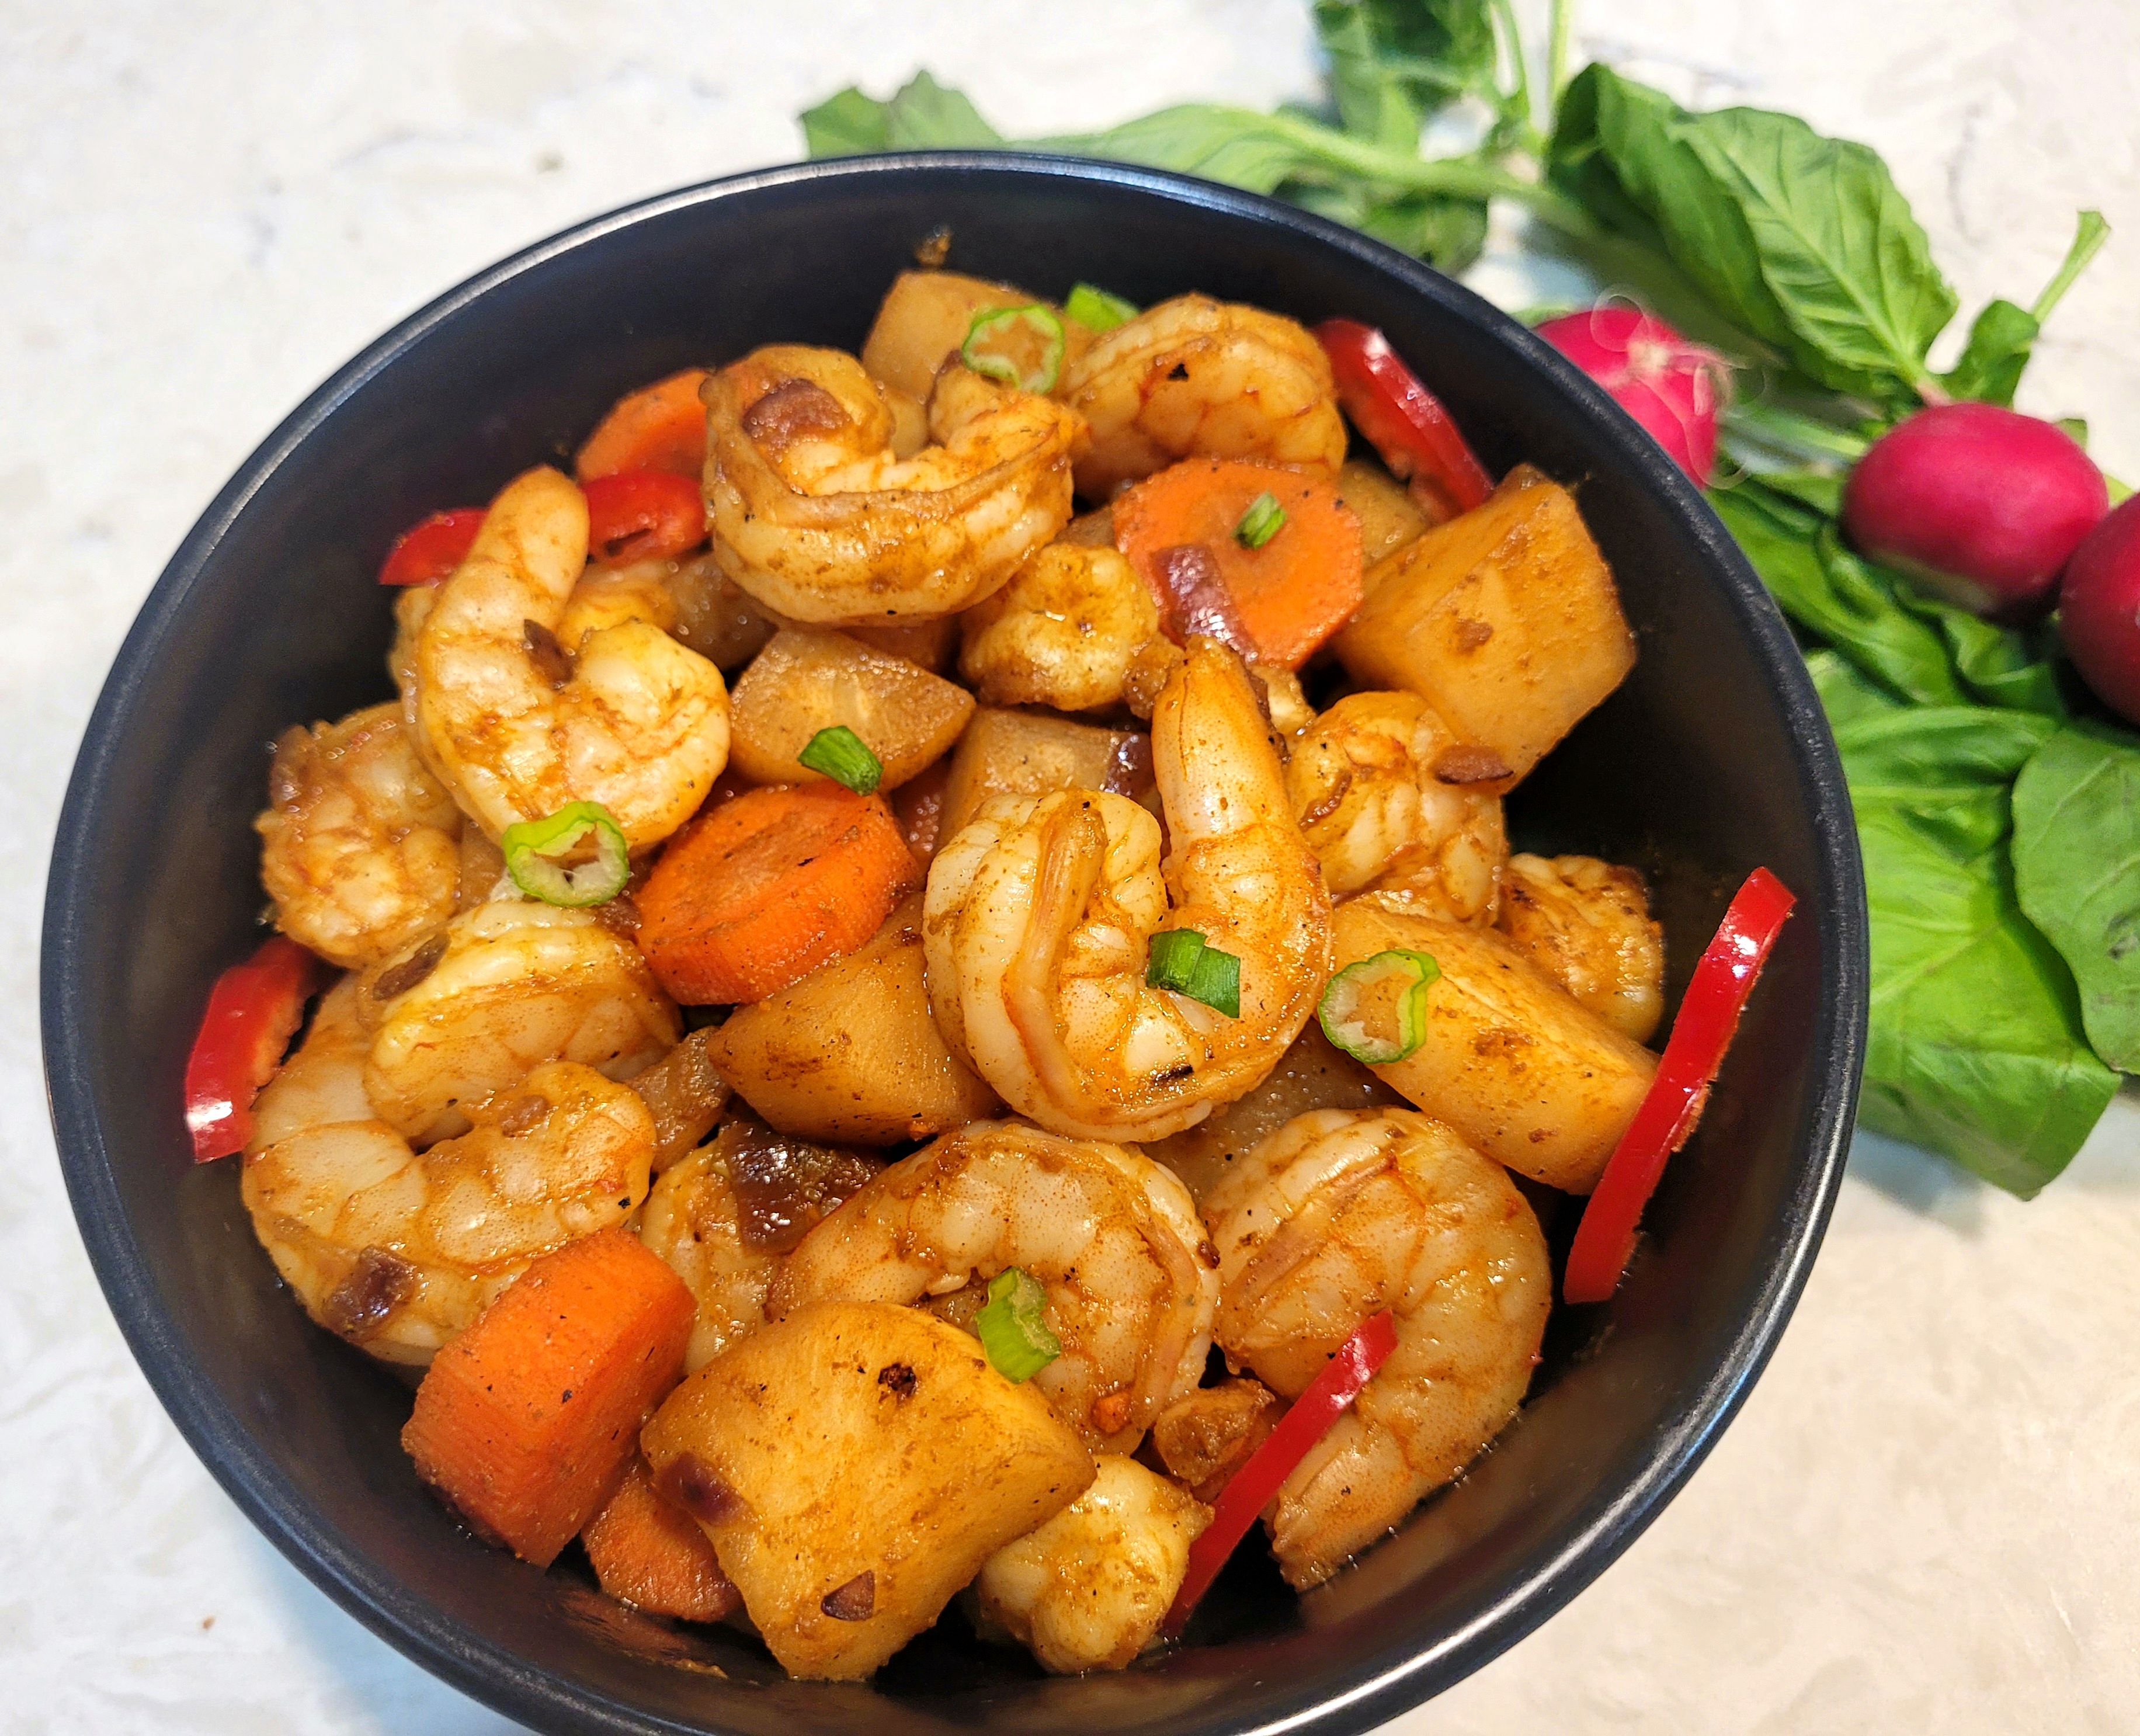
Daikon also known as the Japanese radish, is a root vegetable. Grown throughout East and South Asian countries, it’s nutritious, crunchy, refreshing and can take on different flavors depending on…
Read More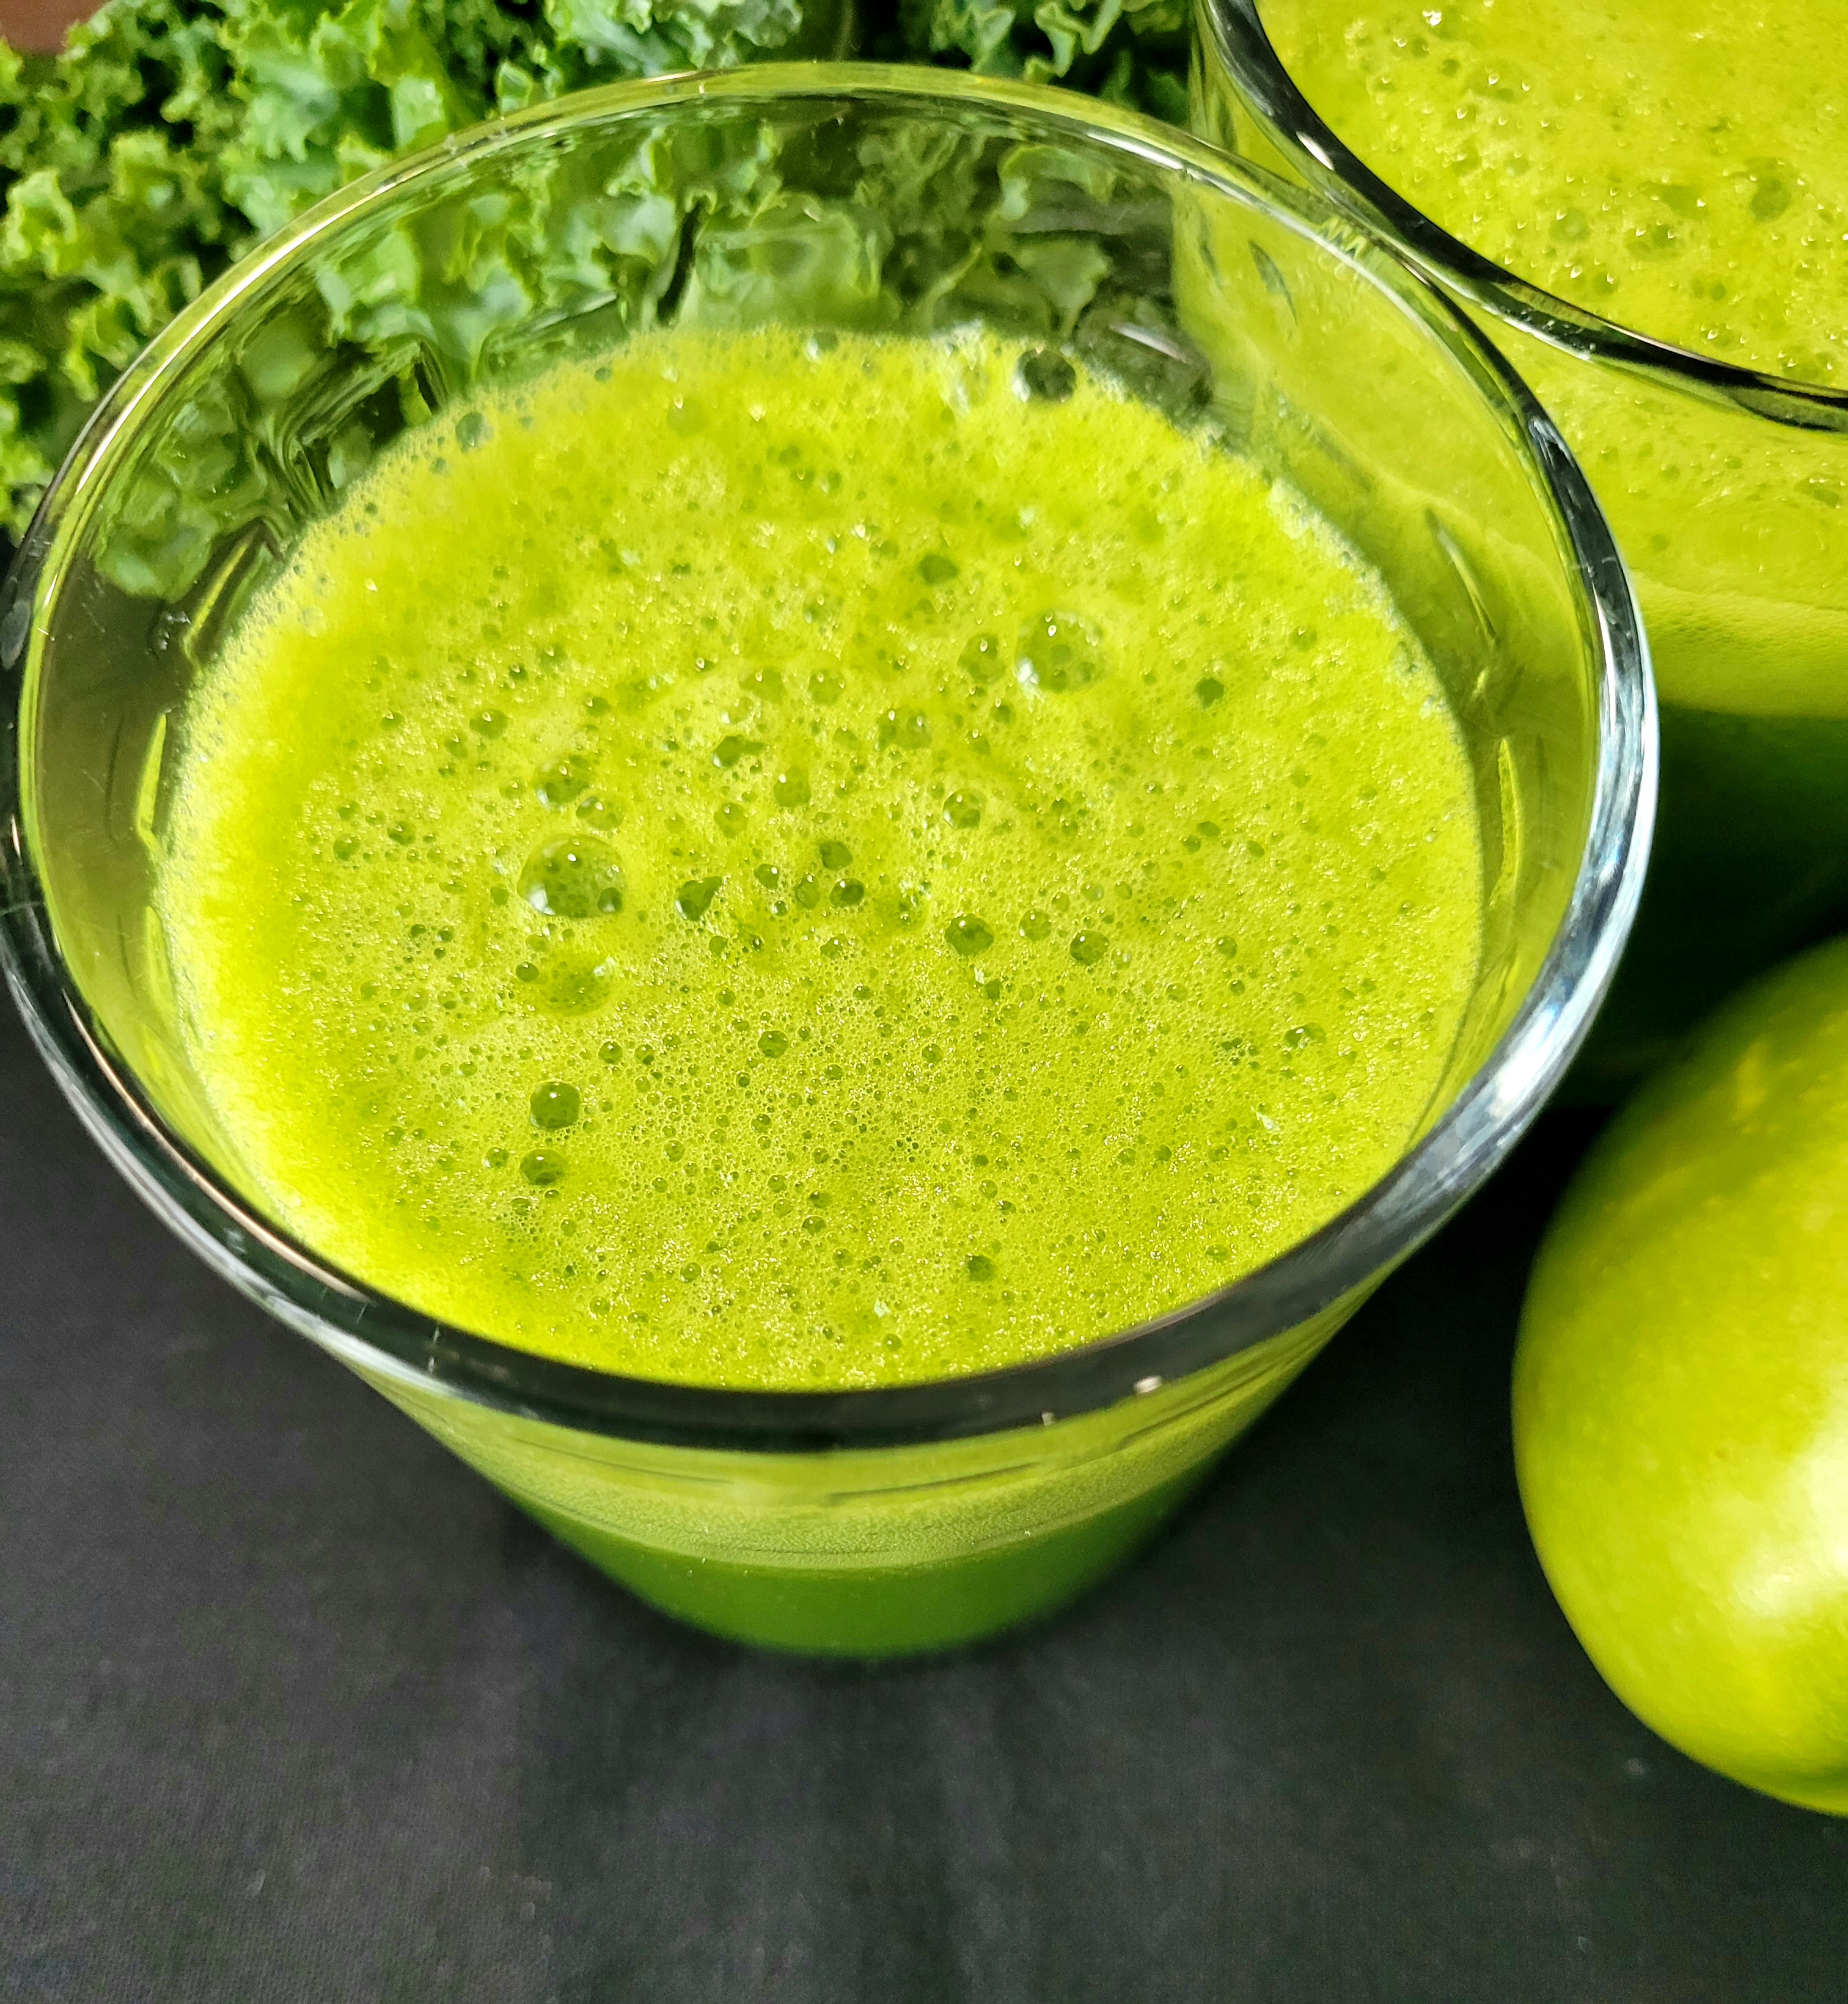
After some over indulging, especially over holidays, on vacation, or after a big party, you just feel the need to reset. This Green Smoothie is a delightful way to do…
Read More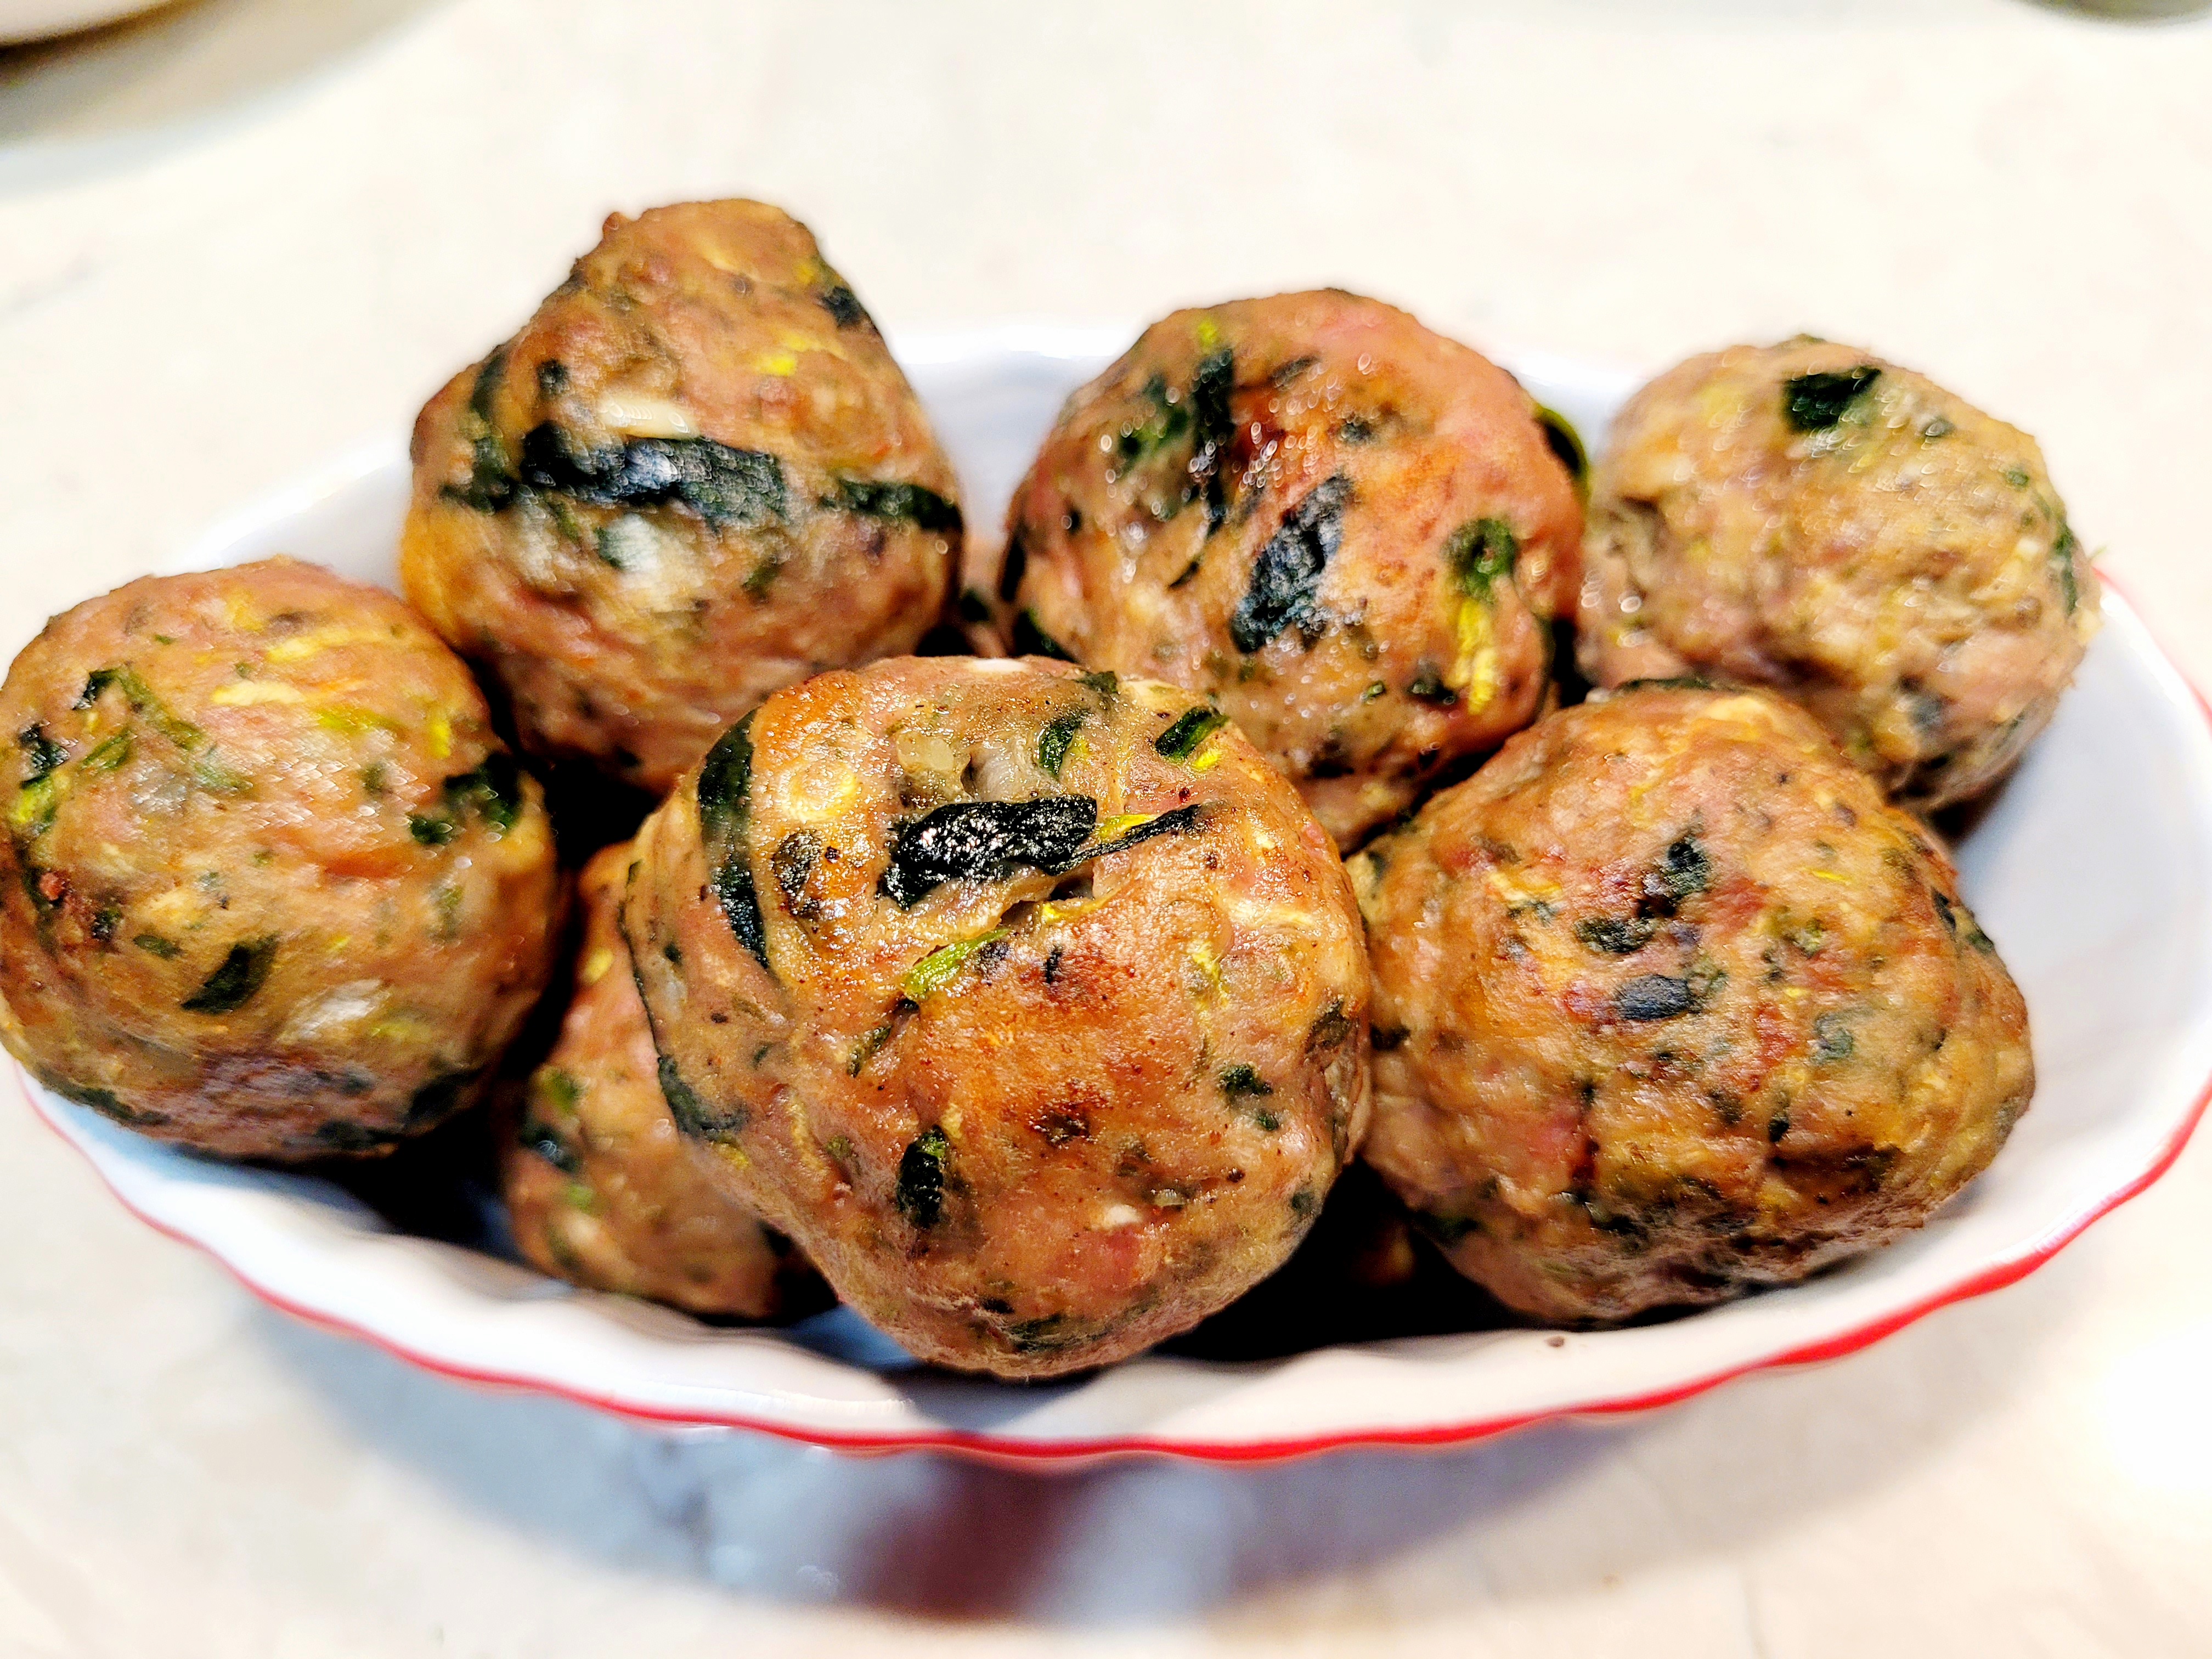
Hands down the juiciest turkey meatballs you can make. The secret to the moistness in these meatballs is a combination of yogurt, zucchini and bread. Try these, and you will…
Read More
A first timers itinerary in London. London has a wealth of child-friendly, fun, historic, educational, and cultural things to do. How then to make the most of 3 days in…
Read More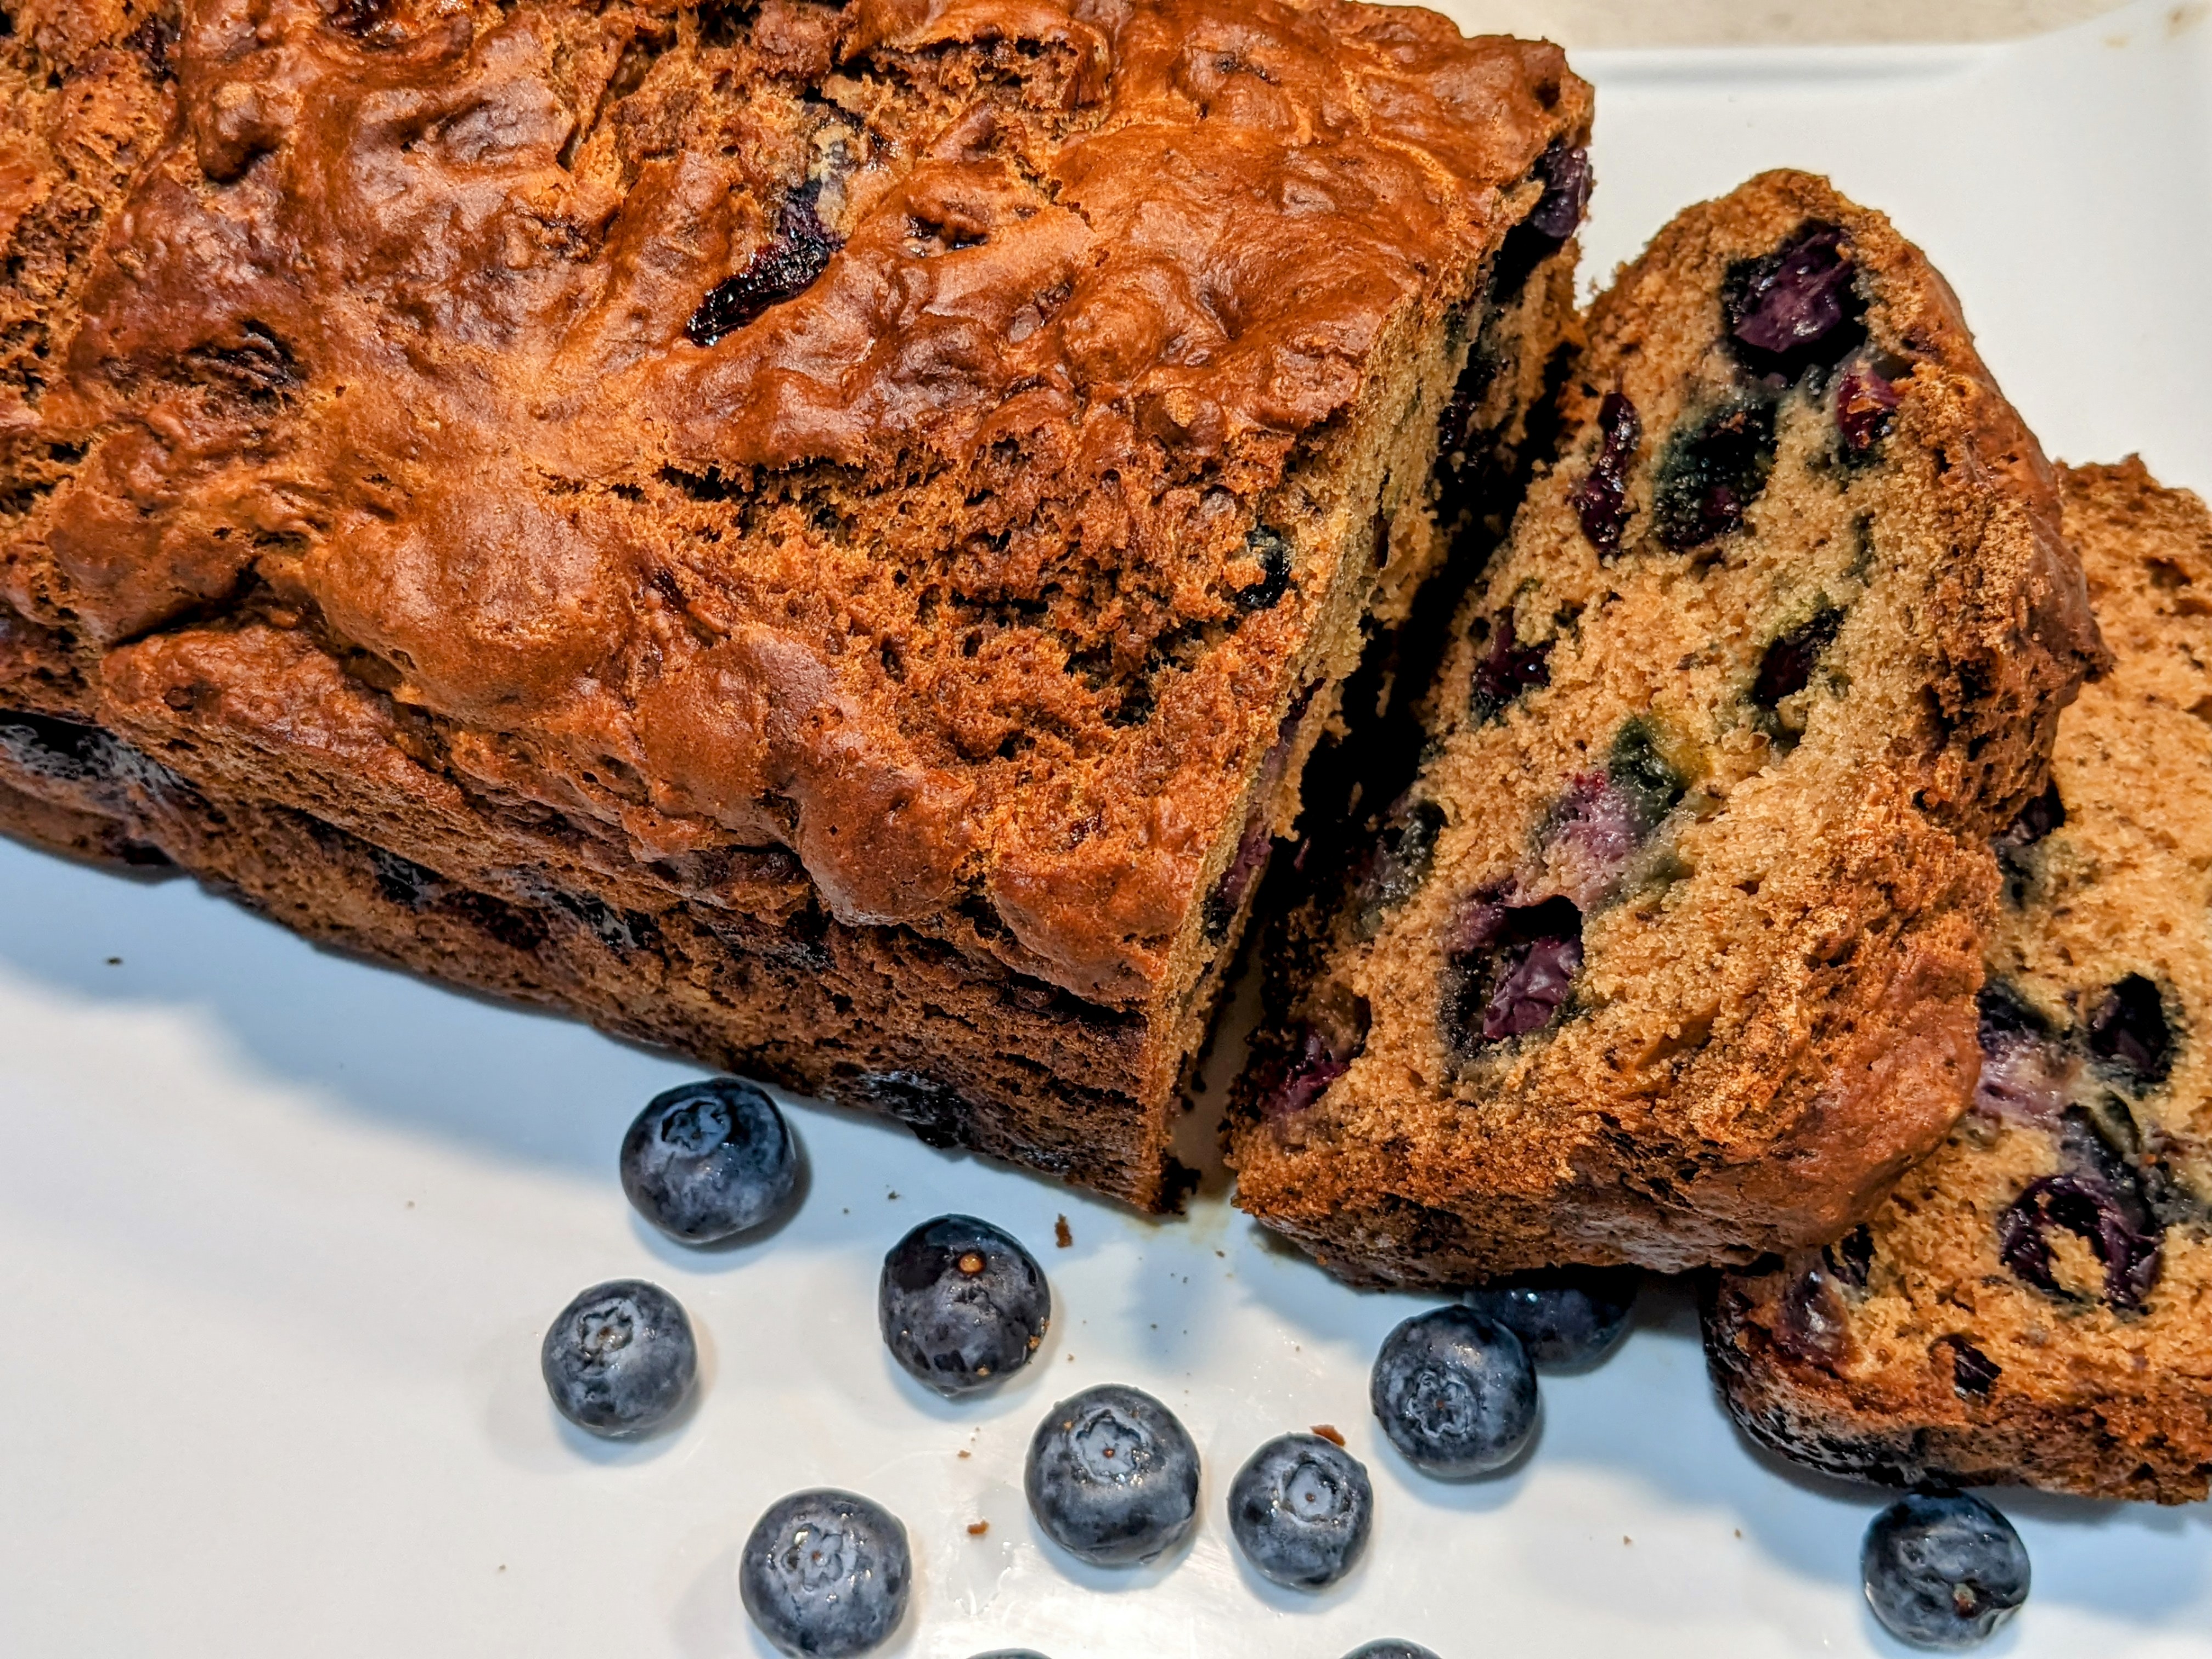
Thick slices to have on their own or with a cup of tea. Chock-full of antioxidant rich blueberries, potassium laden bananas, this yogurt-moistened, blueberry banana bread recipe is a keeper.…
Read More
The Louvre is one of the most well-known museums in the world. It's extensive and you can easily spend a day or two or more, especially if you are a…
Read More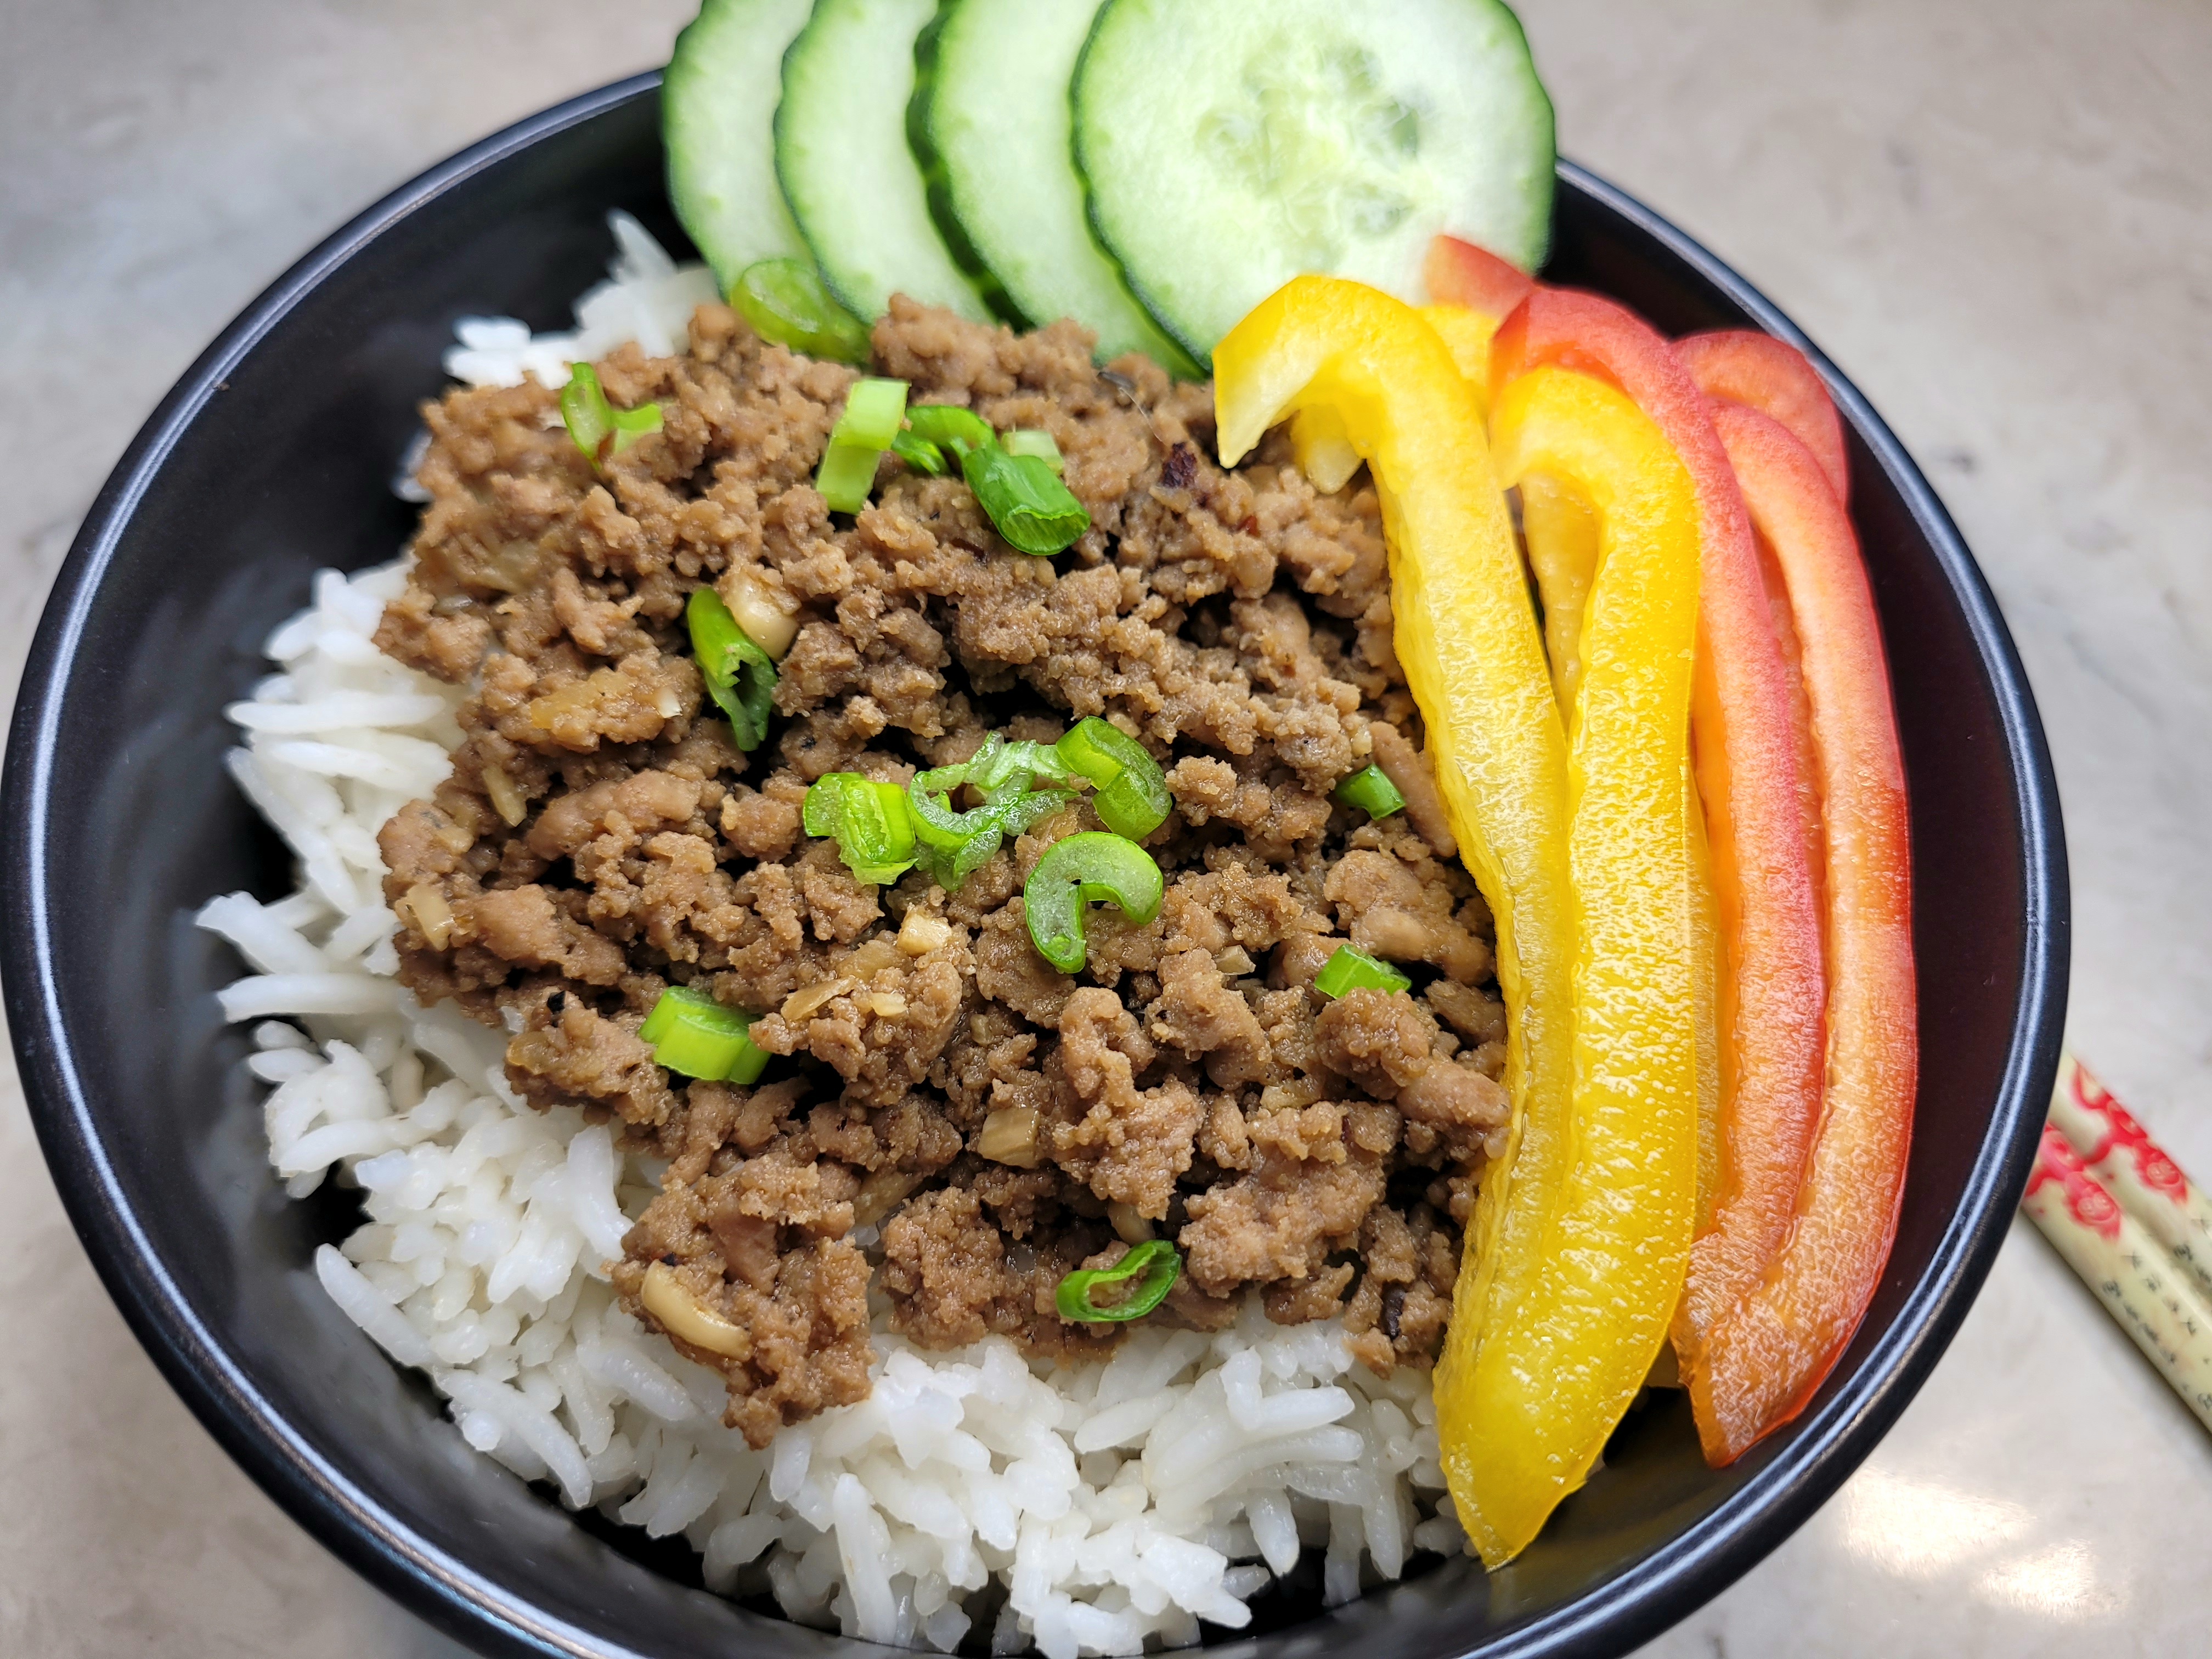
Sweet, sour, spicy come together for a delicious flavor profile in this Korean Ground Turkey recipe. This dish has become a comfort food for the kids. Combine it with a…
Read More
This Asian-twist to a Charcuterie board is a veritable feast on a tray! With Charcuterie boards being all the rage, why not try something different? I've made a grazing board…
Read More
A popular Christmas treat, these simple and yet, decadent rum balls are a quick, easy add to our Christmas treat or to our Kuswar. Kuswar, derived from the Portuguese term…
Read More
Seriously??!! Yes, 1 minute prep time, 1 minute in the microwave, let it cool a couple of minutes, slice and serve. In less than 4 minutes you have fudge...delicious, finger-licking…
Read More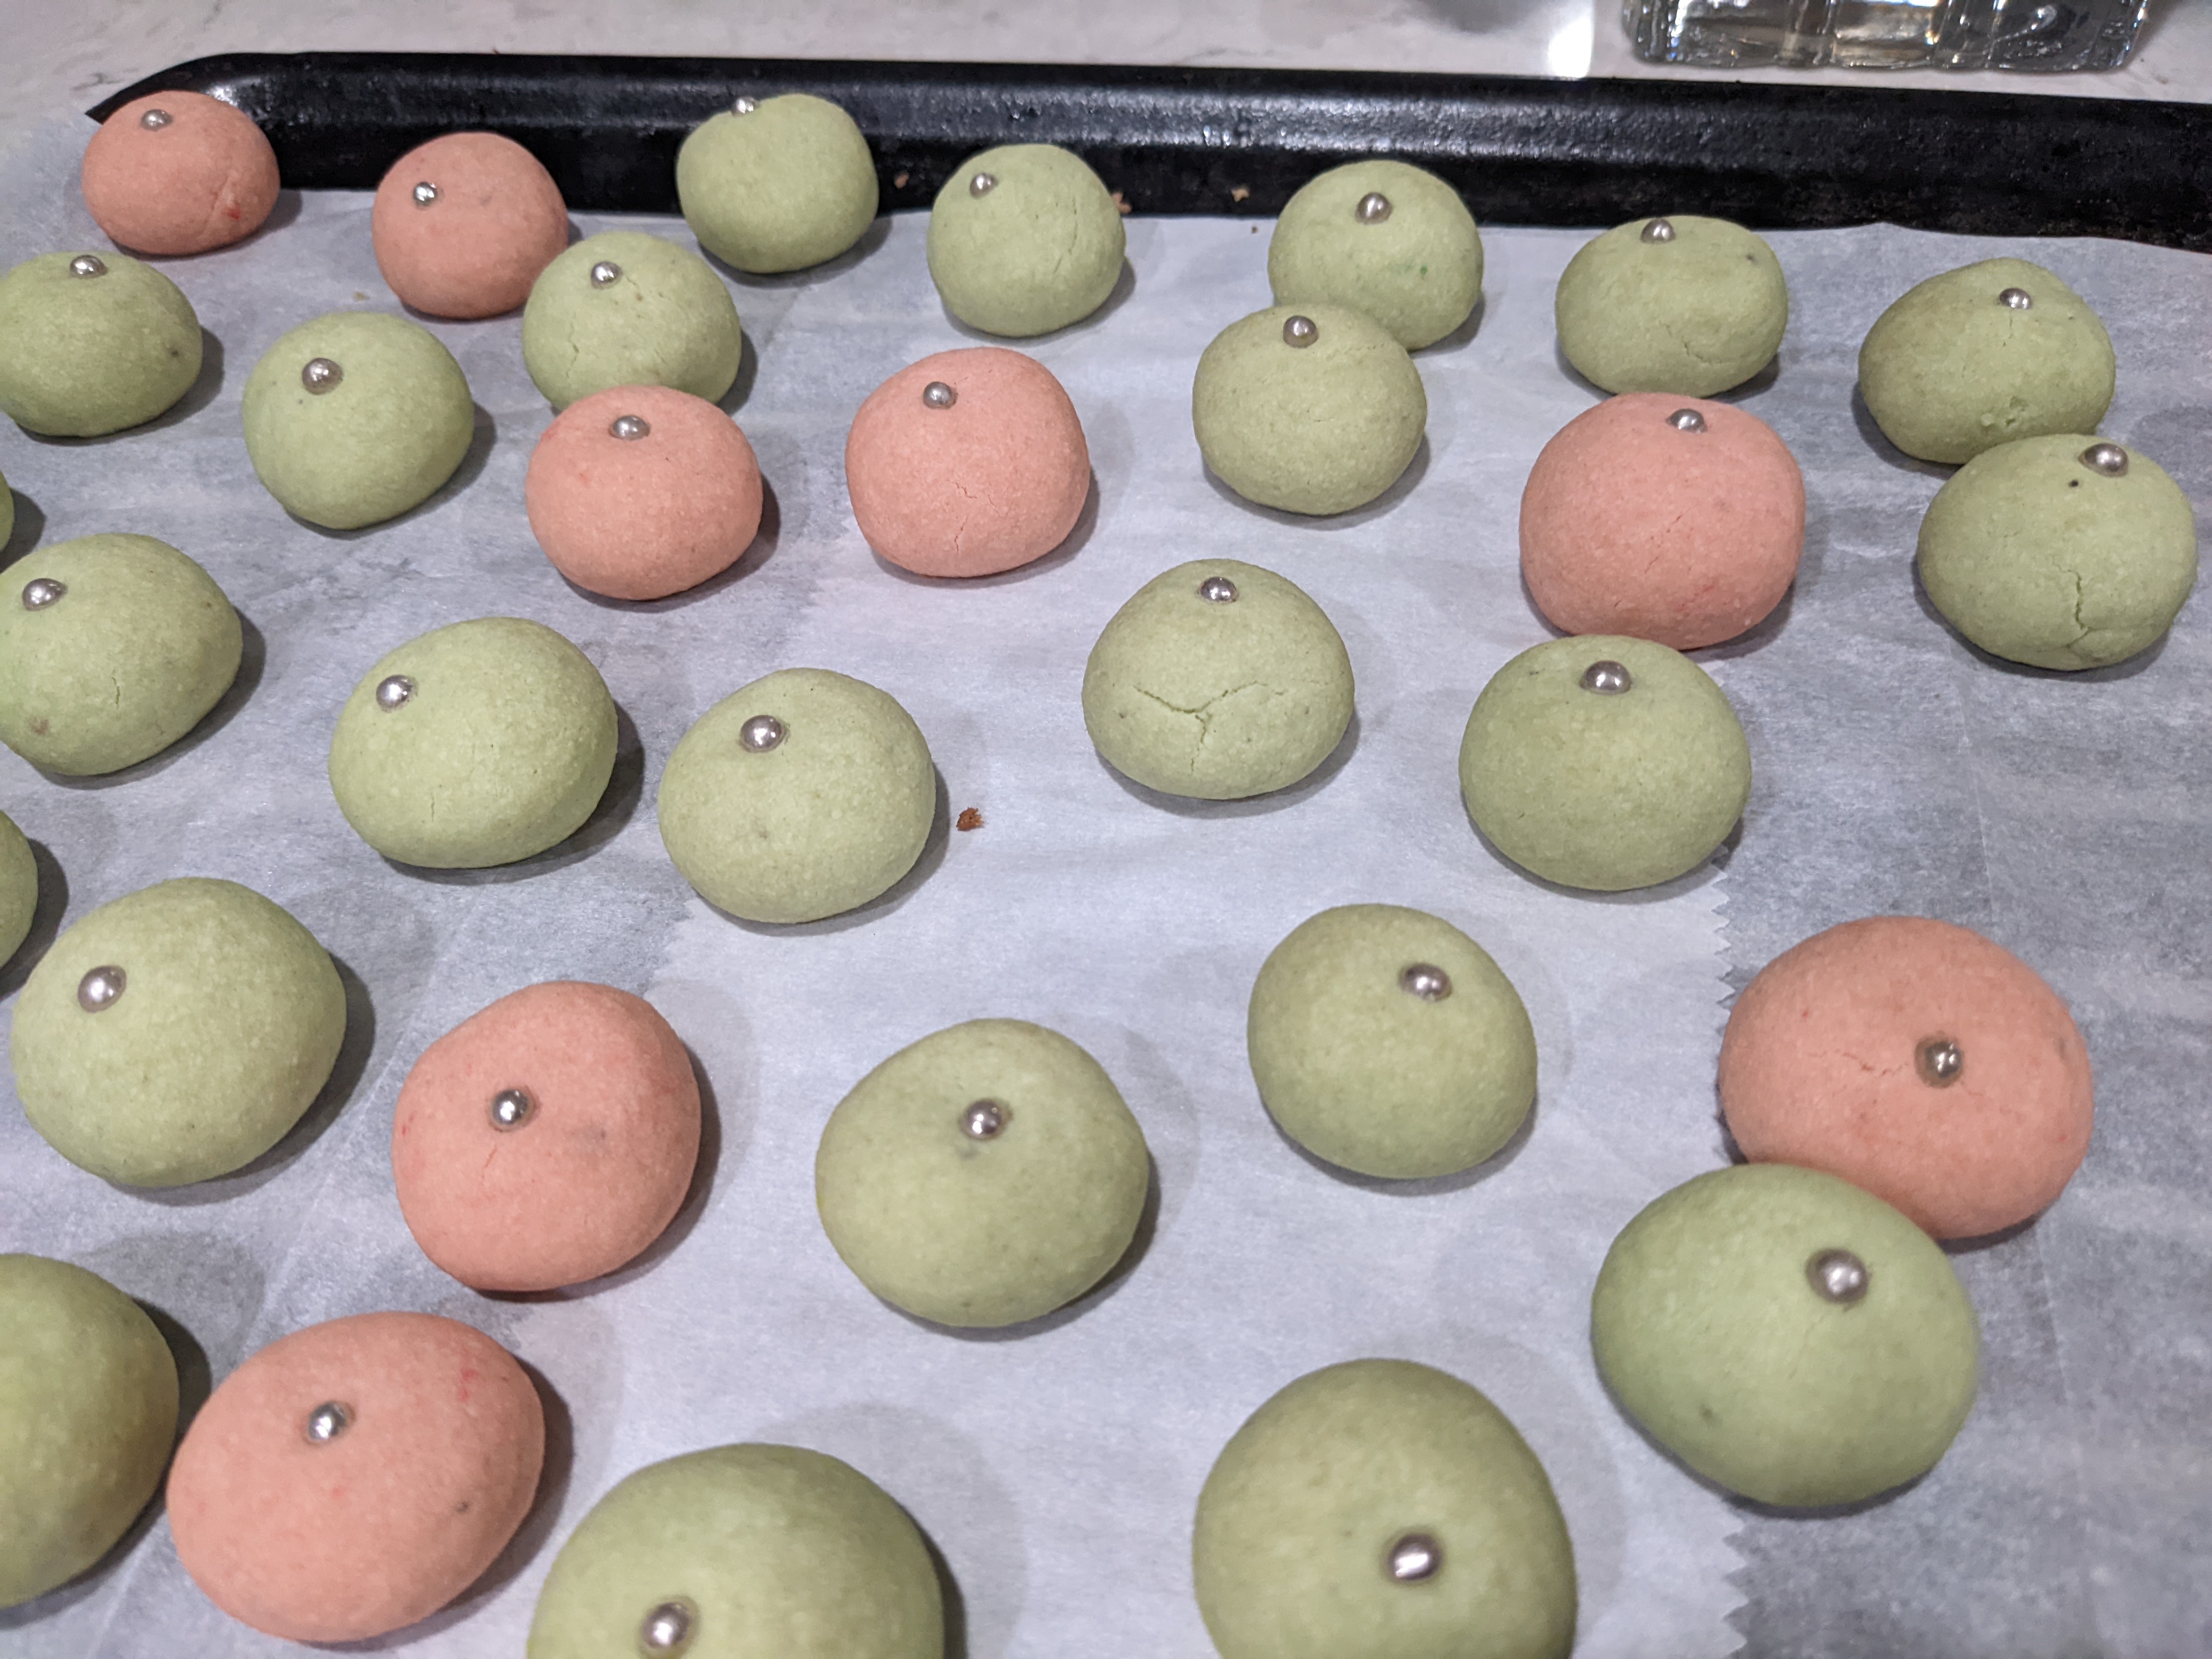
Gearing up for Christmas? This is an easy to make, rich, and such a pretty add to your Christmas platter. This one is from mum's recipe book and also one…
Read More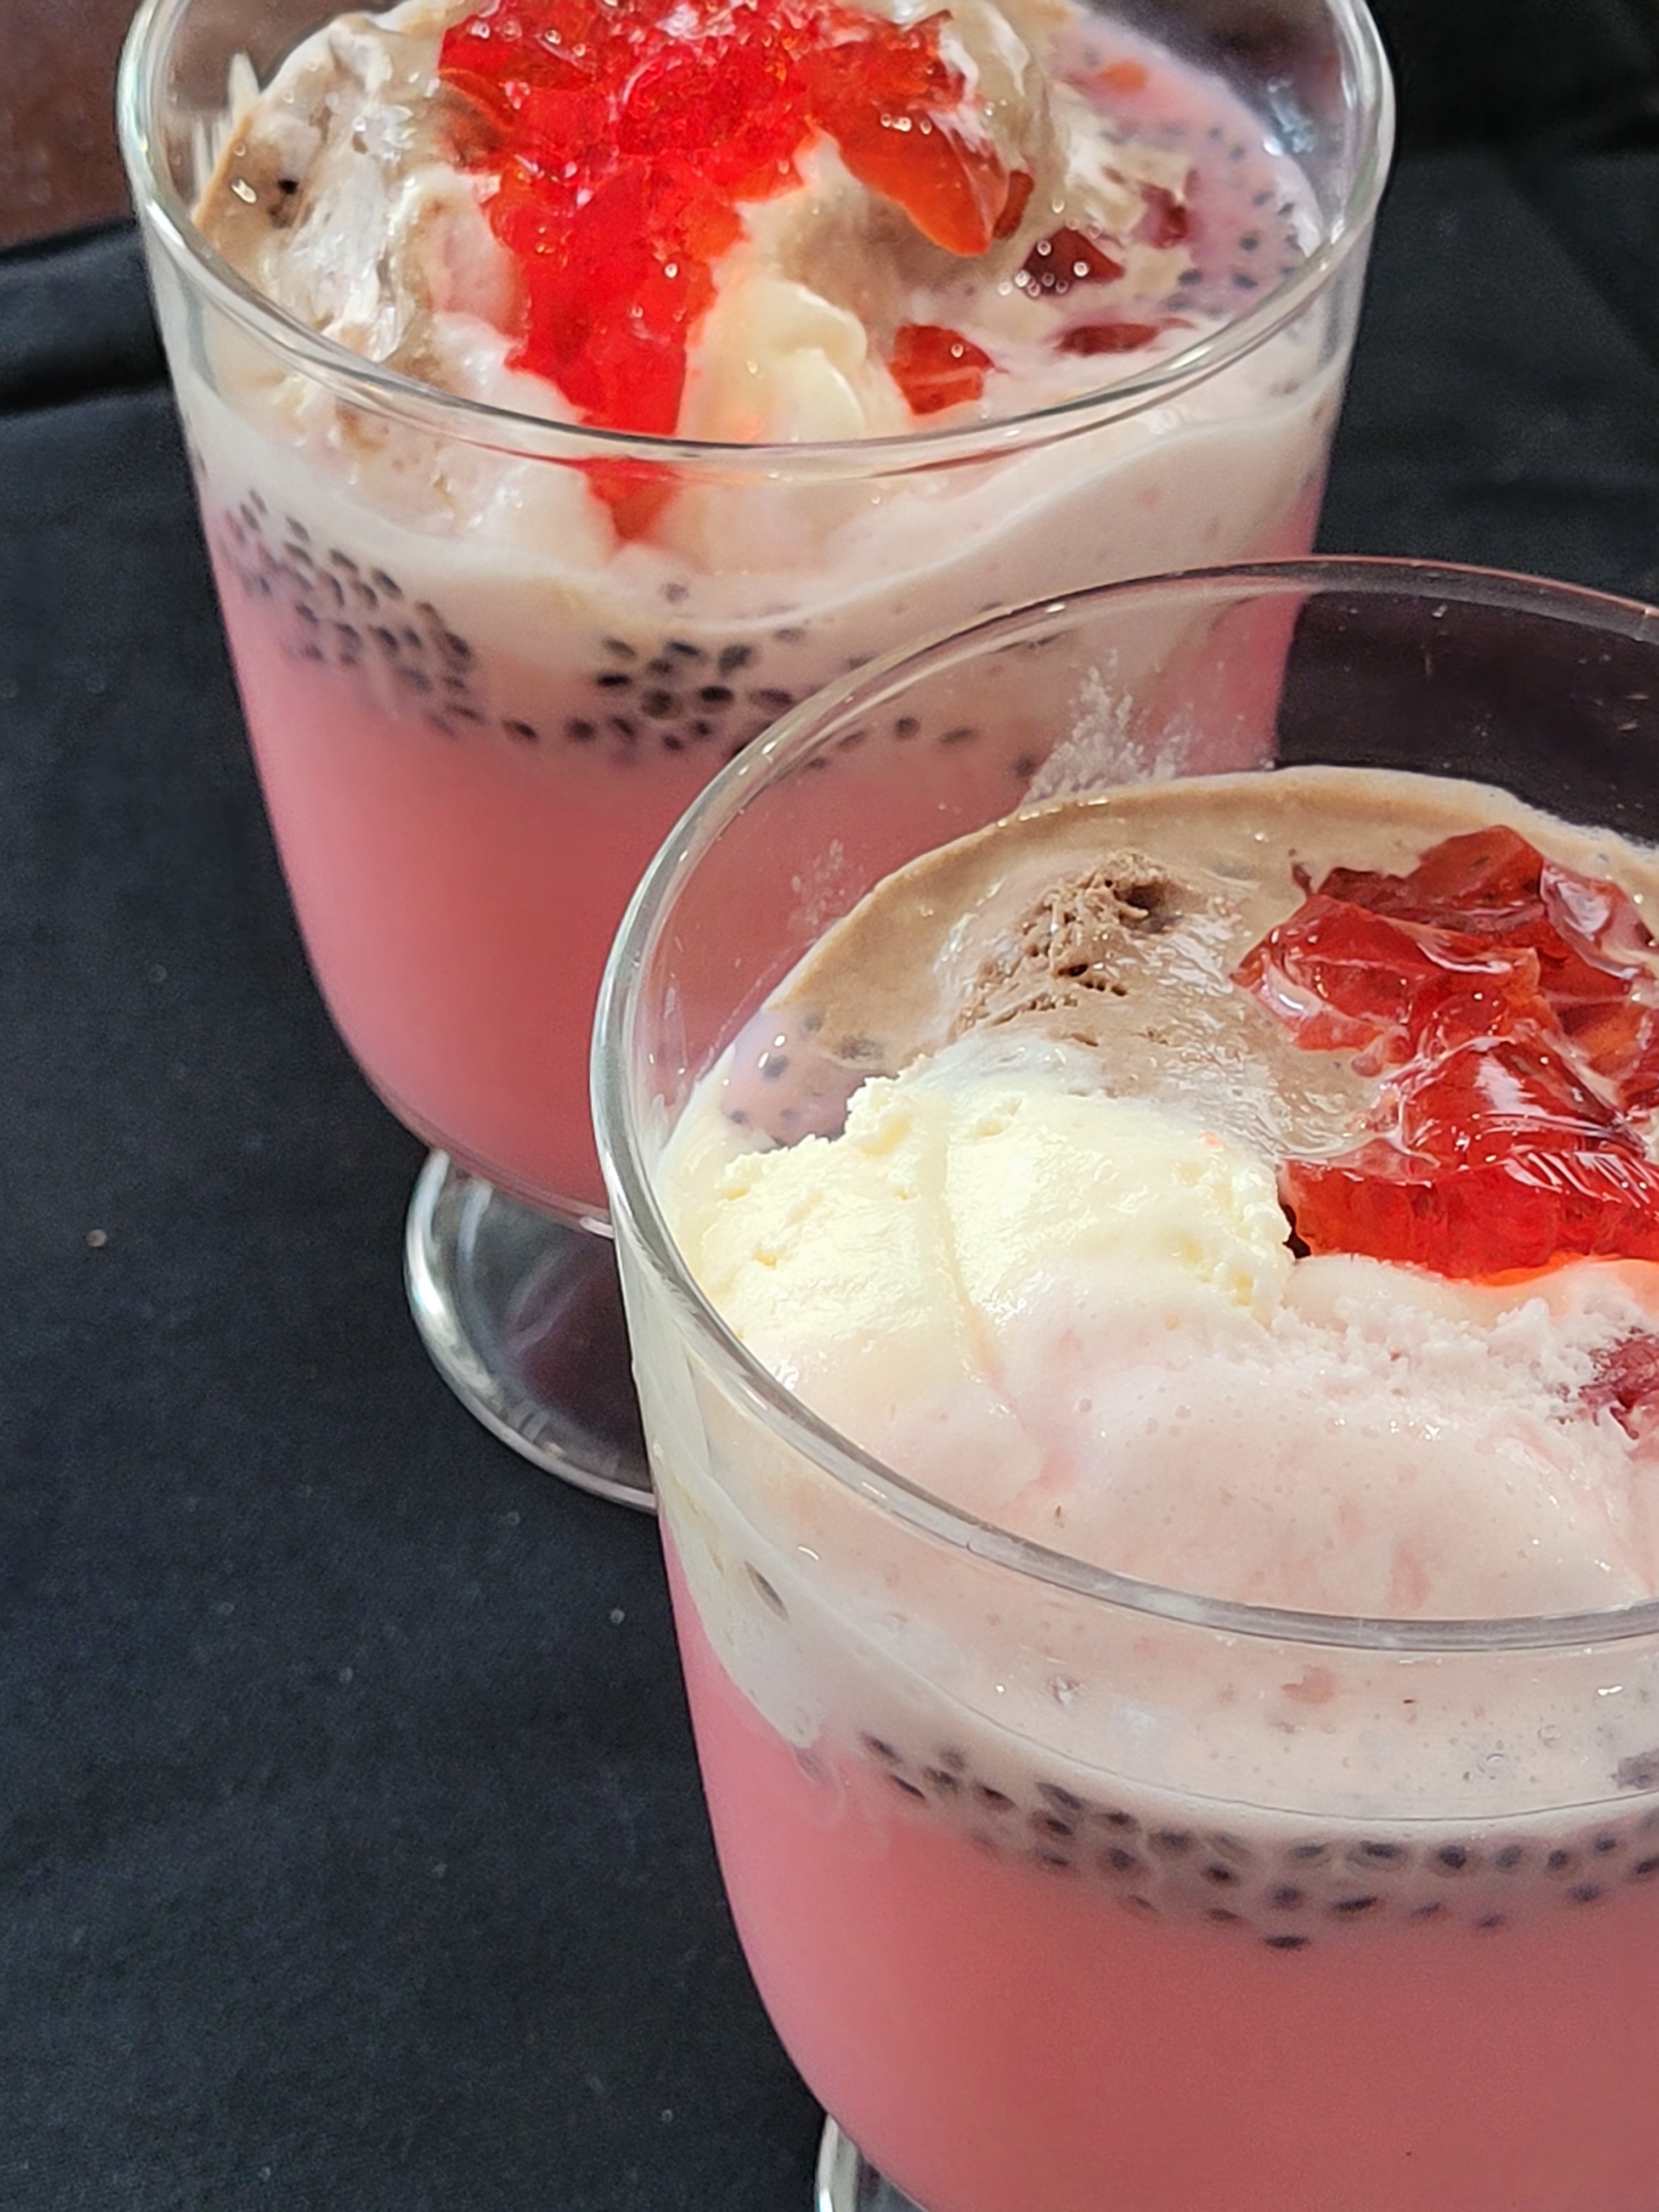

Semolina, or suji as it is known in India, is made from durum wheat, and not highly refined or processed. It is a good source of healthy carbs, protein and…
Read More
Kalakhand, is the Indian version of milk cake, oozing with the goodness of milk, sugar and nuts. Now there's "easy" and there's "too much effort" when it comes to making…
Read More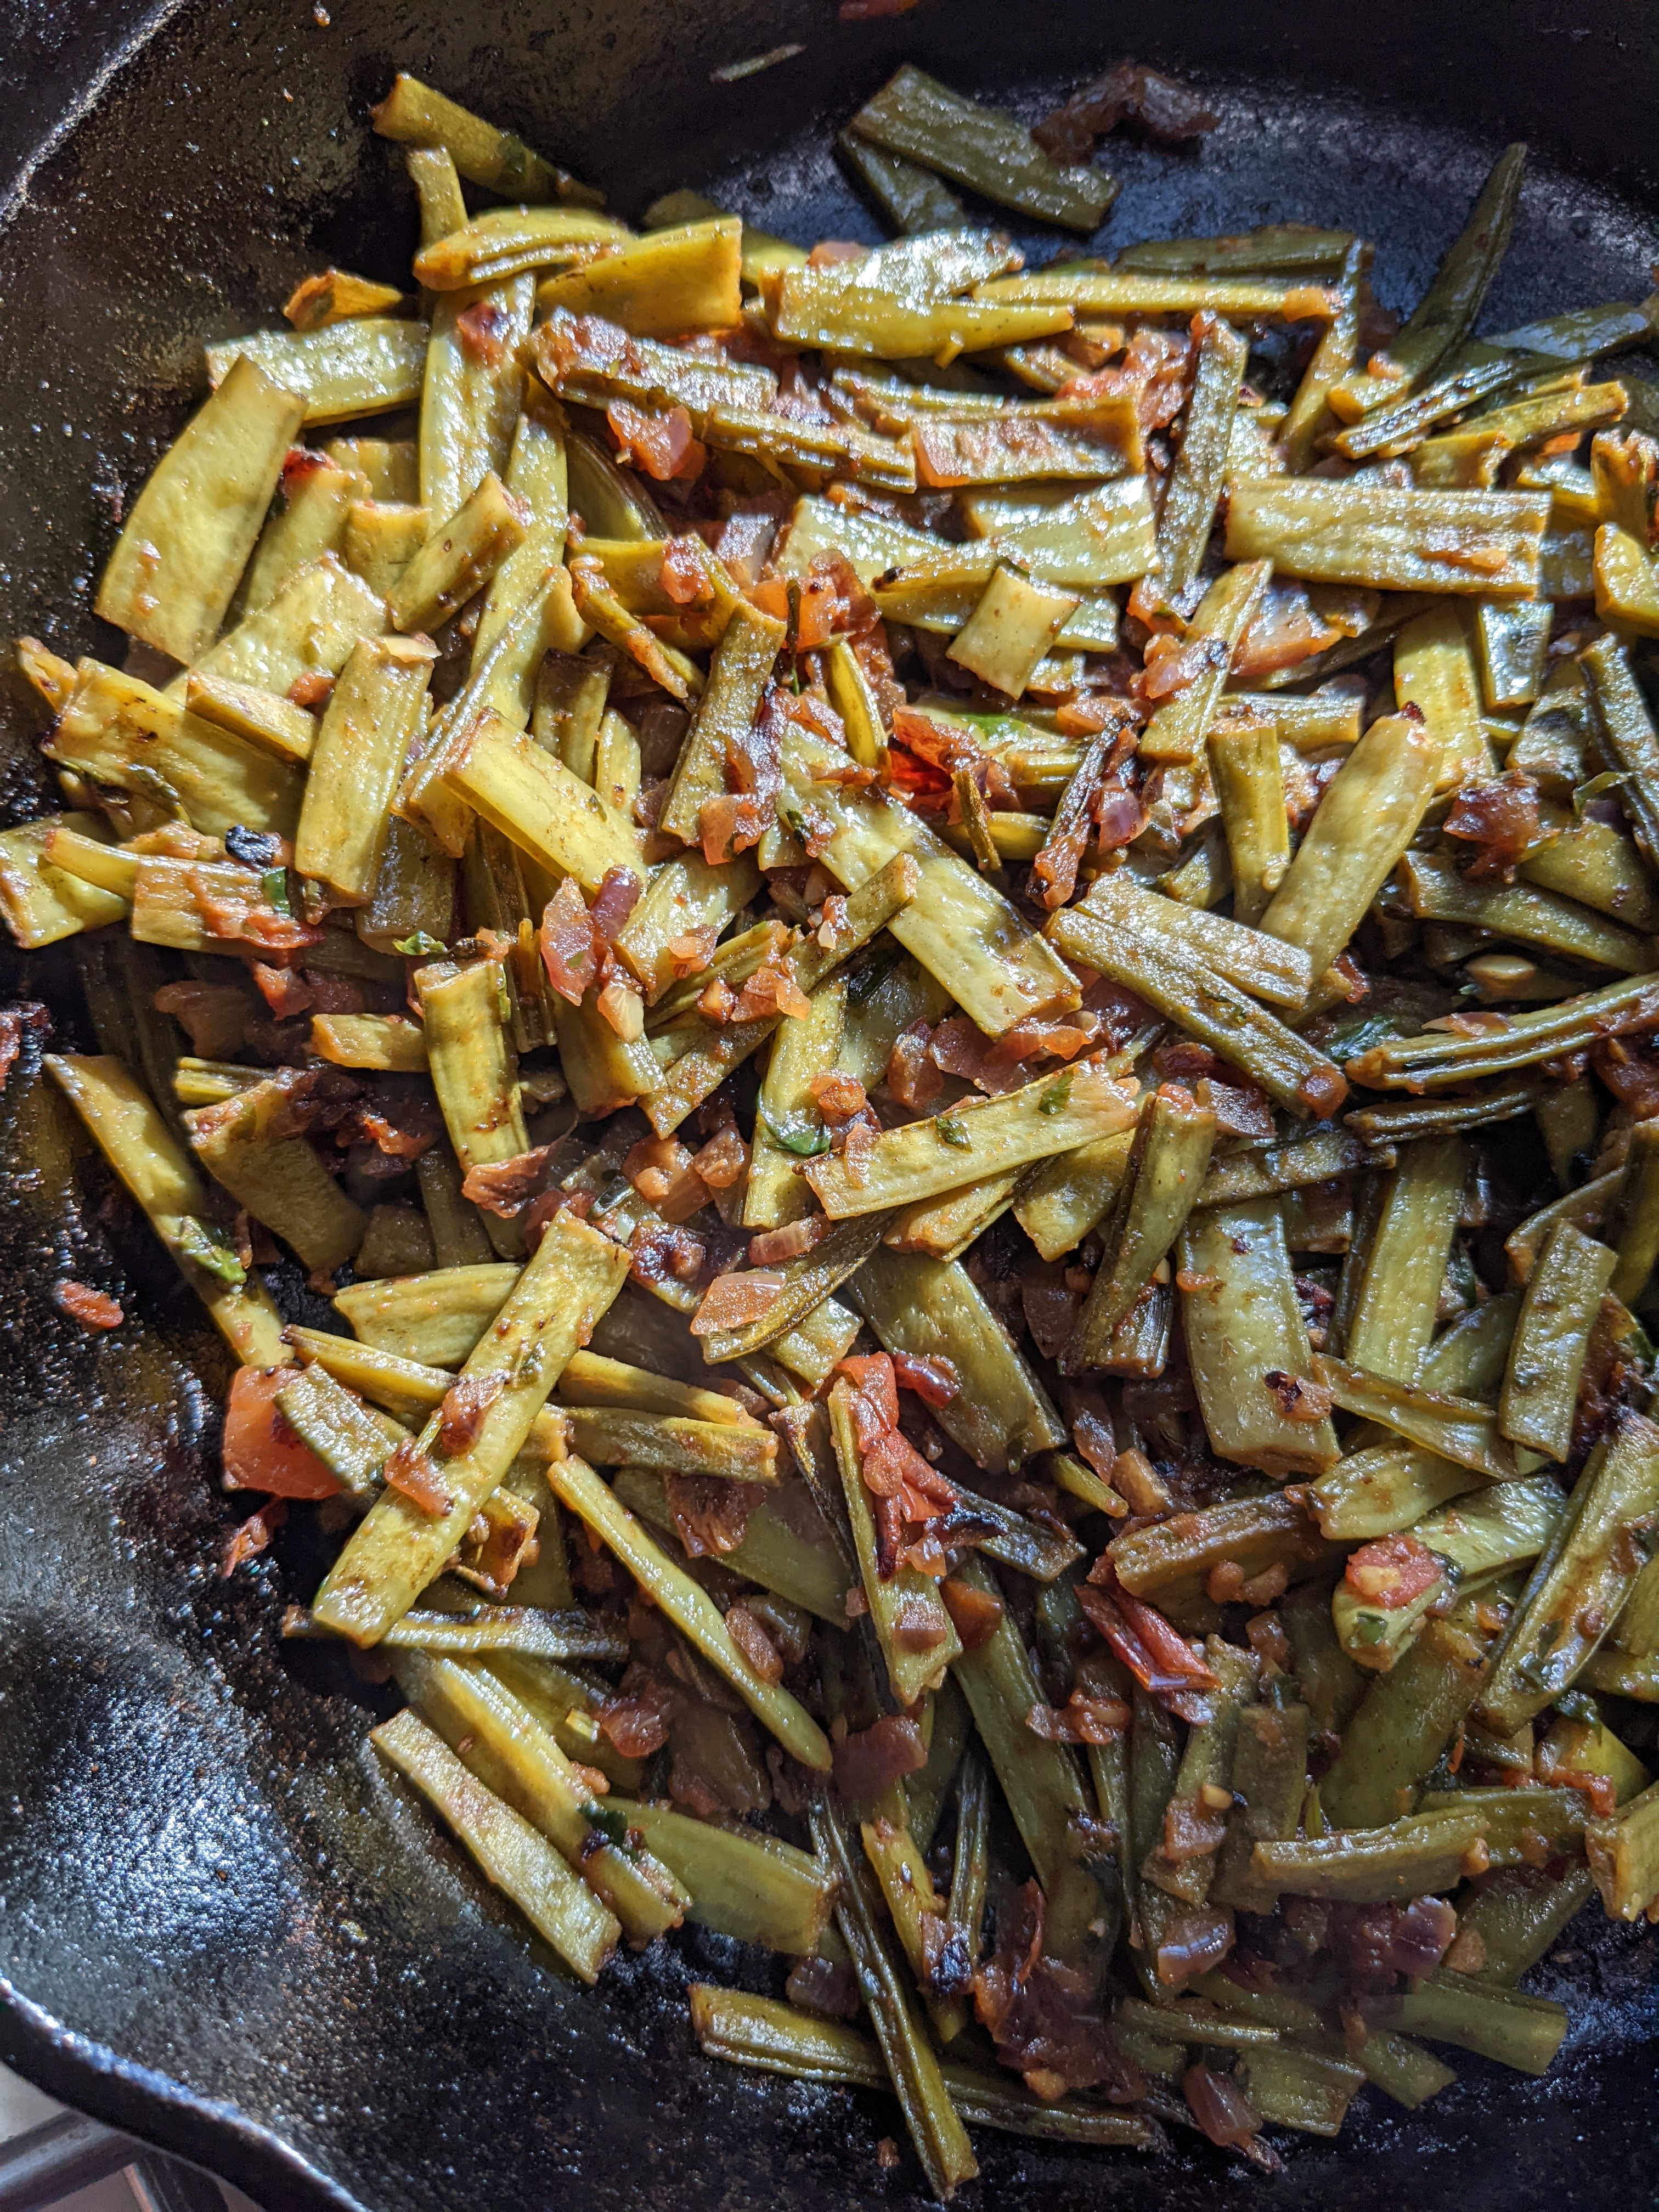
A simple, healthy dish made with cluster beans or gawar phali as it's commonly known in India. Cluster Beans are a legume, also known as gavar, gawar, or guvar beans,…
Read More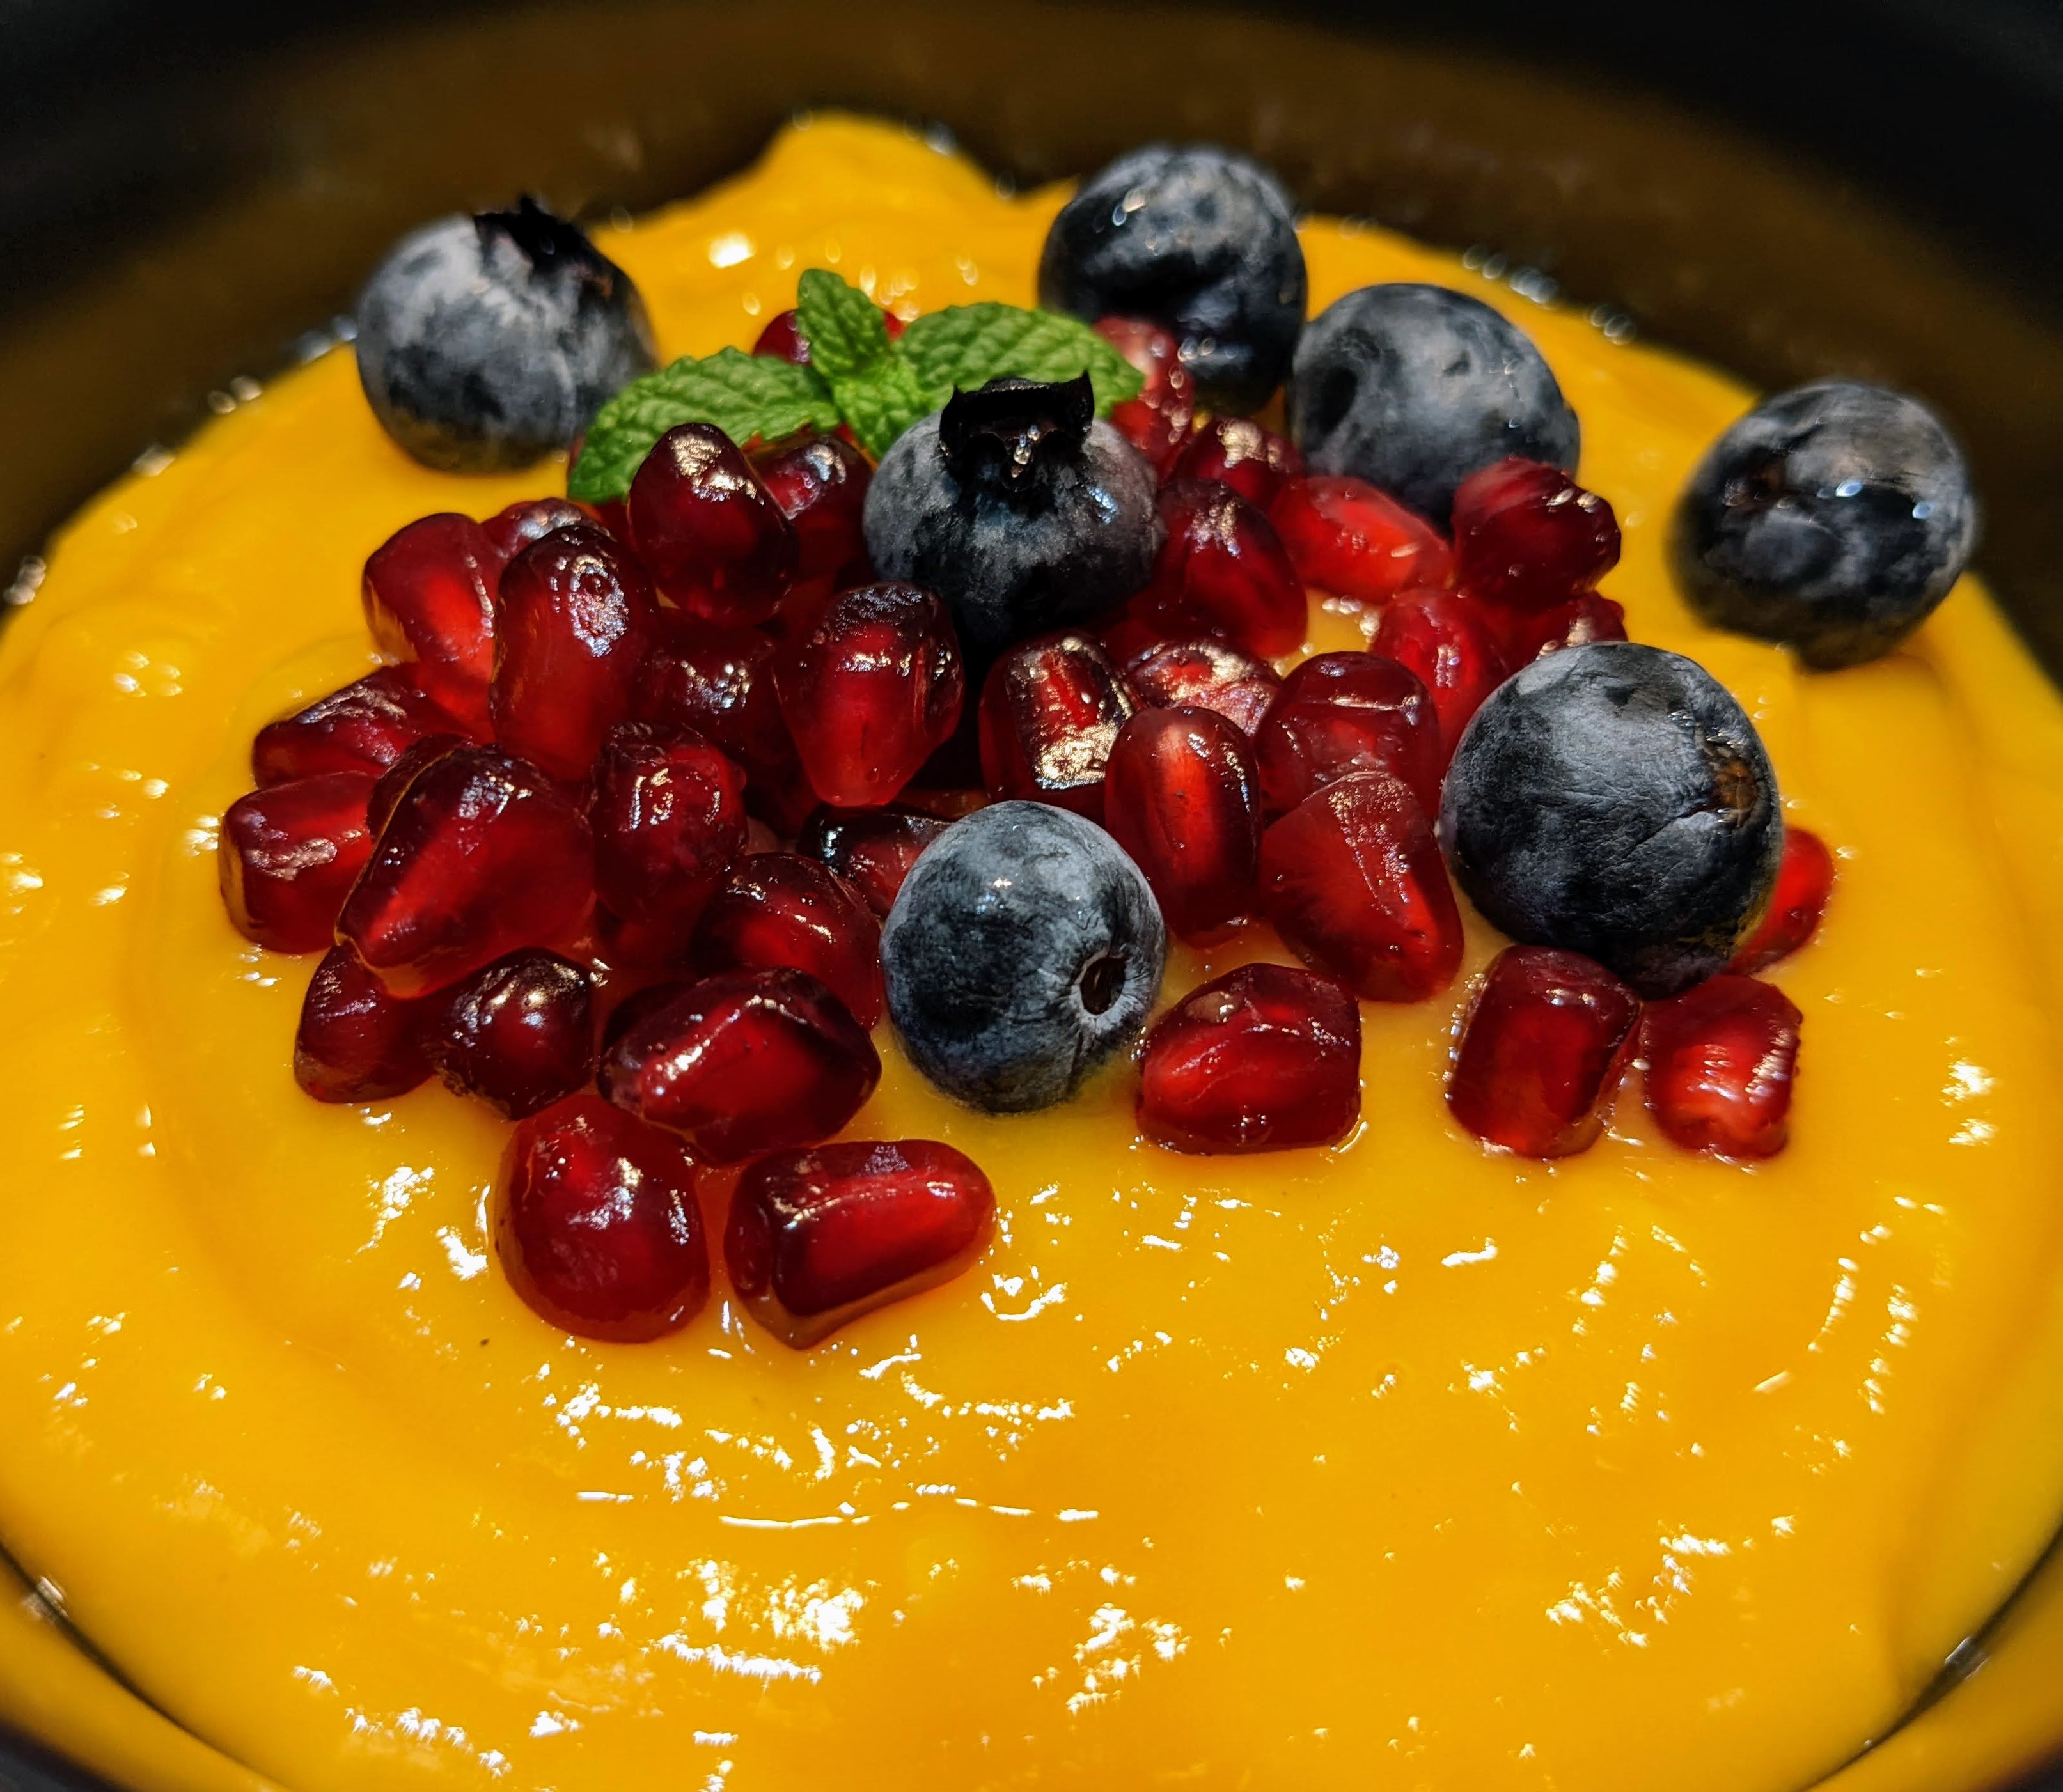
Fruit salad with custard. It was a given that when you went for Goan party, dessert would include a fruit salad with custard. In my home, it's now a nice…
Read More
A refreshing salad that is healthy and big on taste - perfect as a side salad or grab a bigger portion for a complete meal. This invigorating salad has a…
Read More
This past summer, we stopped by Abu Dhabi enroute to India. It was a few days of beautiful sights and the most delicious middle eastern food. The Za'atar on tender…
Read More
Granola is an excellent source of fiber and potassium. It's a magical, delicious mix of oats, nuts, dried fruits and maple syrup or honey. Not only is it beloved by…
Read More
Growing up, every birthday party had the most delicious and beautiful homemade cakes. I especially remember a cake in the shape of a multi wagon train with goodies in each…
Read More
Oats are a nutrient-dense food. Per the United States Department of Agriculture (USDA), a half cup of dry, quick-cooking oats, contains about 150 calories, 5 grams of plant protein, 27 grams of carbs,…
Read More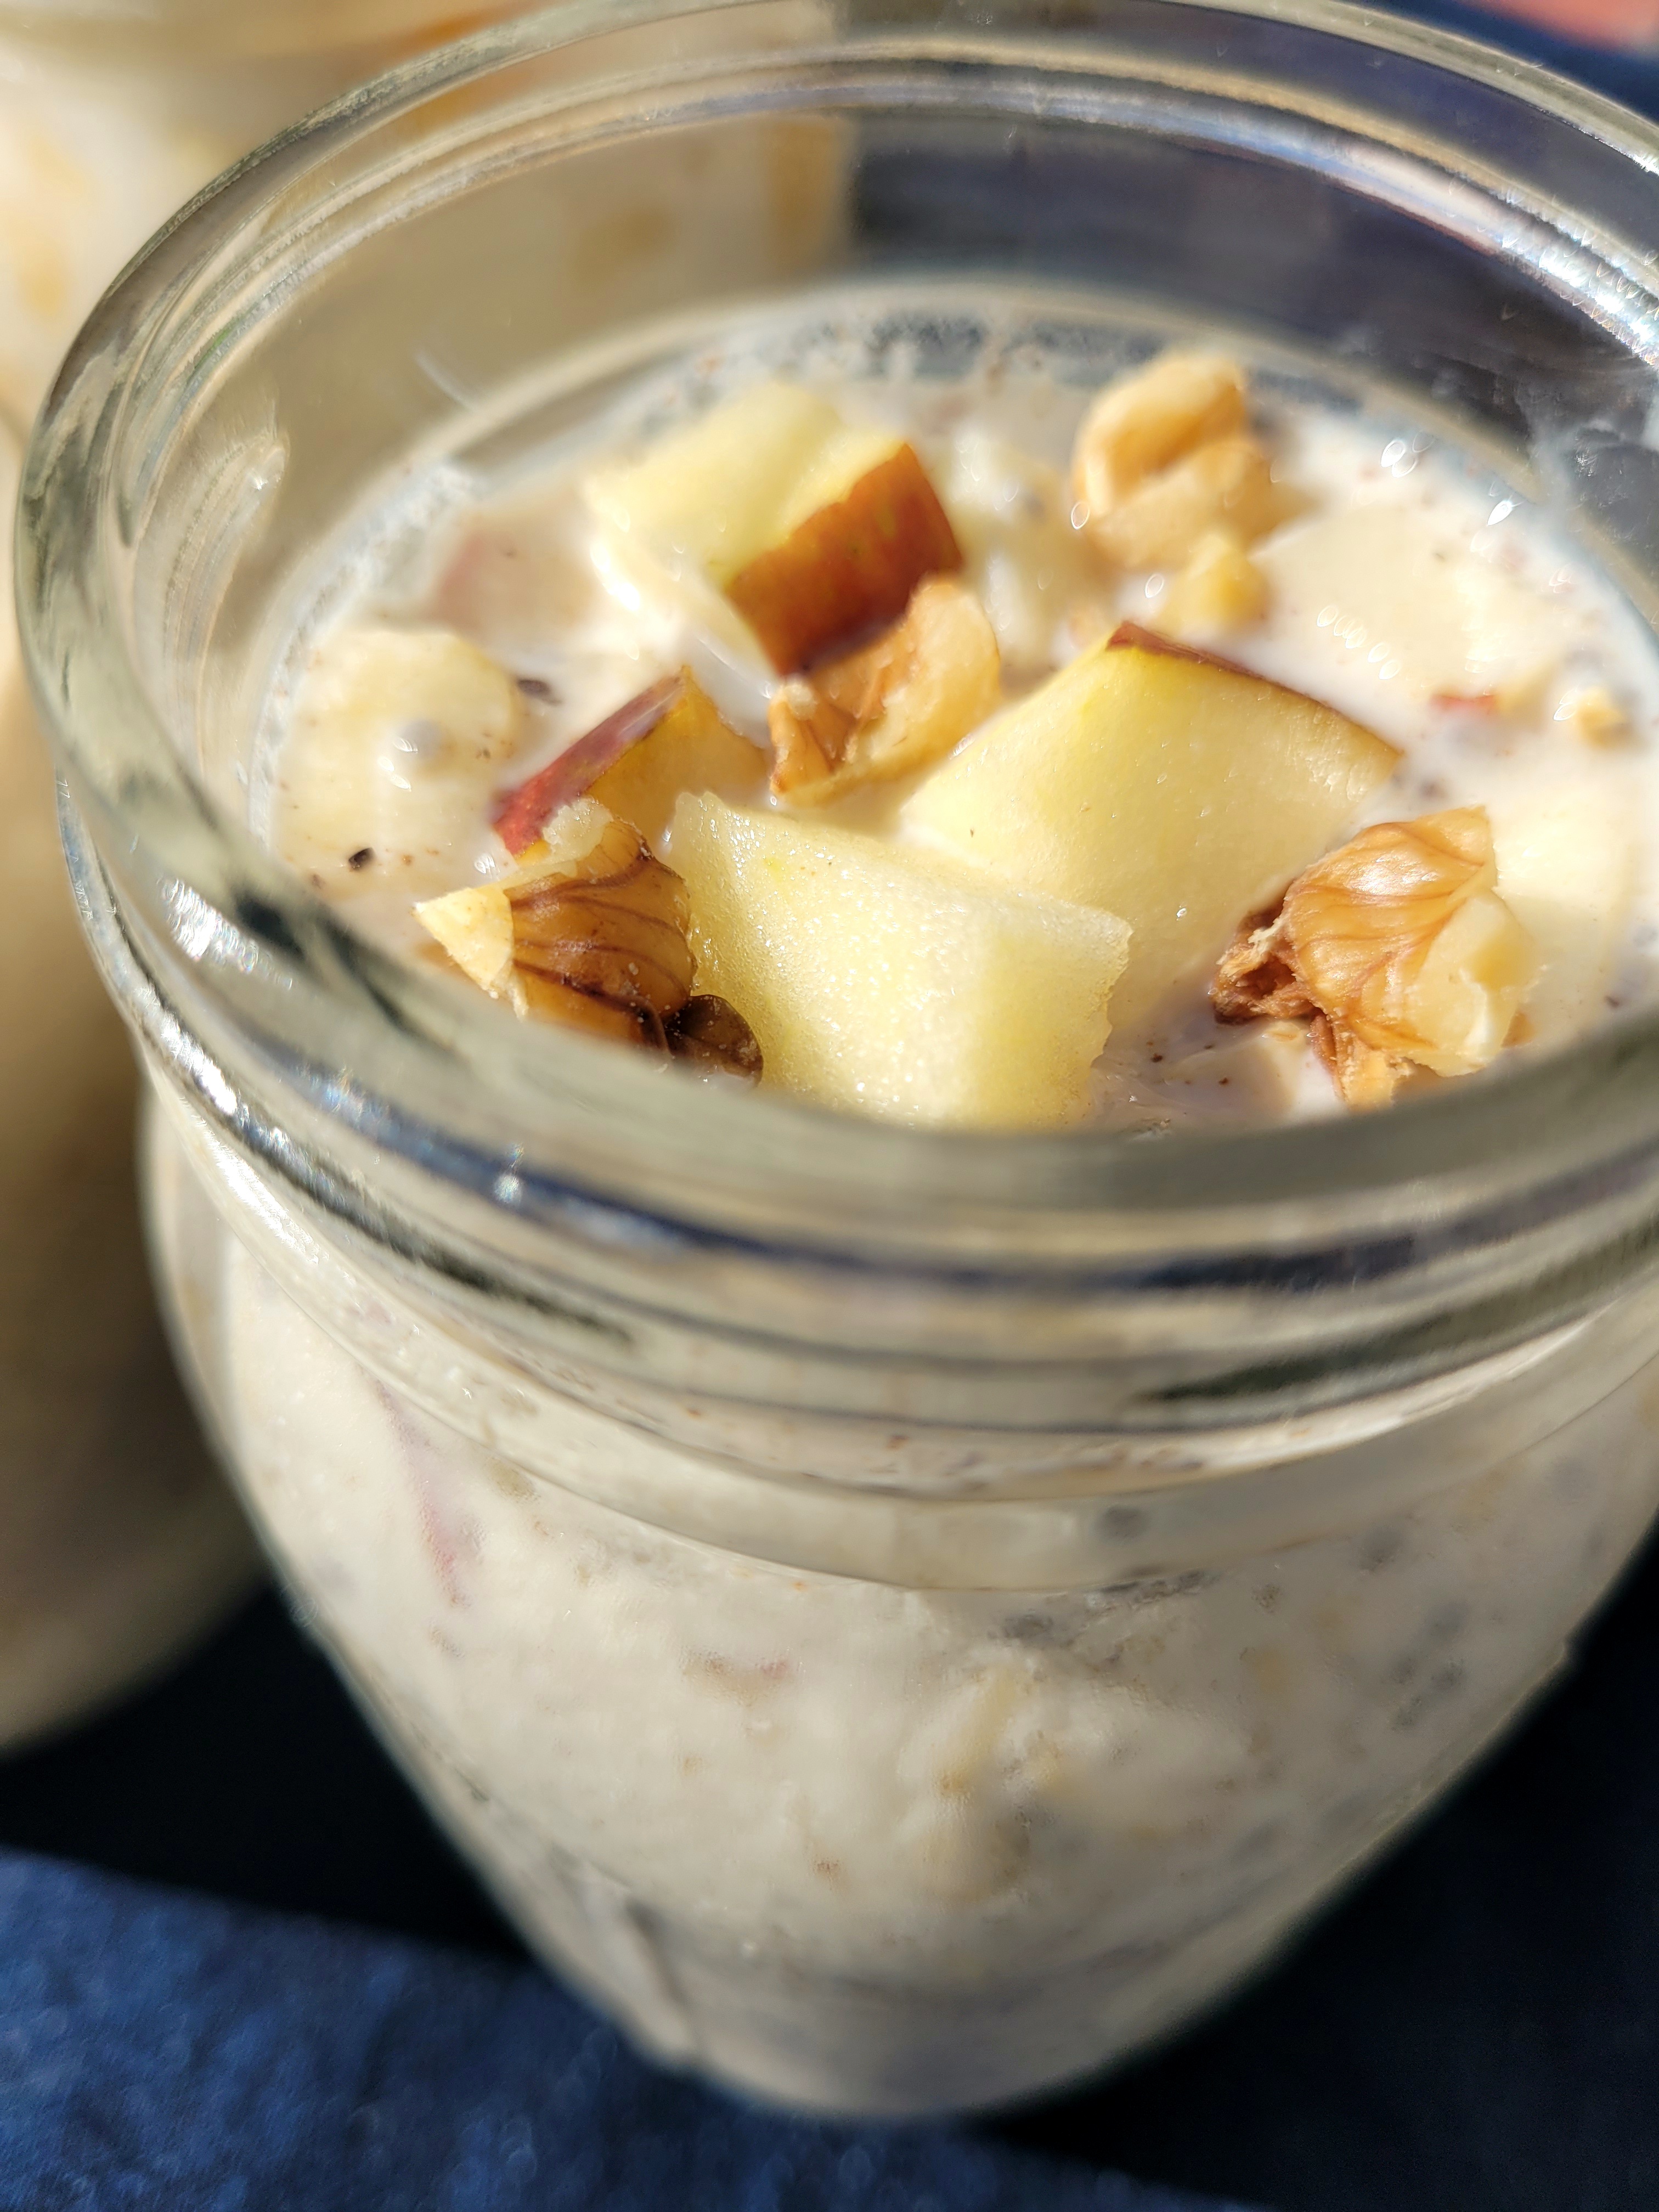
Overnight oats are delicious, easy to make and not just a perfect way to start the day but also very healthy! Mix, soak, enjoy!! And if you really don't like…
Read More
Tropical mango and banana combine to form this delicious, vegan and gluten-free overnight oatmeal breakfast. Servings: 2 Time: 5 minutes plus 8 hours (overnight) Ingredients 2/3 cup old fashioned rolled…
Read More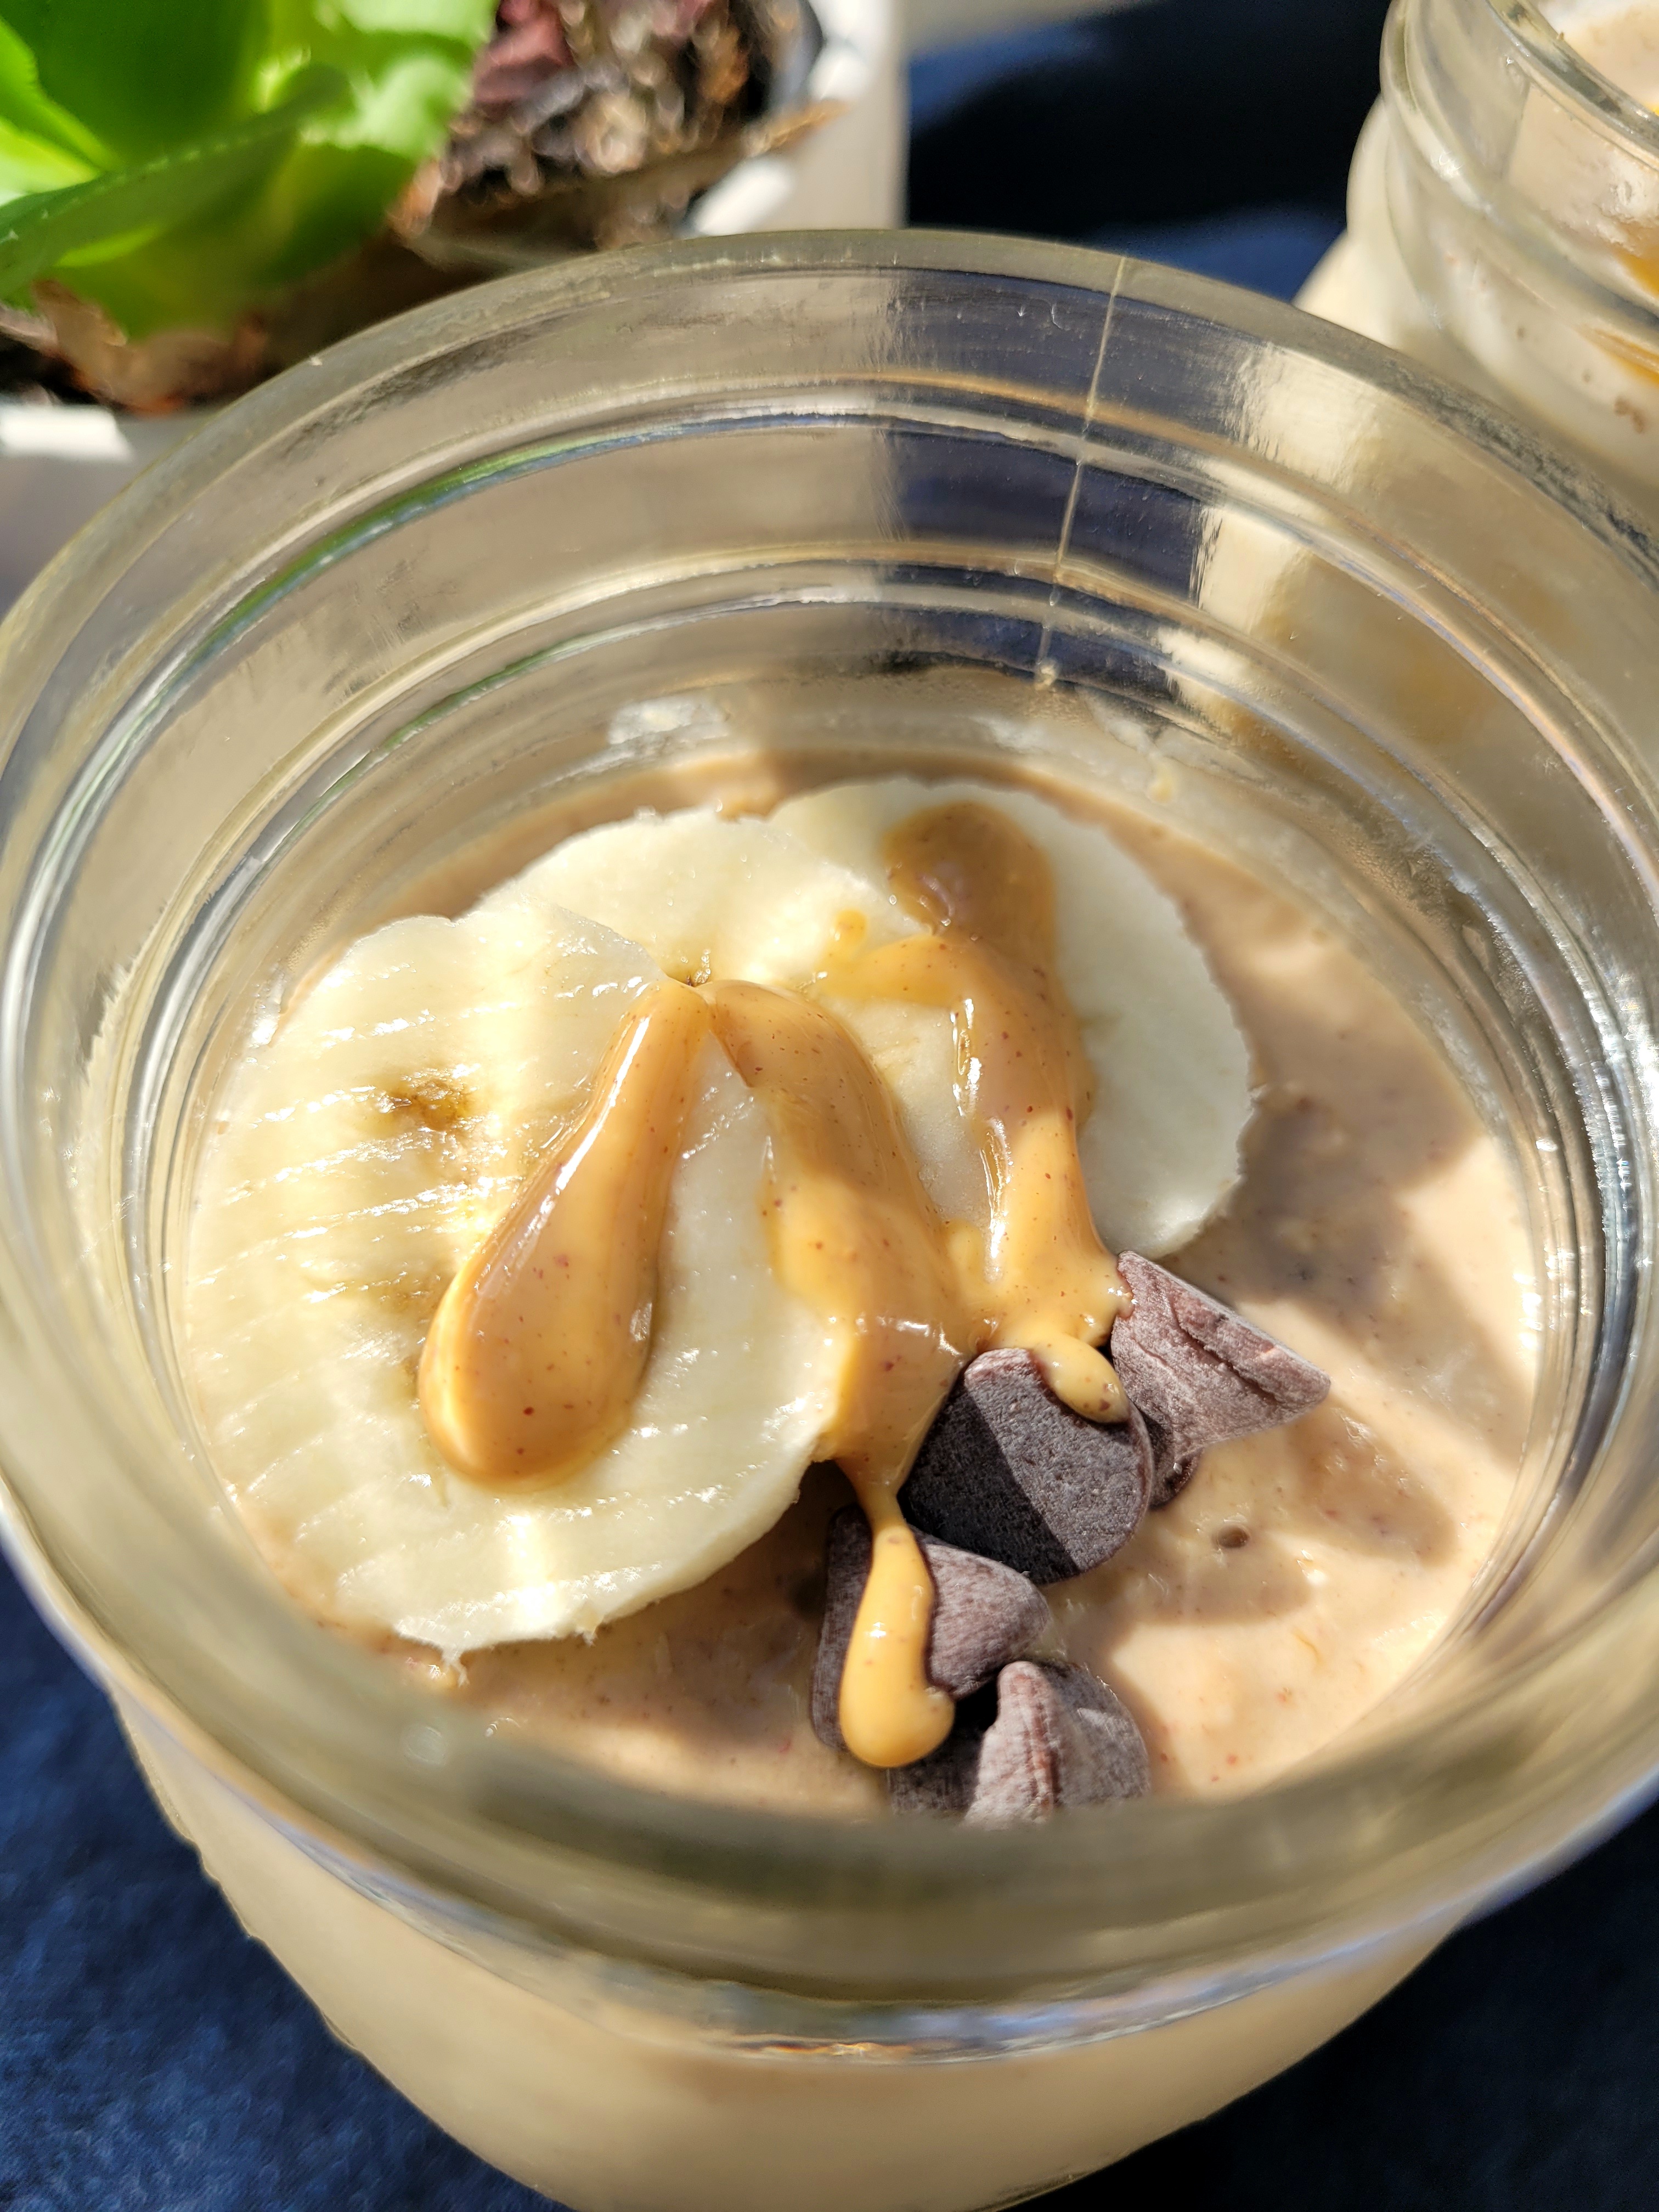
These peanut butter banana overnight oats combine all of your favorite flavors to make the most delicious, high-protein breakfast made in under 5 minutes! Serving Size: 2 Prep time: 5 minutes plus…
Read More
Why get take out when you can quickly dish up a quintessential Chinese takeout dish in minutes? This one-pan, 30-minutes dish is loaded with tender broccoli and nutrition-packed beef cooked…
Read More